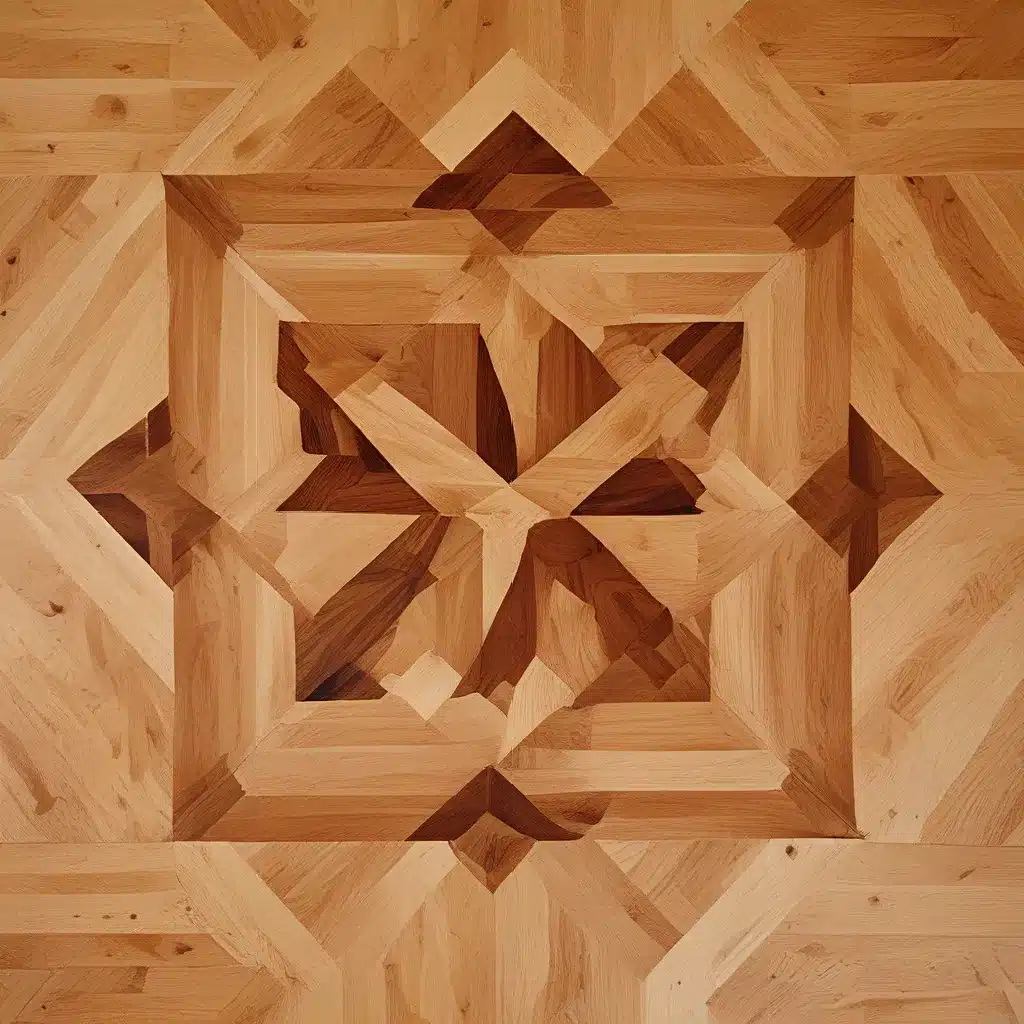
Ah, parquet flooring – that timeless treasure that graces the grand chateaus of France and the modest homes of everyday folk alike. Each intricate pattern, carefully crafted by skilled artisans, tells a story of elegance and endurance. But as with any beloved antique, parquet floors have their own set of challenges, challenges that can turn even the most stunning of floors into a shabby shadow of their former selves.
Recent research has shed light on the secrets to restoring these geometric wonders, secrets that can transform a lackluster floor into a breathtaking centerpiece. So, let’s embark on a journey to uncover the hidden gems of parquetry and learn how to revive these timeless treasures, one intricate pattern at a time.
The Many Faces of Parquetry
Parquet flooring is like a well-choreographed dance, each type of pattern moving to the rhythm of its own unique charm. The classic herringbone design, with its zigzagging rectangular pieces, exudes a sense of dynamic elegance that is often found in grand foyers and stately homes. The sophisticated chevron pattern, on the other hand, presents a cleaner, more refined look, with its angled planks forming a continuous V-shape that can visually elongate a room.
For those who appreciate a more textured, basket-weave aesthetic, the aptly named basketweave pattern is a captivating choice, adding a touch of visual interest without overwhelming the eye. And then there’s the opulent Versailles pattern, a complex arrangement of squares and rectangles that interlock to create an almost regal tapestry underfoot – a true showstopper for large, open spaces.
Each of these parquet patterns has its own unique allure, and the beauty lies in their ability to seamlessly blend classic elegance with modern sensibilities. But, as with any beloved treasure, parquet floors are not immune to the ravages of time.
Trouble Afoot: Common Parquet Floor Issues
Everyday wear and tear, coupled with the occasional mishap, can leave even the most stunning parquet floors looking tired and worn. Scratches, dullness, and loose tiles can detract from their natural beauty, leaving you with a floor that’s more shabby than chic.
Scratches and Dents: Those delicate parquet tiles are no match for high heels, pet claws, and the constant shuffling of furniture. Over time, these abrasions can create a veritable battlefield of scars across the surface.
Loose Tiles: The adhesive that holds the parquet tiles in place can weaken over time, causing them to shift or lift. Not only does this look unsightly, but it can also pose a tripping hazard.
Water Damage: Parquet and water are not the best of friends. Spills, leaks, and high humidity can cause the wood to swell, warp, or even rot, leading to discoloration, raised edges, and that telltale musty smell.
Fading and Discoloration: Sunlight is the enemy of parquet, with prolonged exposure to UV rays causing the wood to fade and lose its vibrant hue. The result is an uneven, patchy appearance that detracts from the floor’s overall beauty.
Stubborn Stains: Accidents happen, and when wine, coffee, or other liquids find their way onto the parquet, they can leave behind stubborn stains that are difficult to remove without professional help.
Understanding these common issues is the first step towards reviving the timeless elegance of your parquet floors. And with the right techniques and a bit of elbow grease, you can transform even the most worn-out surfaces into a stunning centerpiece once again.
Secrets to Perfect Parquet Floor Restoration
Before you dive into the restoration process, it’s essential to take a step back and thoroughly assess the current state of your parquet floor. This is where the true magic begins – uncovering the hidden problems and developing a tailored plan of attack.
Start by walking across the entire surface, paying close attention to how it feels underfoot. Are there any loose or creaky tiles? Do certain areas feel uneven or unstable? Make a mental note of these trouble spots, as they’ll need extra care during the restoration.
Next, examine the floor visually. Look for scratches, dents, and stains that mar the surface. Check for discoloration caused by sunlight or water damage, and don’t forget to inspect the edges and corners where damage often goes unnoticed. Document everything, as this will serve as your roadmap for the restoration journey.
Now that you have a clear understanding of the issues at hand, it’s time to gather the essential tools and materials. Your checklist should include:
- Sanders (belt sander and orbital sander)
- Sandpaper in a range of grits (coarse to fine)
- A high-quality vacuum cleaner with a soft brush attachment
- Wood filler that matches the color of your parquet
- Stain and finish (varnish, oil, or wax) to enhance and protect the wood
- Mild detergent, soft cloths, and a mop for cleaning
- Safety gear (goggles, dust mask, knee pads)
With your restoration arsenal at the ready, it’s time to dive into the hands-on work that will bring your parquet floor back to life.
Step 1: Cleaning the Canvas
The foundation of any successful parquet floor restoration is a meticulous cleaning. But before you grab that mop and bucket, let’s talk about the cleaning products you should use. Harsh chemicals like bleach and ammonia can strip the wood of its natural oils, leaving it dry and brittle. Instead, opt for a pH-neutral cleaner specifically designed for wood floors.
Microfiber mops are your best friend in this endeavor. They’re soft enough to prevent scratches, yet powerful enough to pick up dust and dirt. For tougher spots, a soft-bristled brush can work wonders, but be gentle – you don’t want to gouge the wood.
Follow these steps for a spotless result:
-
Start by thoroughly sweeping the floor with a soft-bristled broom or a vacuum cleaner with a hardwood floor attachment. This will remove loose dirt and debris, preventing scratches during the deeper cleaning process.
-
Fill a bucket with warm water and add the pH-neutral wood floor cleaner according to the manufacturer’s instructions. Dip your microfiber mop into the solution, wring out the excess water (you want it damp, not soaking), and start mopping. Work in small sections, moving the mop in the direction of the wood grain to avoid streaks.
-
For any sticky or stubborn spots, use a soft cloth or sponge dampened with the cleaning solution. Gently scrub the area until the spot is removed. Avoid using excessive water, as this can seep into the wood and cause damage.
-
After mopping, it’s crucial to dry the floor promptly. Use a dry microfiber cloth or a mop to remove any remaining moisture. Leaving water on the floor can lead to warping or discoloration.
Remember, the key to effective cleaning is patience and attention to detail. Rushing through the process can leave behind dirt and grime, which can interfere with the subsequent sanding, staining, and finishing stages.
Step 2: Repairing Loose and Damaged Tiles
Loose parquet tiles are not just an eyesore; they can also be a tripping hazard. Before you can fix them, you need to identify where the problem areas are. Walk slowly across your floor, paying attention to any tiles that shift or creak underfoot. Use a flat-edged tool like a putty knife to gently press against the edges of suspected tiles – if they move, you’ve found a loose one.
Once you’ve identified the loose tiles, it’s time to secure them back in place. Here’s how:
-
Carefully lift the loose tile using a putty knife or a chisel. If it’s stuck, gently tap the tool with a mallet to ease it free. Be cautious not to damage the tile or the surrounding ones.
-
Clean the exposed subfloor and the back of the tile, removing any old adhesive residue, dirt, or debris. A clean surface ensures a strong bond when you reapply the tile.
-
Choose a high-quality wood adhesive suitable for parquet flooring. Apply a thin, even layer to the back of the tile and the corresponding spot on the subfloor. Be careful not to use too much adhesive, as it can ooze out and create a mess.
-
Place the tile back into its original position and press down firmly to ensure good contact between the tile and the subfloor. Use a rubber mallet to gently tap it into place, ensuring it sits level with the surrounding tiles.
-
Place a heavy object, like a stack of books or a weight, on top of the tile to keep it firmly in place while the adhesive dries. Follow the adhesive manufacturer’s instructions for drying time, which is typically 24 hours.
If you have tiles that are not just loose but also damaged, you’ll need to take a slightly different approach. Carefully remove the damaged tile, clean the area, and source a matching replacement. Cut the new tile to fit snugly, apply the adhesive, and position it with the same weighted-down technique.
By taking the time to properly secure and replace tiles, you’re laying the groundwork for the next stages of restoration, ensuring your parquet floor is not only beautiful but also safe and functional.
Step 3: Sanding for a Smooth Finish
Parquet Floor Sanding is the transformative stage where rough surfaces are smoothed to perfection. Choosing the right sander is crucial to achieving a flawless finish. Here’s a rundown of the tools you’ll need:
Belt Sander: This powerful tool is ideal for removing old finishes and leveling uneven surfaces. It’s perfect for tackling large, flat areas, but be careful – it’s easy to overdo it and gouge the wood if you’re not cautious.
Orbital Sander: For a finer, more controlled sanding, an orbital sander is your best bet. It’s less aggressive than a belt sander and great for finishing touches, ensuring a smooth, even surface.
Edge Sander: Don’t neglect the edges. An edge sander helps you reach those tight corners and along the skirting boards where larger sanders can’t go, ensuring every part of your floor is uniformly smooth.
Now that you have your sanders ready, it’s time to get down to business. Follow these techniques to ensure the best results:
-
Start Coarse: Begin with a coarse 40-grit sandpaper to remove old finishes and level the surface. Sand in the direction of the wood grain and keep the sander moving to avoid creating dips or grooves.
-
Gradual Progression: Gradually move to finer grits – 60-grit, then 80-grit, and finally 120-grit. This progressive approach ensures you remove any scratches left by the previous grit and achieve a perfectly smooth finish.
-
Overlap Passes: When sanding, overlap each pass slightly to ensure you don’t miss any spots. This technique helps create an even surface and avoids noticeable lines or ridges.
-
Sand the Edges: Use the edge sander for the perimeter of the room, following the same grit progression as the main floor.
-
Vacuum Thoroughly: After each sanding stage, vacuum the floor thoroughly to remove dust and debris. Dust can interfere with the sanding process and later stages like staining and finishing.
Sanding can be a tricky process, and mistakes can be costly. Remember to apply even pressure, keep the sander moving, and maintain consistency across the entire floor. Patience and attention to detail are key to achieving a flawless, professional-looking finish.
Step 4: Filling Gaps and Cracks
Filling gaps and cracks is a crucial step in achieving a flawless parquet floor. But as with any restoration task, using the right materials is essential. Look for a high-quality wood filler specifically designed for floors – avoid cheap, quick-dry fillers, as they can shrink and crack over time.
Follow these steps for a seamless result:
-
Clean the Gaps and Cracks: Before applying the filler, ensure the gaps and cracks are free of dust and debris. Use a vacuum or a soft brush to clean out any loose particles. This ensures a strong bond between the wood and the filler.
-
Prepare the Filler: If your wood filler requires mixing, follow the manufacturer’s instructions carefully. Some fillers come pre-mixed and ready to use, while others need to be combined with a hardener or water.
-
Apply the Filler: Using a flexible putty knife, apply the filler to the gaps and cracks, pressing it in firmly to ensure it fills the entire void. Overfill slightly, as the filler will shrink slightly as it dries.
-
Smooth the Surface: After filling, use the putty knife to smooth the surface of the filler, ensuring it’s level with the surrounding wood. Remove any excess filler to prevent bumps and ridges.
-
Allow to Dry: Let the filler dry completely according to the manufacturer’s instructions. This can take anywhere from a few hours to overnight, depending on the type and depth of the filler used.
-
Sand the Filled Areas: Once the filler is fully dry, sand the filled areas with fine-grit sandpaper, around 120-grit. This ensures the filled areas are smooth and blend seamlessly with the rest of the floor. Vacuum up any dust created by the sanding process.
Sanding after filling is crucial for a seamless finish. Apply even pressure, sand in the direction of the wood grain, and ensure a consistent, smooth surface across the entire floor.
Step 5: Staining and Finishing
Staining is where your parquet floor truly begins to come alive. Choosing the right stain is crucial to achieving the look you desire, whether you prefer a natural, light finish or a rich, dark hue. The stain you select will define the character of your floor, so consider the type of wood, the overall aesthetic of your room, and the existing color palette.
Always test your chosen stain on a small, inconspicuous area or a spare tile to see how it interacts with the wood. This will help you ensure the final result matches your vision.
When it comes to applying the stain, careful preparation and precise application are key. Follow these steps for an even, beautiful finish:
-
Prepare the Surface: Ensure your floor is clean, smooth, and dust-free. Any imperfections or debris can affect the stain’s absorption and result in an uneven finish.
-
Stir the Stain: Thoroughly stir the stain to mix any settled pigments. This ensures a consistent color throughout the application.
-
Apply the Stain: Using a high-quality brush or a lint-free cloth, apply the stain in the direction of the wood grain. Work in small sections to ensure even coverage, applying a thin, even coat and avoiding overloading your brush or cloth.
-
Wipe Off Excess: After applying the stain, let it sit for a few minutes to penetrate the wood. Then, use a clean cloth to wipe off any excess stain. This step is crucial for achieving an even finish and preventing blotchiness.
-
Allow to Dry: Let the stain dry completely according to the manufacturer’s instructions. This can take several hours or overnight, depending on the type of stain and the room’s humidity levels.
-
Apply Additional Coats: If you desire a deeper color, apply additional coats of stain, allowing each coat to dry fully before applying the next. Be sure to follow the same application and wiping process for each coat.
Once the stain has dried, it’s time to apply the finish – the crowning glory of your parquet floor restoration. There are several options to consider, each with its own unique benefits:
Oil Finish: Oil finishes penetrate deep into the wood, enhancing the natural grain and providing a warm, rich look. They’re easy to apply and maintain but require more frequent reapplication.
Varnish: Varnish provides a durable, hard-wearing surface that’s perfect for high-traffic areas. It comes in various sheens, from matte to high gloss, allowing you to choose the level of shine you prefer. Varnish is resistant to scratches and stains but can be tricky to apply without leaving brush marks.
Wax: Wax finishes offer a soft, natural sheen and a silky-smooth feel underfoot. They’re less durable than varnish but easy to reapply and repair. Wax is ideal for adding a vintage or rustic charm to your floor.
Polyurethane: Polyurethane finishes, available in both oil-based and water-based formulas, provide a tough, protective layer. They’re highly durable, resistant to water and wear, and come in various sheens. Water-based polyurethane dries quickly and has a low odor, making it a popular choice for DIY projects.
The key to a flawless finish lies in the application. Follow these steps for a smooth, professional result:
-
Prepare the Surface: Before applying the finish, ensure your floor is completely clean and dust-free. Any remaining debris can mar the finish and create a rough texture.
-
Stir the Finish: Gently stir the finish to mix


