Welcome to our comprehensive guide on transforming an old dresser into a chic wine bar. In this article, we will provide you with step-by-step instructions on how to unleash your creativity and breathe new life into an old piece of furniture. Whether you’re a DIY enthusiast or just looking to add a unique touch to your home, this project will allow you to showcase your personal style. Let’s dive in!
Assessing Your Dresser
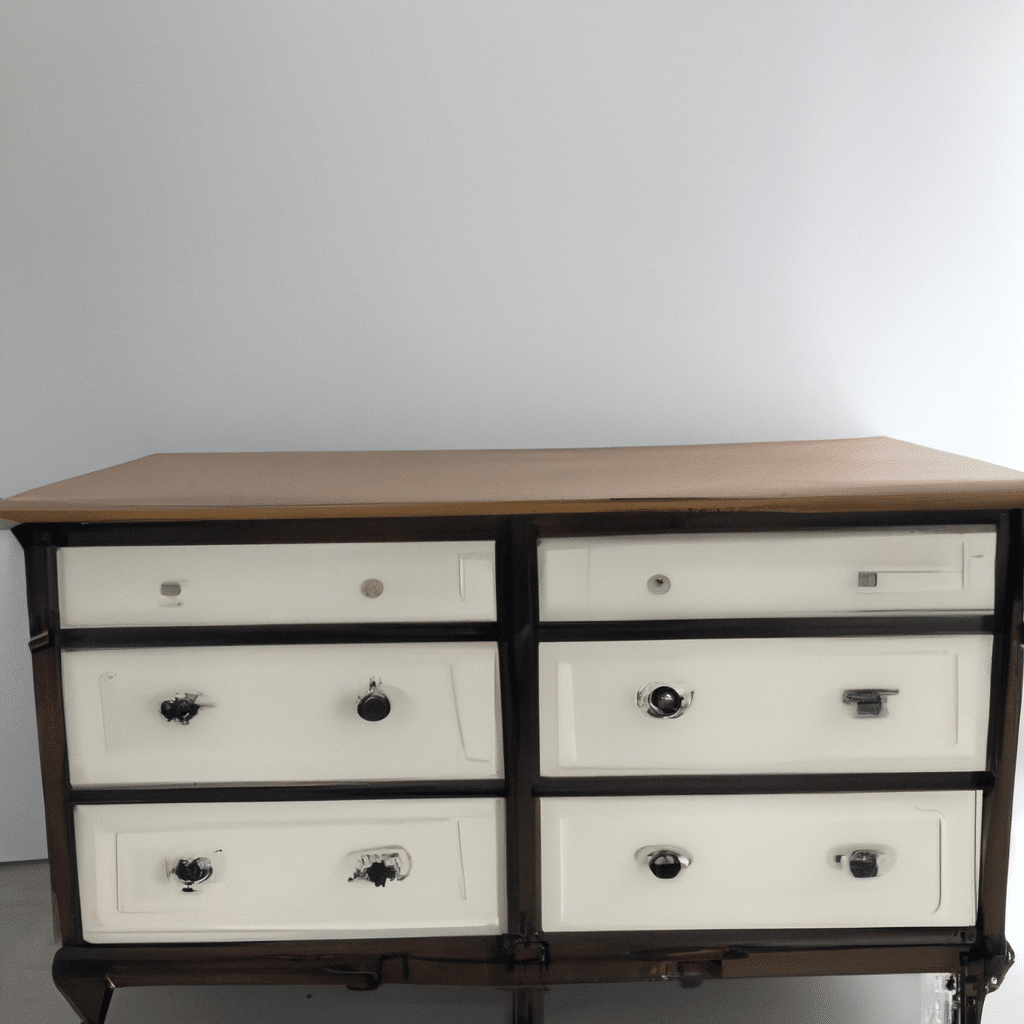
Before you begin the transformation process, it’s important to assess the condition of your old dresser. Check for any structural issues, such as loose drawers or wobbly legs, and address them before proceeding. Additionally, consider the dimensions and design of the dresser to determine if it’s suitable for your desired wine bar concept. Once you’re confident in its condition, it’s time to gather the necessary materials.
Materials Needed
To successfully create your chic wine bar, here’s a list of materials you’ll need:
- Old dresser
- Sandpaper (medium and fine grit)
- Primer
- Paint or stain of your choice
- Paintbrushes or foam rollers
- Protective gloves
- Screwdriver
- Measuring tape
- Level
- Wine glass holders or hooks
- Wine bottle racks
- Decorative knobs or handles
Make sure to gather all the materials before you begin the transformation process. This will ensure a smooth and efficient workflow.
Step 1: Preparation
Sanding
Start by sanding the surface of the dresser using medium grit sandpaper. This will help remove any existing finish and create a smooth base for the primer. After sanding, wipe down the dresser with a clean cloth to remove any dust particles.
Priming
Apply a coat of primer to the sanded surface of the dresser. Primer helps the paint or stain adhere better and provides a more durable finish. Allow the primer to dry completely before moving on to the next step.
Step 2: Painting or Staining
Now comes the fun part – painting or staining your dresser to achieve the desired look. Choose a paint color or stain that complements your existing home decor or personal taste. Apply the paint or stain evenly using a paintbrush or foam roller, making sure to cover all surfaces. If necessary, apply multiple coats for a more vibrant finish. Allow the paint or stain to dry completely between coats.
Step 3: Adding Wine Glass Holders
To incorporate the wine bar element, you’ll need to add wine glass holders to your dresser. Measure the width of your dresser’s top surface and mark the center. Attach the wine glass holders using screws and a screwdriver, ensuring they are securely in place. This will allow you to elegantly display and store your wine glasses.
Step 4: Installing Wine Bottle Racks
Next, it’s time to install wine bottle racks inside your dresser. Measure the width and depth of the dresser’s drawers to determine the appropriate size of the wine bottle racks. Place the racks inside the drawers, ensuring they are level and secure. This will provide a convenient storage solution for your wine bottles.
Step 5: Finishing Touches
To add a touch of personal flair, consider replacing the existing knobs or handles with decorative ones. This simple change can elevate the overall aesthetic of your wine bar. Choose knobs or handles that complement the color and style of your dresser. Install them using a screwdriver, ensuring they are tight and secure.
Conclusion
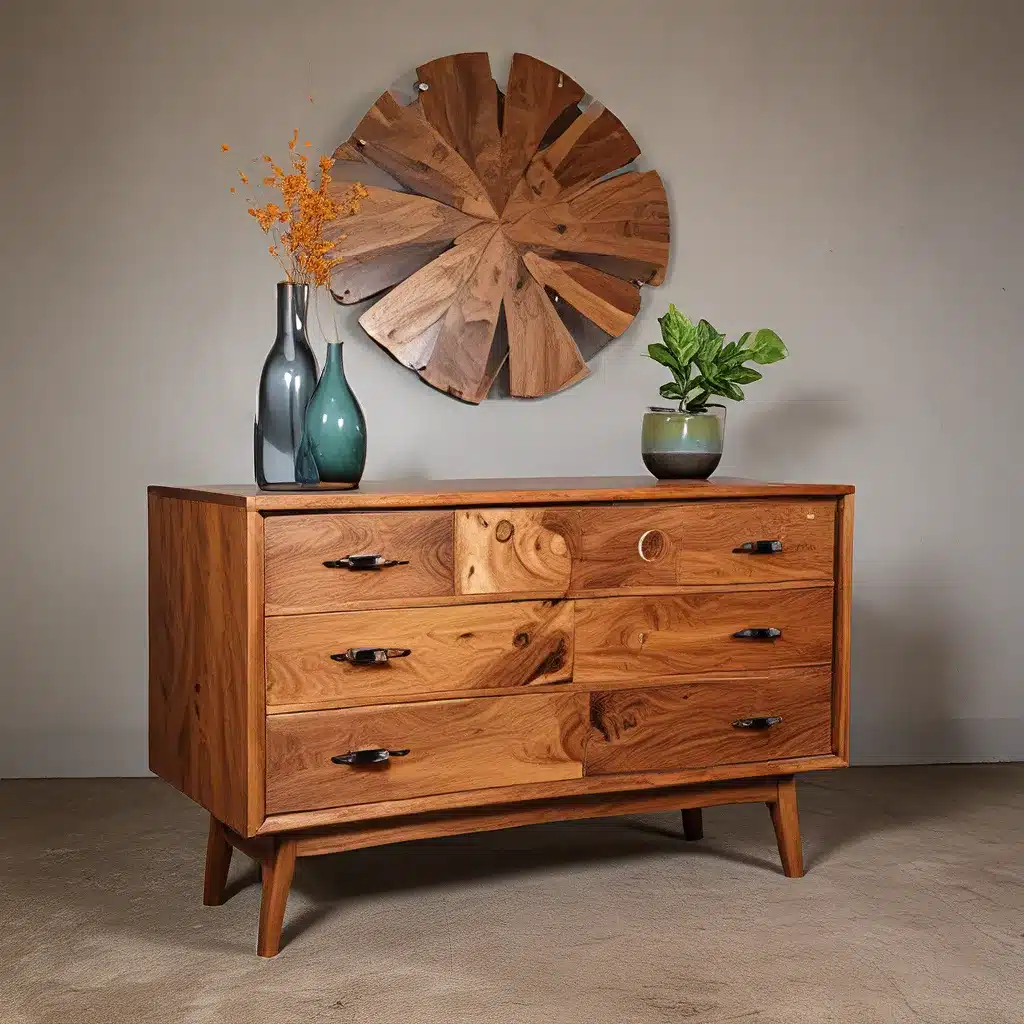
Congratulations! You have successfully transformed your old dresser into a chic wine bar. By following the steps outlined in this guide, you were able to unleash your creativity and breathe new life into a piece of furniture that would have otherwise been discarded. Now you can proudly showcase your wine collection and entertain guests in style. Enjoy the fruits of your labor and cheers to your newfound DIY skills!


