Welcome to our comprehensive guide on safely restoring vintage real wood furniture to its former glory. If you have a piece of antique furniture that has seen better days, we understand the desire to bring back its original beauty. In this article, we will share with you some unconventional methods that can help you achieve remarkable results. Whether you are an experienced woodworker or a novice looking to embark on a restoration project, we’ve got you covered. Let’s dive in!
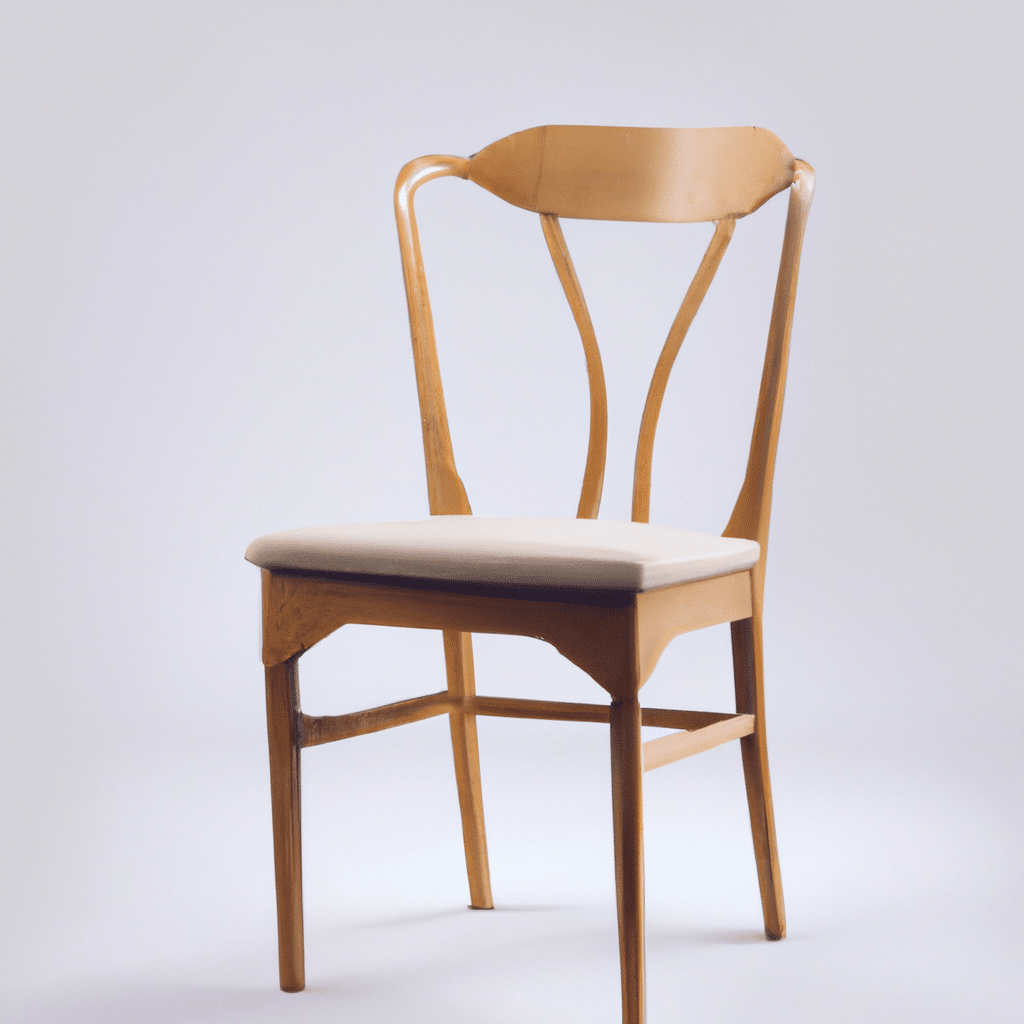
Assessing the Condition of Your Vintage Furniture
Before diving into the restoration process, it’s crucial to assess the condition of your vintage furniture. This step will help you determine the extent of the work required and prepare you for the journey ahead. Start by inspecting the piece for any signs of damage, such as cracks, chips, or missing parts. Take note of any loose joints or structural issues that may need attention, as these can affect the overall stability of the furniture.
Cleaning and Removing Surface Dirt
The first step in restoring vintage real wood furniture is to clean and remove any surface dirt or grime. This will give you a better idea of the original finish and the true condition of the wood. Start by gently dusting the piece with a soft cloth or brush to remove loose dirt particles. For stubborn dirt or sticky residue, a mixture of mild soap and warm water can be used. Be cautious not to oversaturate the wood, as excessive moisture can cause damage.
Stripping the Old Finish
In some cases, vintage furniture may have multiple layers of old finish that need to be stripped before restoration can begin. Stripping the old finish is a crucial step in the process, as it allows you to work with a clean canvas. There are various methods of removing the old finish, including chemical strippers, heat guns, or sanding. Choose the method that suits your comfort level and the type of finish you are dealing with. Always follow the manufacturer’s instructions and wear appropriate safety gear when using chemical strippers or heat guns.
Repairing Damaged Areas
Once the old finish has been stripped, it’s time to address any damaged areas of the furniture. Cracks, chips, and missing parts can significantly impact the aesthetics and functionality of the piece. Depending on the extent of the damage, repairs can range from simple wood fillers to more complex woodworking techniques. Use high-quality wood fillers to fill in any cracks or gaps, ensuring a smooth and seamless surface. For missing parts, consider sourcing matching replacements or consulting a professional woodworker for assistance.
Sanding and Refinishing
After repairing the damaged areas, it’s time to sand the entire piece to create a smooth surface for refinishing. Start with a coarse-grit sandpaper to remove any remaining traces of the old finish and then gradually move to finer-grit sandpaper for a polished result. Sand in the direction of the wood grain to avoid scratches and always wear a mask to protect yourself from dust particles.
Once the sanding is complete, it’s time to choose a suitable finish for your vintage furniture. Consider the original style and era of the piece, as well as your personal preferences. Whether you opt for a natural oil finish, a stain, or a protective varnish, ensure that it enhances the beauty of the wood while providing long-lasting protection.
Enhancing the Natural Beauty
To truly bring your vintage real wood furniture to life, consider enhancing its natural beauty through various techniques. One popular method is applying a wood conditioner or pre-stain treatment before adding the final finish. This helps to even out the wood’s absorption of stain or varnish, resulting in a more uniform and professional look.
Another way to enhance the natural beauty of the wood is through techniques such as wood staining or grain filling. Staining can add depth and richness to the color of the wood, while grain filling helps to create a smooth and flawless surface. Experiment with different techniques and finishes to achieve the desired effect.
Protecting and Maintaining the Restored Furniture
Congratulations! You have successfully restored your vintage real wood furniture to its former glory. Now, it’s essential to protect and maintain the beauty you have worked so hard to achieve. Regular dusting with a soft cloth and occasional polishing with a high-quality furniture polish will help preserve the finish and keep your furniture looking its best.
Avoid placing your restored furniture in direct sunlight or near sources of heat, as this can cause fading or warping. Use coasters or placemats to protect the surface from spills and heat marks. Lastly, consider applying a wax or polish periodically to maintain the luster and protect the wood from everyday wear and tear.
Conclusion
In conclusion, restoring vintage real wood furniture can be a rewarding and fulfilling experience. By following the unconventional methods outlined in this guide, you can safely breathe new life into your cherished pieces. Remember to assess the condition, clean and remove surface dirt, strip the old finish, repair any damage, sand and refinish, enhance the natural beauty, and protect and maintain the restored furniture. With patience, dedication, and a little creativity, you can transform your vintage furniture into stunning pieces that will be enjoyed for generations to come. Happy restoring!


