Welcome to our comprehensive guide on transforming ordinary wooden pallets into stunning pieces of furniture. In this article, we will explore the art of upcycling and provide you with step-by-step instructions on how to turn these discarded pallets into stylish and functional additions to your home decor. Not only will you be able to save money by repurposing materials, but you will also contribute to a more sustainable and eco-friendly lifestyle.
The Beauty of Upcycling
Embracing Creativity and Sustainability
Upcycling, also known as creative reuse, is the process of transforming unwanted or discarded items into something of higher value and purpose. It goes beyond traditional recycling by breathing new life into materials that would otherwise end up in landfills. By upcycling wooden pallets, you are not only reducing waste but also reducing the demand for new resources, making it an environmentally conscious choice.
The Versatility of Wooden Pallets
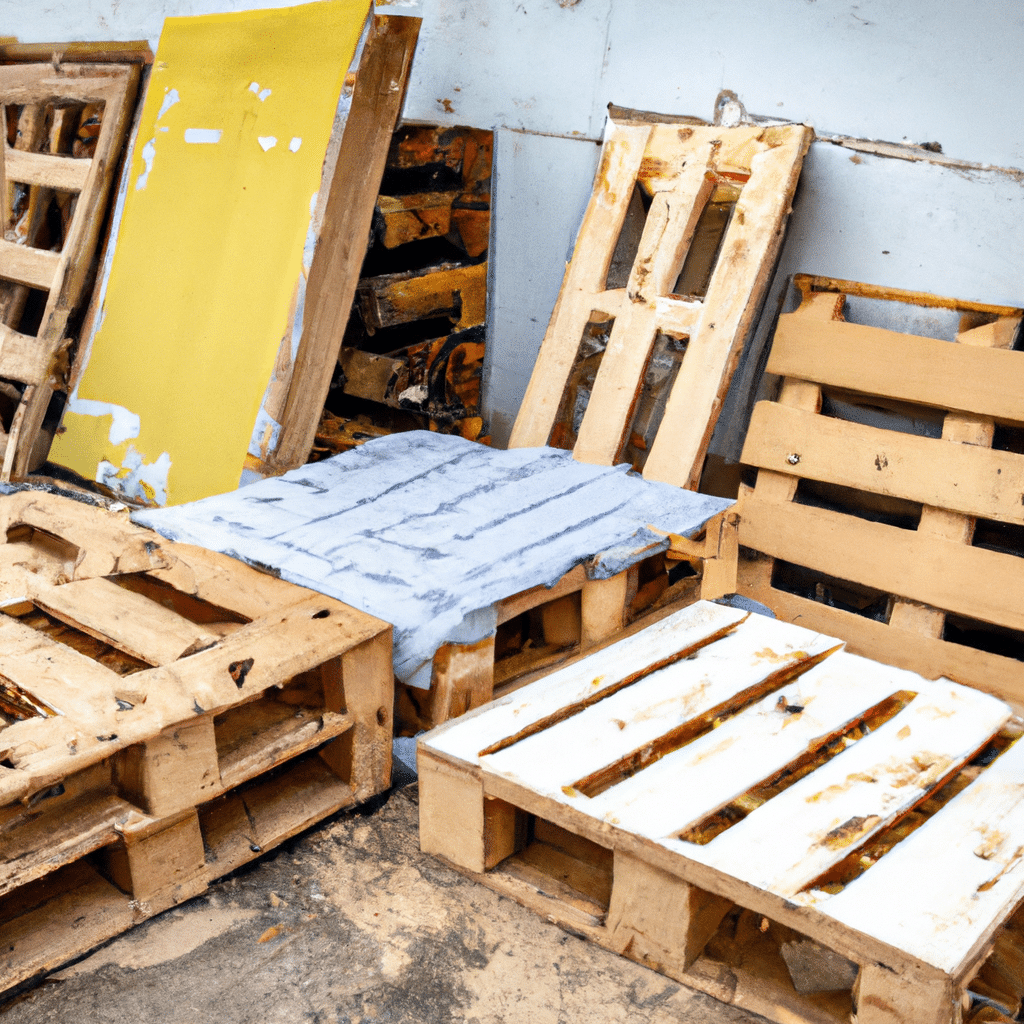
Wooden pallets are widely available, inexpensive, and incredibly versatile. They are commonly used in shipping and logistics, making them easily accessible for upcycling projects. With a little bit of creativity and some basic woodworking skills, you can repurpose these pallets into various furniture pieces such as tables, chairs, shelves, and even bed frames. The possibilities are endless, and the results can be truly remarkable.
Getting Started: Materials and Tools
Materials Needed
Before diving into your upcycling project, gather the following materials:
- Wooden pallets: Look for pallets that are in good condition, with minimal damage or signs of wear.
- Sandpaper: Different grits of sandpaper will be necessary for smoothing the wood surfaces.
- Paint or Stain: Choose a high-quality paint or stain that suits your desired finish.
- Brushes and Rollers: Use brushes and rollers appropriate for the type of paint or stain you have chosen.
- Wood Screws and Nails: These will be needed for securing the pallets together.
- Wood Glue: Opt for a strong wood adhesive for additional reinforcement.
Essential Tools
To successfully upcycle wooden pallets, you will need the following tools:
- Claw Hammer: This versatile tool is essential for removing nails and dismantling pallets.
- Pry Bar: Use a pry bar to carefully separate the pallet boards.
- Power Drill: A power drill will be necessary for drilling pilot holes and driving screws.
- Saw: Depending on your project, a handsaw or circular saw may be required for cutting the pallets to size.
- Sanding Block or Electric Sander: Smooth out the rough edges and surfaces of the pallets using sandpaper or an electric sander for efficiency.
- Measuring Tape and Ruler: Precise measurements are crucial for ensuring a proper fit and alignment of the pallets.
Step-by-Step Guide to Upcycling Wooden Pallets
Step 1: Safety First
Before you begin, it’s essential to prioritize safety. Wear protective gloves, safety goggles, and a dust mask to prevent any injuries or inhalation of dust particles. Ensure you are working in a well-ventilated area to minimize exposure to any fumes from paints or stains.
Step 2: Selecting and Preparing the Pallets
Inspect the pallets you have chosen for any signs of damage or contamination. If a pallet is broken or has loose boards, replace it with a sturdier alternative. Once you have your pallets, carefully dismantle them using a claw hammer and pry bar. Remove any nails or staples, and separate the boards for further cleaning and sanding.
Step 3: Cleaning and Sanding the Boards
Thoroughly clean each board to remove any dirt, debris, or foreign substances. Use a damp cloth or sponge to wipe down the boards, ensuring they are free from any contaminants. Once dry, use sandpaper or an electric sander to smooth out the surfaces and edges of the boards. Start with a coarse grit sandpaper and gradually move to finer grits for a polished finish.
Step 4: Designing and Measuring
Now comes the fun part – designing your furniture piece! Consider the size, style, and functionality you desire for your project. Sketch out your design and create a detailed plan with accurate measurements. This will ensure that your final product fits seamlessly into your space.
Step 5: Cutting and Assembly
Using your plan as a guide, measure and mark the pallet boards according to your design. Carefully cut the boards to the desired lengths using a handsaw or circular saw. Once all the pieces are cut, begin assembling them according to your design. Secure the boards together using wood screws, nails, and wood glue as necessary.
Step 6: Finishing Touches
With the basic structure of your furniture piece complete, it’s time to add the finishing touches. Sand any rough spots or uneven surfaces, and apply a coat of paint or stain to enhance the appearance and protect the wood. Allow the paint or stain to dry completely before moving your upcycled furniture into its designated spot.
Conclusion
Congratulations on successfully upcycling wooden pallets into stylish and functional furniture pieces! By following our step-by-step guide, you have not only saved money but also contributed to a more sustainable lifestyle. Remember to continue exploring your creativity and experimenting with different designs. With upcycling, the possibilities are truly endless. Happy crafting!


