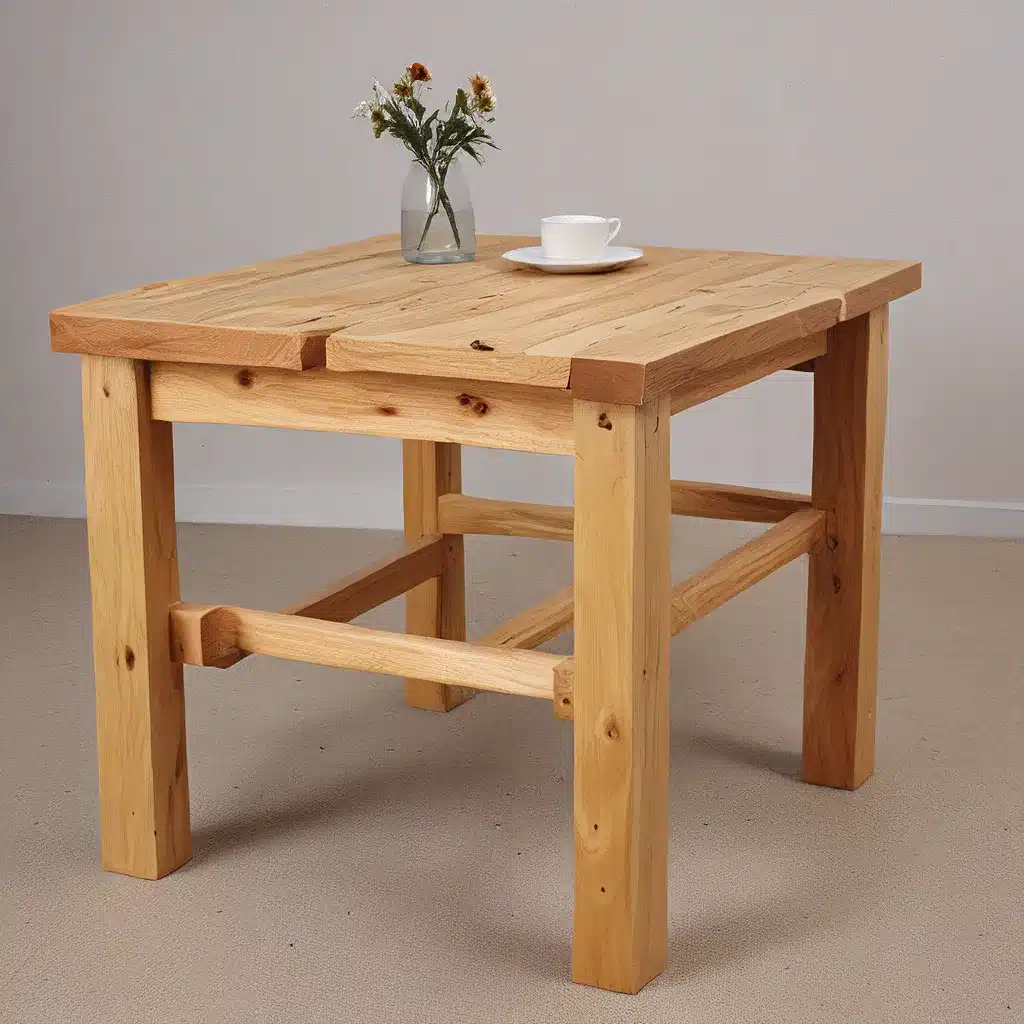
Unleash Your Inner Woodworking Wizard
Do you find yourself strolling through furniture stores, admiring the unique designs and intricate craftsmanship, wishing you could create such masterpieces yourself? Well, you’re in luck! Grab your toolbox and get ready to unleash your inner woodworking wizard, because we’re about to embark on an extraordinary journey of DIY furniture transformation.
Unraveling the Secrets of Distressed Delights
Recently, I stumbled upon a treasure trove of techniques that can turn ordinary wood into stunning, one-of-a-kind pieces. It all started when I tried to use reclaimed pallets for a project, but those stubborn boards just wouldn’t cooperate. After a few failed attempts, I knew I had to find a better way to achieve that coveted rustic look.
Mastering the Art of Distressing
That’s when I discovered the magic of distressing new wood. It’s like turning back the clock, transforming pristine planks into weathered wonders. I’ll admit, at first, it felt a little strange to start deliberately “damaging” perfectly good wood. But once I got the hang of it, the process became downright cathartic!
“Distressing new wood is like turning back the clock, transforming pristine planks into weathered wonders.”
Dings, Dents, and Delightful Imperfections
Where do I even begin? The techniques I uncovered are so much fun, I kind of went a little overboard. But hey, practice makes perfect, right? From smacking boards with a Ziploc bag full of screws to hammering in fake nail holes, the possibilities for creating that aged, character-filled look are endless.
One of my favorite methods was dragging a big screw across the wood to rough up the grain. It almost looked like some natural wear and tear had taken its toll over the years. And the best part? After a little sanding and staining, those imperfections really started to shine.
Staining for Stunning Sophistication
Of course, the distressing was only half the battle. Once I had my boards all beat up and ready to go, it was time for the finishing touch: staining. Now, I’ll admit, I’m not the world’s greatest stainer, but with a little trial and error, I figured out a few tricks that really made the wood pop.
The key was finding the right balance between dark and light tones. I started by experimenting with a few different stain colors, and quickly realized that a combination of Dark Walnut and Ebony was just what I needed to bring out the depth and character in my distressed wood. But the real game-changer was the water technique – pre-wetting the boards before applying the stain allowed me to get those super light, almost whitewashed variations that perfectly complemented the darker hues.
Bringing It All Together
With my newly transformed boards in hand, it was time to put them to use. I had a vision for a stunning console table that would be the perfect addition to my living room. And let me tell you, the end result was even better than I could have imagined.
The mix of distressed textures, contrasting stain colors, and strategic placement of those one-of-a-kind imperfections created a truly unique and captivating piece. It’s the kind of furniture that makes you want to reach out and run your fingers across the surface, tracing the history etched into every nook and cranny.
Unlocking Your DIY Potential
If you’re anything like me, the thought of crafting your own furniture might feel a little daunting. But trust me, with the right techniques and a little bit of elbow grease, the possibilities are endless. Whether you’re looking to breathe new life into an old piece or start from scratch, the art of distressing is a game-changer.
So, what are you waiting for? Grab some wood, grab your tools, and get ready to unleash your inner woodworking wizard. Who knows, you might just end up with a stunning masterpiece that would make even the most seasoned furniture maker green with envy. The journey is half the fun, so let’s get started on transforming that timber together!
And remember, if you ever need a little inspiration or guidance, be sure to check out Unfinished Furniture’s website – they’ve got a wealth of resources to help you bring your DIY dreams to life.


