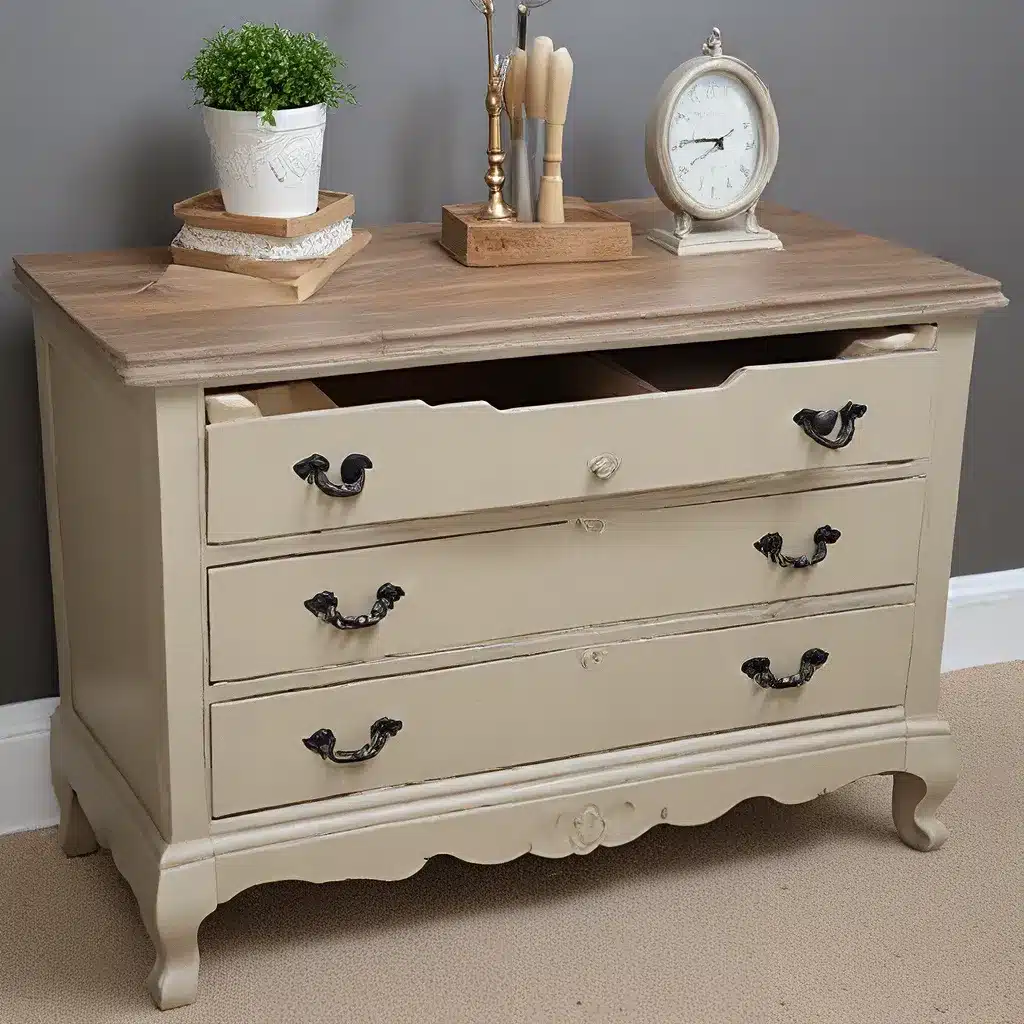
Unlocking the Magic of Ordinary Furniture
You know, when I first laid eyes on that boring old file cabinet in our guest bedroom, I’ll admit – I was less than impressed. It just seemed to blend into the background, like it was trying its hardest to be invisible. But then, that spark of creativity flickered to life, and I couldn’t stop picturing the possibilities. What if we could transform this ordinary piece into something extraordinary?
It all started with a little inspiration from Pinterest – I saw a file cabinet that had been spruced up, but something still felt…well, blah about it. That’s when I had my lightbulb moment: Corrugated metal! That’s exactly what this cabinet needed to take it from drab to fab.
Now, I know what you’re thinking – “Corrugated metal? On a file cabinet? Really?” But trust me, my friends, the end result was nothing short of show-stopping. It was like watching a caterpillar turn into a beautiful butterfly, and I couldn’t wait to share the journey with you.
The Metamorphosis Begins
So, where do we start with this furniture makeover magic? Well, first things first – we had to give that old file cabinet a good cleaning. You wouldn’t believe the dirt and grime that had accumulated over the years. But once we hit it with some good ol’ TSP (trisodium phosphate), it was like we had a whole new piece of furniture on our hands.
Next up, it was time to get measuring and cutting. We headed to our local Lowe’s and had them cut the boards to fit the dimensions of the cabinet perfectly. Now, I’ll admit, my husband, Mr. Cottage, did most of the heavy lifting here. But hey, that’s what partners are for, right? We made sure the boards were nice and smooth, then it was time to start staining.
Now, I’ll let you in on a little secret – I’m a sucker for that Restoration Hardware look. So, we went with a combination of Minwax Special Walnut and Minwax Classic Gray to give the wood that perfect rustic-chic vibe. After a couple of coats and some drying time, it was time to move on to the drawers.
Bringing the Drawers to Life
I have to say, the drawers were probably the most challenging part of this whole project. I had this grand idea in my head, but when it came to actually executing it, well, let’s just say I had to pivot a bit. Originally, I wanted to do something really unique and eye-catching, but with the time crunch of the One Room Challenge, I had to go with Plan B.
So, I ended up painting the drawers with some good old-fashioned chalk paint in the color “Java.” But you know me – I can’t leave well enough alone. I just had to add a little something-something to make them pop. That’s where the dry brushing with Maison Blanche chalk paint came in. It gave the drawers this perfect, subtle distressed look that totally complemented the rustic vibe of the rest of the cabinet.
Introducing the Corrugated Metal Showstopper
Now, here’s where the real magic happens, my friends. The corrugated metal. I’ll admit, neither Mr. Cottage nor I had ever worked with this material before, so we had to do a little research. But once we got the hang of it, it was smooth sailing.
We found the perfect 25-foot roll of corrugated metal at Lowe’s, and Mr. Cottage used his trusty reciprocating saw with some special metal blades to cut it to size. Now, I’ve got to warn you – those edges are crazy sharp, so be sure to use some heavy-duty gloves when you’re handling it.
Once we had the pieces cut and ready to go, it was time to attach them to the cabinet. Mr. Cottage used some self-tapping metal screws to secure them in place, and let me tell you, the transformation was instant. That boring old file cabinet had officially become the star of the show.
Finishing Touches and the Big Reveal
Now, we couldn’t just leave the top of the cabinet bare, could we? Nope, not on our watch. We grabbed some more wood, slathered on some Gorilla Glue, and added a beautiful piece of molding to really tie the whole thing together.
And the finishing touch? Well, that would be the stenciled numbers I added to the front of each drawer. I wanted to give it that vintage, industrial vibe, but without going too heavy-handed. Just a little something to add that extra spark of personality.
And you know what they say, “The proof is in the pudding.” So, when I look at this transformed file cabinet now, I can honestly say that it’s gone from being the wallflower of the room to the belle of the ball. It’s the perfect blend of rustic and modern, and it’s all thanks to a little elbow grease, a lot of creativity, and a whole lot of love.
Now, I know what you’re thinking – “That’s all well and good, Carol, but what about the rest of the room?” Well, my friends, that’s where the magic of unfinished furniture comes in. Stay tuned, because I’ve got plenty more DIY furniture makeovers up my sleeve, and I can’t wait to share them all with you.


