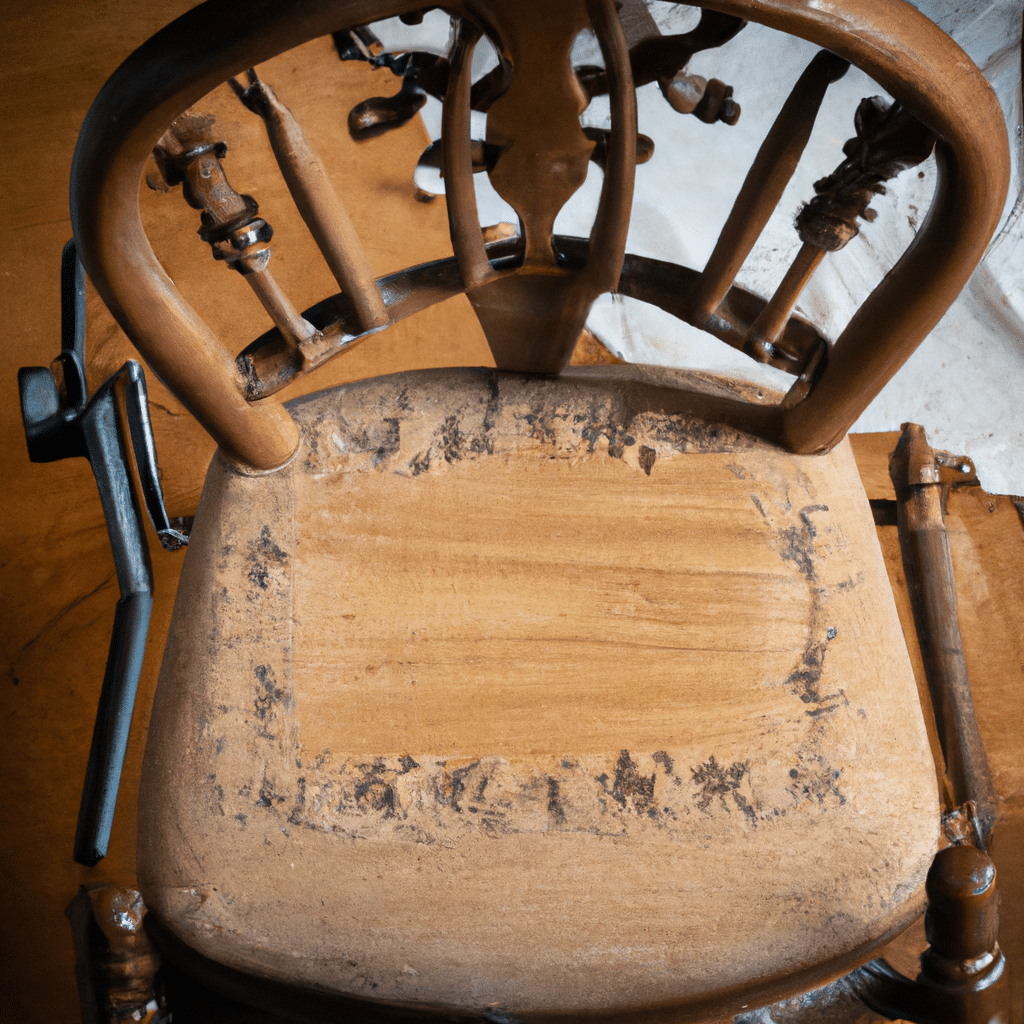
Welcome to our ultimate guide on restoring antique wooden chairs! If you own a beautiful antique chair that has seen better days, don’t worry – with some time, effort, and the right techniques, you can bring it back to its former glory. In this comprehensive guide, we will walk you through the step-by-step process of restoring your cherished antique wooden chair. From assessing the condition to stripping the old finish, repairing any damages, and applying a new finish, we’ve got you covered. So, let’s dive in and learn how to revive your antique chair!

Assessing the Condition
Before you begin the restoration process, it’s essential to assess the condition of your antique wooden chair. Carefully examine the chair for any signs of damage, such as loose joints, cracks, or missing parts. Take note of the chair’s overall stability and structural integrity. This initial assessment will help you determine the extent of the restoration required and guide your next steps.
Gathering the Necessary Tools and Materials
To successfully restore your antique wooden chair, you’ll need a variety of tools and materials. Here’s a list of the essentials:
- Safety goggles and gloves
- Dust mask
- Screwdrivers and pliers
- Wood glue
- Clamps
- Sandpaper (various grits)
- Wood filler
- Paint scraper
- Stain or paint (matching the original finish)
- Varnish or sealant
- Brushes and foam applicators
- Clean rags
Having these tools and materials ready will ensure a smooth restoration process and minimize any interruptions or delays.
Stripping the Old Finish
To restore your antique chair, you’ll need to remove the old finish first. Begin by protecting your work area with a drop cloth or newspaper to catch any debris. If the chair has intricate carvings or details, a chemical stripper may be the best option. Apply the stripper according to the manufacturer’s instructions, and use a paint scraper to gently remove the softened finish.
For chairs with a simpler design, sanding may suffice. Start with coarse-grit sandpaper to remove the top layers of the finish, gradually progressing to finer-grit sandpaper for a smooth surface. Remember to sand along the wood grain to avoid damaging the chair’s surface.
Repairing Damages
During the assessment, you may have identified some damages to your antique wooden chair. Now is the time to address them. If you discovered loose joints, disassemble the affected parts and clean off any old glue. Apply wood glue to the joint surfaces, reassemble the pieces, and use clamps to hold them in place until the glue dries.
For cracks or chips in the wood, use wood filler to fill in the gaps. After the filler dries, sand it down to create a seamless surface. This step is crucial to ensure a flawless restoration.
Sanding and Preparing for Finish
Once you’ve stripped the old finish and repaired any damages, it’s time to prepare the chair for the new finish. Start by sanding the entire surface using fine-grit sandpaper. This step helps smooth out any imperfections and creates a suitable base for the finish to adhere to.
After sanding, wipe down the chair with a clean, damp cloth to remove any dust or debris. Allow the chair to dry completely before proceeding to the next step.
Applying the New Finish
The final step in restoring your antique wooden chair is applying a new finish. Whether you choose to stain or paint the chair, ensure that the color and finish match the chair’s original appearance for a cohesive look.
If you opt for staining, apply the stain evenly using a brush or foam applicator. Allow the stain to penetrate the wood for the recommended time, and then wipe off any excess with a clean cloth. For a deeper color, you can apply multiple coats, ensuring you allow proper drying time between each coat.
If painting is your preference, use a brush or foam applicator to apply thin, even coats of paint. Allow each coat to dry before applying the next. For a professional finish, lightly sand the chair between coats to remove any imperfections.
To protect the newly restored chair, apply a varnish or sealant once the stain or paint has dried completely. Follow the manufacturer’s instructions for application and drying times. The varnish or sealant will provide durability and enhance the chair’s appearance.
Conclusion
Congratulations on successfully restoring your antique wooden chair! Through careful assessment, stripping the old finish, repairing damages, and applying a new finish, you have revived your cherished piece of furniture. Remember to always handle antique chairs with care and avoid exposing them to excessive sunlight or moisture. With proper maintenance, your restored antique chair will continue to impress for years to come. Enjoy the fruits of your labor and admire the beauty of your now-glorious antique wooden chair!


