Are you tired of the same old furniture in your home? Looking for a way to add a unique touch to your space without breaking the bank? Look no further! In this comprehensive guide, we will take you through the world of upcycled furniture and show you how to transform old items into stunning pieces that will revamp your space. Whether you are a beginner or have some experience with DIY projects, this article will provide you with the knowledge and inspiration you need to get started. So, let’s dive in and discover the wonderful world of upcycled furniture!
Why Upcycled Furniture?
Before we dive into the process of upcycling, let’s first understand why it’s a great option for revamping your space. Upcycled furniture not only adds a unique and personal touch to your home, but it also promotes sustainability by giving new life to old items. By upcycling, you can reduce waste and contribute to a more eco-friendly lifestyle. Additionally, upcycled furniture can be a cost-effective alternative to buying new pieces, allowing you to save money while expressing your creativity.
Getting Started: Finding the Right Piece
The first step in your upcycling journey is finding the right piece of furniture to transform. Keep an eye out for items that have good bones and potential. Thrift stores, flea markets, and online marketplaces can be great places to find hidden gems. Look for solid wood furniture, as it is the easiest to work with and provides a sturdy foundation for your project. Don’t be afraid to get creative and think outside the box – old doors, pallets, and even discarded items can be transformed into beautiful and functional furniture.
Planning Your Upcycling Project
Once you have found the perfect piece, it’s time to start planning your project. Take some time to envision how you want the finished piece to look. Consider the style, color scheme, and any additional elements you want to incorporate. This will help guide you throughout the process and ensure that you stay focused on your vision. It’s also a good idea to create a checklist of the materials and tools you will need, such as sandpaper, paint, brushes, and any decorative elements like knobs or fabric.
Preparing the Furniture
Before you start the upcycling process, it’s important to properly prepare the furniture. This includes cleaning the item, removing any hardware or upholstery, and sanding the surface to create a smooth and even base for painting or staining. If there are any repairs needed, such as loose joints or broken parts, take the time to fix them before moving forward. Remember, the key to a successful upcycling project is starting with a solid foundation.
Transforming the Piece: Painting and Staining
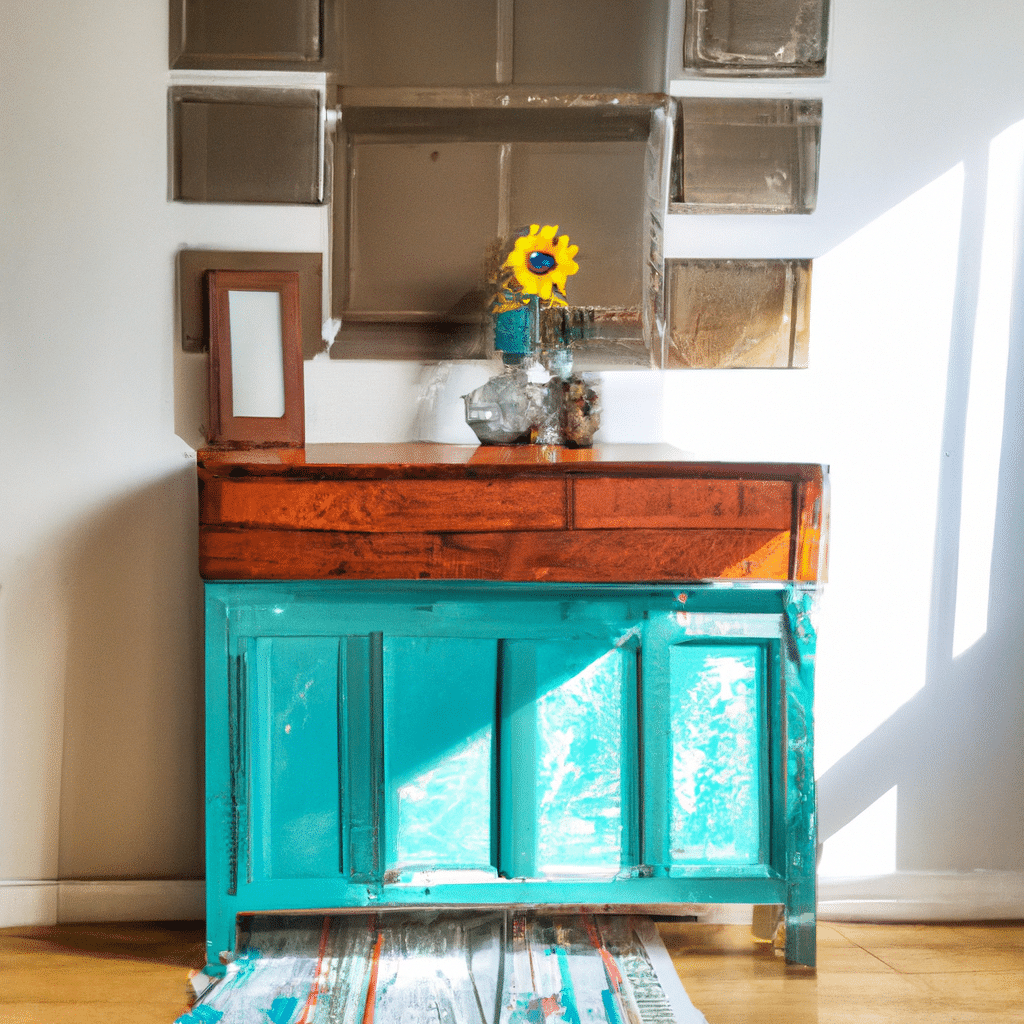
Now comes the fun part – transforming your furniture with paint or stain! The choice between painting and staining will depend on your personal preference and the desired look of the piece. Painting allows for endless color options and can give a fresh and vibrant look to your furniture. On the other hand, staining enhances the natural beauty of the wood and provides a more rustic and timeless appeal. Whichever option you choose, make sure to apply multiple thin coats for a smooth and professional finish.
Adding Personal Touches: Hardware and Upholstery
To truly make your upcycled furniture unique, consider adding personal touches such as new hardware or upholstery. Swapping out old knobs or handles with stylish and modern ones can instantly update the look of a piece. Additionally, reupholstering cushions or adding new fabric to chairs can breathe new life into worn-out furniture. Don’t be afraid to experiment with different patterns, textures, and colors to create a one-of-a-kind piece that reflects your personal style.
Tips for Maintaining Upcycled Furniture
Once you have completed your upcycling project, it’s important to properly maintain the furniture to ensure its longevity. Avoid placing the piece in direct sunlight, as it can cause fading and damage over time. Regularly clean the furniture with a mild soap and water solution, and avoid using harsh chemicals that can strip away the paint or stain. If any repairs or touch-ups are needed, address them promptly to prevent further damage. By taking care of your upcycled furniture, you can enjoy its beauty for years to come.
Conclusion
Congratulations! You now have the knowledge and inspiration you need to embark on your upcycling journey. With a little creativity and some basic DIY skills, you can transform old and forgotten items into stunning pieces of furniture that will revamp your space. Remember to start by finding the right piece, plan your project, and properly prepare the furniture. Then, let your creativity shine as you paint, stain, and add personal touches to your upcycled masterpiece. Don’t forget to take care of your furniture to ensure its longevity and enjoy the fruits of your labor. Now go out there and start transforming your space with upcycled furniture!


