A Furniture-Making Journey of Transformation
You know, when I first set out to create a custom piece for our home, I’ll admit I had no idea what I was getting myself into. I mean, who would’ve thought that turning a few plain old boards from the hardware store into a one-of-a-kind, rustic-chic masterpiece could be such a wild ride? But let me tell you, my friends – it was an adventure from start to finish, and I wouldn’t have had it any other way.
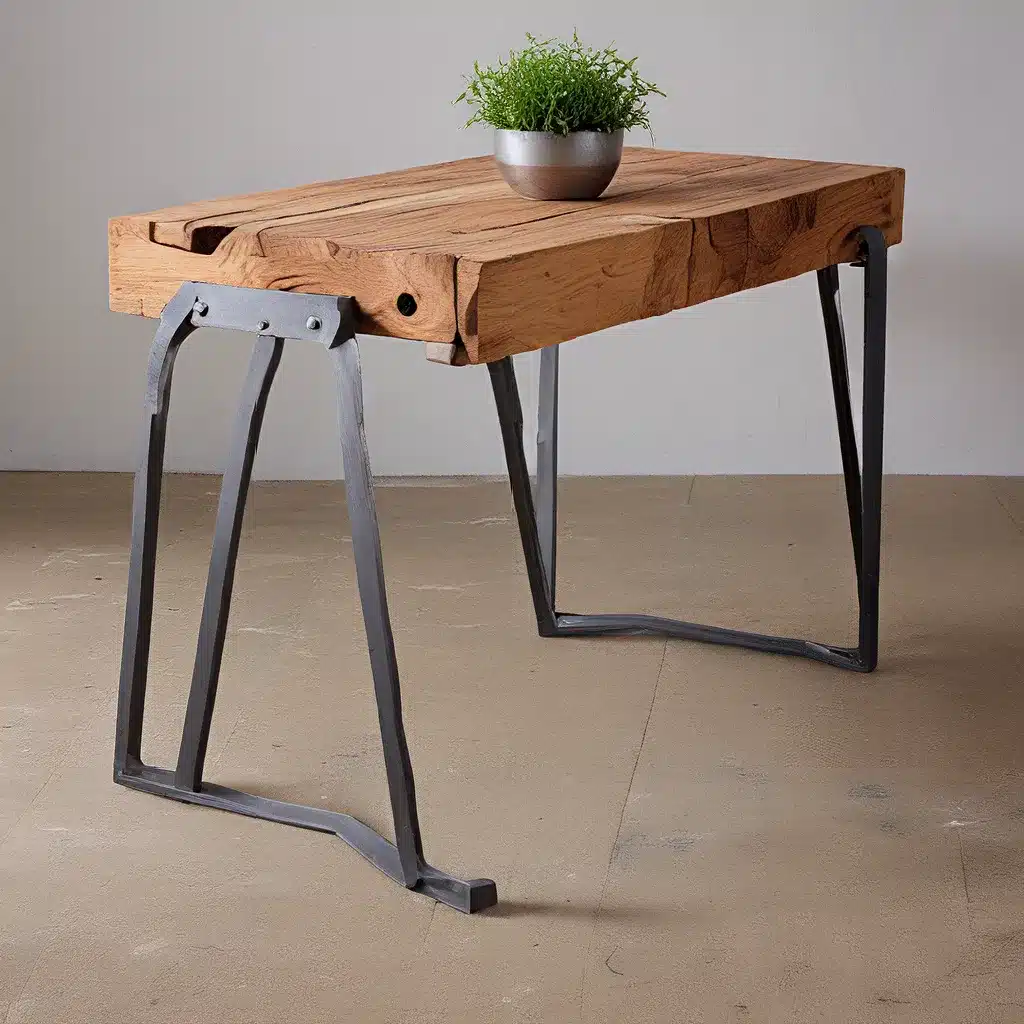
It all started when my husband and I decided we needed a new console table for our living room. We had this vision of a warm, weathered piece that would bring some much-needed character to the space, but finding the perfect reclaimed wood? That was easier said than done. We scoured the local salvage yards, lumber mills, and even hit up a few construction sites, but nothing seemed to be quite right. The wood was either too beat up, too scarce, or just didn’t fit the aesthetic we were going for.
That’s when I stumbled upon a game-changing tutorial from Young House Love – and let me tell you, these guys know their stuff when it comes to turning brand-spankin’-new wood into something with a little more soul. I mean, who would’ve thought that a simple bag of screws and a hammer could transform a plain ol’ plank into a rugged masterpiece? Or that a few strategic stains and a little water magic could create the perfect aged look we were going for?
Distressing the Boards: Getting Hands-On
As soon as I saw those step-by-step instructions, I knew I had to give it a try. So, I gathered up my supplies – some inexpensive whitewood boards, a Ziploc bag full of screws, a hammer, and a few other tools – and got to work. Now, I’ll admit, there was a certain… therapeutic quality to the whole process. There’s just something about beating up on a piece of wood that really helps you let off a little steam, you know?
I started by sanding down the edges of the boards to give them a more rounded, weathered look. Then, I grabbed that trusty bag of screws and started whacking away. The satisfying thud as the screws collided with the wood was like music to my ears. I even got a little carried away and started hammering on the boards in strategic spots, just to add a few extra dings and dents for good measure.
And you know, it turns out I’m not the only one who gets a kick out of this kind of thing. When my sister Paula was renovating her new office space, she and I teamed up to create a custom reception desk using reclaimed barn wood. We spent hours sanding, staining, and, yes, even beating the heck out of those boards to give them that perfectly imperfect look. It was like a furniture-making therapy session, and I’ve gotta say, the end result was worth every swing of the hammer.
Mastering the Aged Aesthetic
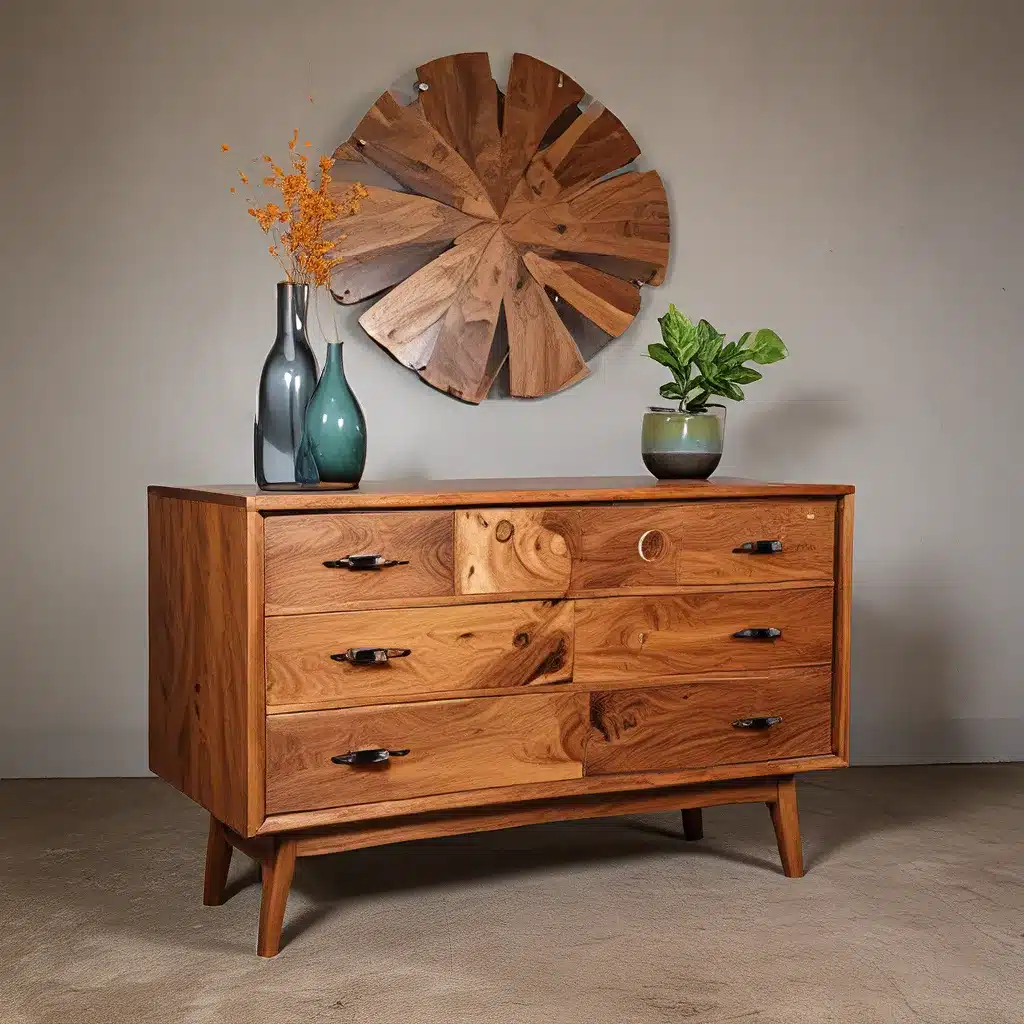
But the real magic happened when it came time to stain the boards. I learned a few nifty tricks from the folks at French Creek Farmhouse, like pre-washing the boards with water before staining to get that super-light, weathered look. And let me tell you, the color variations we ended up with were just stunning – from rich, dark walnuts to almost ghostly grays, each board had its own unique character.
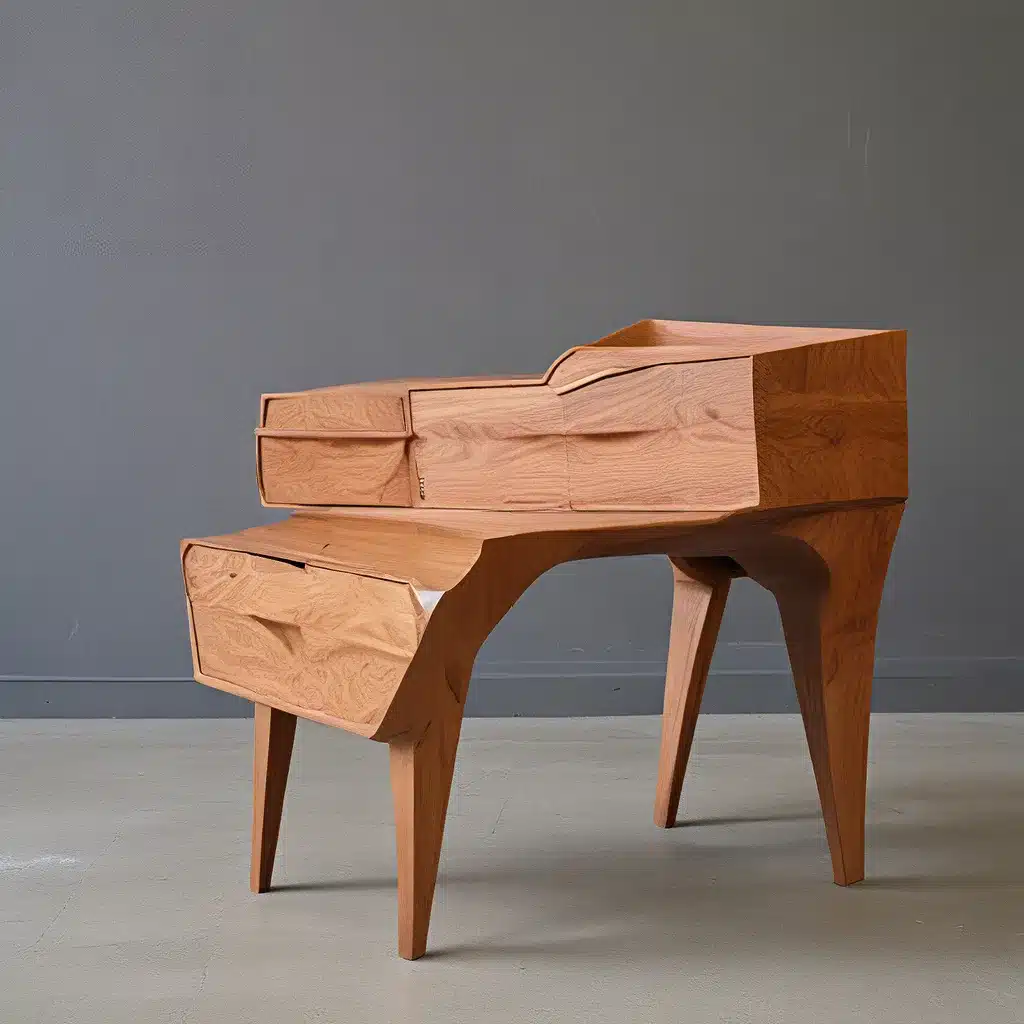
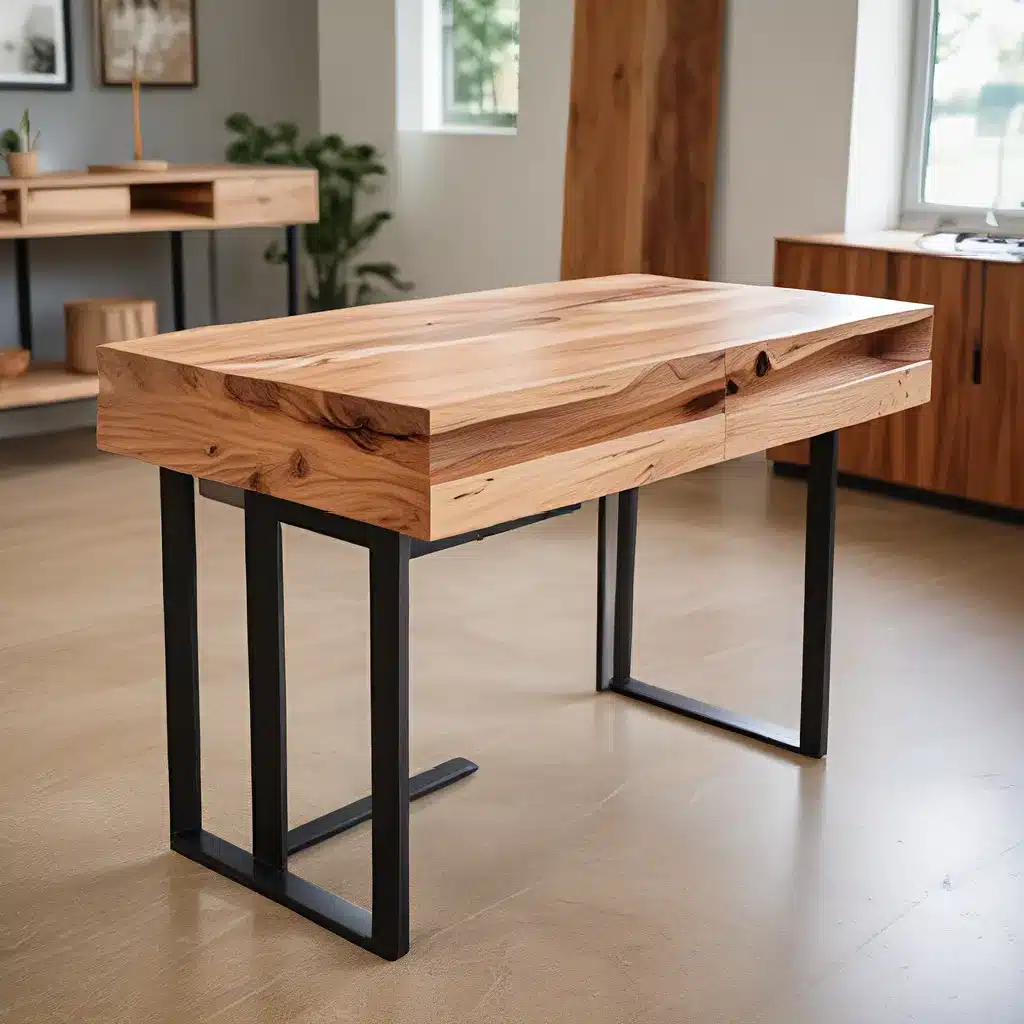
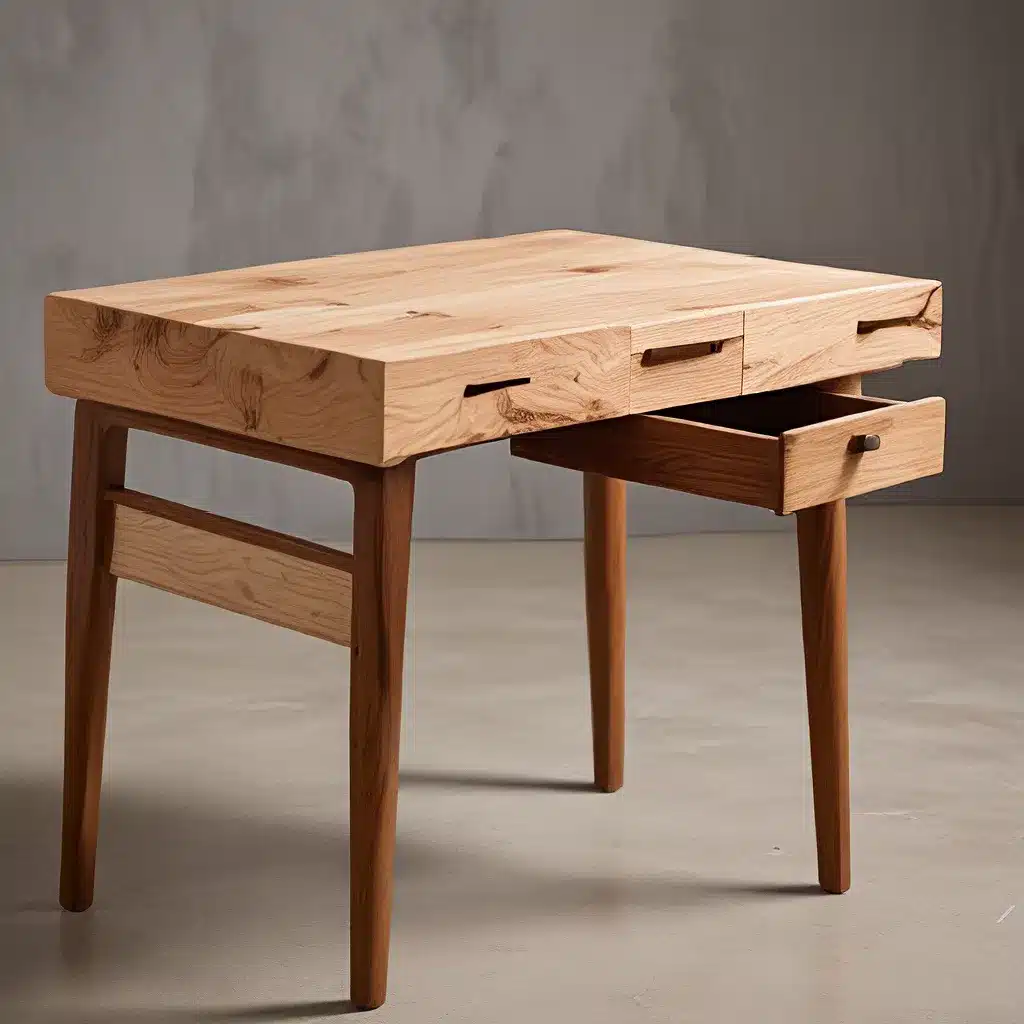
It was like we were channeling the spirit of those old, reclaimed barn boards, but with a twist that fit our living room perfectly. And the best part? We didn’t have to sacrifice functionality for style. The final console table was not only a showstopper, but it provided ample storage and display space too.
Embracing the Imperfections
You know, the more I think about it, the more I realize that this whole process of turning salvaged wood into something beautiful is a lot like life itself. It’s all about embracing the imperfections, the dents, and the scuffs – because those are the things that give it character, that make it unique. And just like with our console table, the end result is so much more interesting and meaningful when you let those little quirks shine through.
So, if you’re ever feeling inspired to take on a project like this, I say, go for it! Grab a hammer, a bag of screws, and let your inner furniture-making warrior loose. Who knows, you might just end up with a one-of-a-kind piece that you’ll cherish for years to come. And hey, if you need a little extra motivation, just remember – you can always visit the Unfinished Furniture website for all the supplies and guidance you need. Happy DIYing, my friends!


