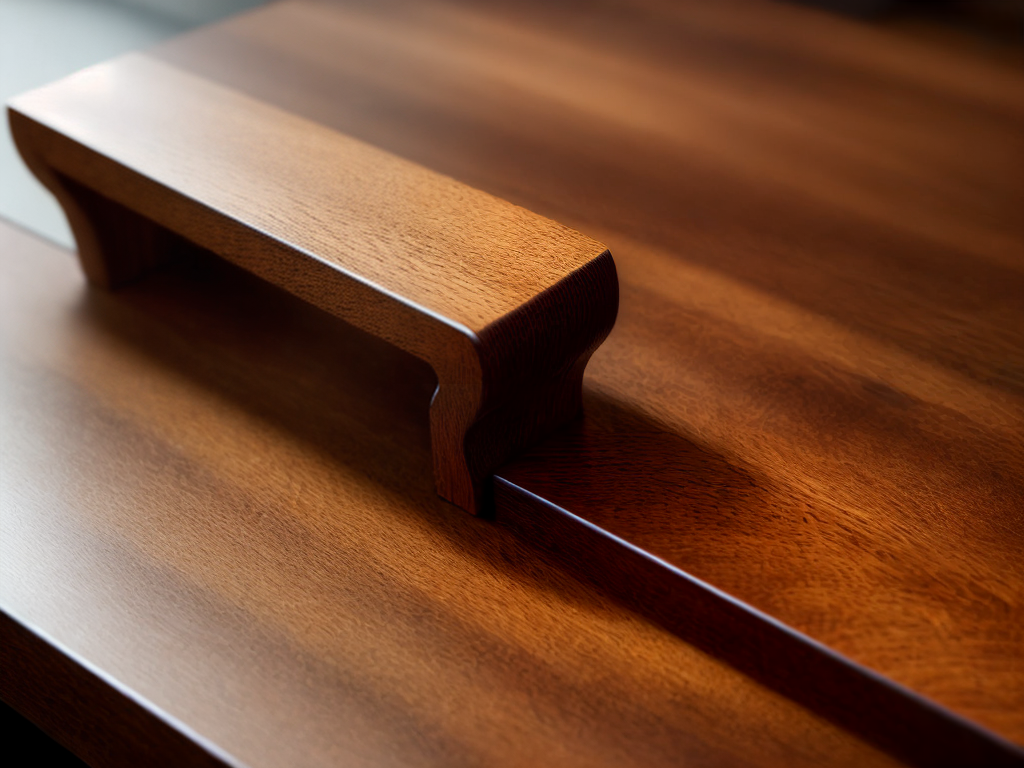
As luck would have it, I found myself standing in front of a beautifully finished wooden table, marveling at its flawless surface and the subtle sheen that seemed to whisper sophistication. It was then that I realized the true artistry behind wood finishing and the immense impact it can have on the overall look of a piece. Intrigued, I began to delve into the world of mastering wood finishing, eager to unlock the secrets that would allow me to achieve that same professional allure. And now, dear reader, I invite you on this journey with me, as we uncover the techniques, tips, and tricks that will elevate our woodworking projects to a whole new level.
Understanding the Basics
To achieve a professional look when wood finishing, it is essential to have a solid understanding of the basics. Wood finishing techniques play a crucial role in enhancing the natural beauty of the wood and protecting it from wear and tear. By using the right techniques, you can transform a piece of wood into a stunning work of art.
One of the most common mistakes people make when it comes to wood finishing is not properly preparing the wood surface. Before applying any finish, it is important to sand the wood to ensure a smooth and even surface. This will help the finish adhere properly and prevent any imperfections from showing through.
Another common mistake is not using the right type of finish for the wood. Different woods have different characteristics, and it is important to choose a finish that will enhance the natural beauty of the wood. For example, a clear finish may be suitable for a light-colored wood, while a stain may be more appropriate for a darker wood.
Lastly, not following the manufacturer’s instructions can lead to disastrous results. Each finish has its own application requirements, such as drying time and number of coats. It is important to read and follow these instructions carefully to achieve the desired results.
Selecting the Right Wood Stain
Selecting the right wood stain is a crucial step in achieving a professional finish for your wood project. The right wood stain can enhance the natural beauty of the wood and add depth and richness to your project. When choosing a wood stain, it is important to consider the color and type of stain that will best suit your project.
Wood stain colors come in a wide range of options, from light and natural tones to dark and rich hues. It is important to choose a color that complements the wood and matches the overall aesthetic you are trying to achieve. Whether you prefer a traditional, rustic look or a modern, sleek finish, there is a wood stain color out there for you.
In addition to color, there are different types of wood stain to consider. Oil-based stains penetrate deep into the wood, providing long-lasting color and protection. Water-based stains, on the other hand, are easy to clean up and have a low odor. Gel stains are thicker and can be applied to vertical surfaces without dripping or running.
To help you make the right choice, here is a comparison table of different wood stain colors and their characteristics:
| Stain Color | Characteristics |
|---|---|
| Light Oak | Gives a natural, light finish. Ideal for highlighting wood grain. |
| Mahogany | Creates a rich, reddish-brown color. Perfect for a classic, elegant look. |
| Ebony | Provides a deep, dark black color. Great for a dramatic, contemporary finish. |
| Walnut | Gives a warm, medium-brown tone. Adds depth and richness to the wood. |
Prepping the Wood Surface
When prepping the wood surface for finishing, there are two key points to keep in mind: sanding for smoothness and cleaning for debris. Sanding helps to create a smooth and even surface, ensuring a professional finish. Cleaning the wood surface removes any dust, dirt, or other debris that could affect the final result. By focusing on these two steps, you can ensure a well-prepared wood surface for your finishing project.
Sanding for Smoothness
I typically start by assessing the condition of the wood surface before proceeding with sanding for smoothness. This step is crucial to ensure that the final finish looks professional and flawless. To achieve the best results, I follow these proper sanding techniques:
- Begin with a coarse grit sandpaper (around 80 to 100 grit) to remove any imperfections, such as rough spots or old finishes.
- Gradually move to a finer grit sandpaper (around 120 to 180 grit) to smooth out the surface and remove any visible scratches left by the coarse grit paper.
- Finish off with an even finer grit sandpaper (around 220 to 320 grit) to achieve a smooth and polished surface ready for finishing.
Choosing the right sandpaper grit is crucial to achieve the desired smoothness. Remember, the higher the grit number, the finer the sandpaper. So, choose the grit that suits your project’s needs and always sand in the direction of the wood grain for the best results.
Cleaning for Debris
After achieving a smooth and polished surface through proper sanding techniques, the next step in wood finishing is to thoroughly clean the wood surface to remove any debris. Removing dust is crucial to ensure a flawless finish. To accomplish this, I recommend using a tack cloth, which is a sticky cloth specifically designed to pick up dust particles and other small debris. Simply unfold the tack cloth and lightly wipe it over the entire wood surface. The sticky surface of the cloth will attract and capture any dust or debris, leaving your wood surface clean and ready for the next step. Take care not to press too hard or rub vigorously, as this may cause scratches or damage to the wood.
Here is a diagram to help you understand the process:
| Step | Instructions |
|---|---|
| 1 | Unfold the tack cloth |
| 2 | Lightly wipe it over the wood surface |
| 3 | The sticky surface will attract and capture dust |
| 4 | Avoid pressing too hard or rubbing vigorously |
| 5 | Ensure the wood surface is clean and debris-free |
Applying a Smooth Finish
When it comes to applying a smooth finish to wood, there are a few key points to consider. First, you need to decide whether to brush or spray the finish. Each method has its pros and cons, so it’s important to choose the one that works best for your project. Additionally, sanding and buffing the wood surface before applying the finish can help to achieve a smoother and more professional look.
Brushing Vs Spraying
To achieve a smooth finish, consider whether to brush or spray the wood. Both methods have their pros and cons, so it’s important to understand the best practices for each. Here are some factors to consider:
- Brushing
- Pros:
- Allows for greater control and precision.
- Ideal for smaller projects and intricate details.
- Easy to touch up and repair.
- Cons:
- Can leave brush marks if not applied correctly.
- Requires more time and effort.
- May result in uneven coverage if not done evenly.
- Spraying
- Pros:
- Provides a smooth and even finish.
- Faster application for larger surfaces.
- Requires less effort compared to brushing.
- Cons:
- Requires proper equipment and ventilation.
- Overspray can be an issue if not managed properly.
- Difficult to touch up or repair without equipment.
Sanding and Buffing
For achieving a smooth finish, sanding and buffing are essential steps in the wood finishing process. When it comes to sanding techniques, it’s important to choose the right grit sandpaper for the job. Start with a coarser grit to remove any imperfections and gradually work your way up to a finer grit for a smoother surface. Remember to sand in the direction of the wood grain to avoid scratches. Once the sanding is complete, it’s time to move on to polishing methods. There are various options available, including using a polishing compound or wax. Apply the polish with a clean cloth or a buffing pad, and work it into the wood in circular motions. This will help to bring out the natural beauty of the wood and give it a professional, glossy finish.
Enhancing the Grain Pattern
I find that by using a technique called grain popping, I can effectively enhance the natural beauty of the wood’s grain pattern. Grain popping is a simple yet powerful method that brings out the richness of the wood’s grain, maximizing durability and achieving a glossy finish. Here are three sub-lists to engage you further:
- Choose the right wood: Opt for woods with prominent grain patterns, such as oak, mahogany, or walnut. These woods tend to respond well to grain popping, resulting in stunning visual effects.
- Prepare the wood: Before applying any finish, ensure the wood is sanded smooth and free of imperfections. This will allow the grain popping technique to work its magic and highlight the natural patterns.
- Grain popping technique: Start by wetting the wood surface with water using a sponge or cloth. This will raise the grain and make the patterns more visible. Once the wood is dry, lightly sand it to remove any raised fibers. Apply your chosen finish, whether it’s a stain, varnish, or oil, and watch as the grain pattern comes alive.
Adding a Protective Topcoat
Applying a protective topcoat is essential to safeguard the wood’s beauty and extend its longevity. When it comes to choosing the best topcoat product, there are a few factors to consider. First, determine the type of wood you are working with, as different topcoat products work better with certain types of wood. For example, if you are working with a hardwood like oak or mahogany, you may want to use an oil-based polyurethane for added durability. On the other hand, if you are working with a softer wood like pine or cedar, a water-based polyurethane may be a better option as it is less likely to yellow over time.
Once you have chosen the right topcoat product, it’s time to apply it to the wood. To achieve a flawless finish, start by preparing the wood surface by sanding it smooth and removing any dust or debris. Next, apply the topcoat using a high-quality brush or sprayer, making sure to follow the manufacturer’s instructions for proper application. Apply thin, even coats, allowing each coat to dry completely before applying the next one. This will help prevent drips and ensure a smooth, professional-looking finish.
Tips for a Professional Application
After selecting the appropriate topcoat product, achieving a professional application requires attention to detail and careful technique. To help you achieve a flawless finish and achieve that coveted professional sheen, here are some valuable tips:
- Prepare the surface: Before applying the topcoat, ensure the wood is properly sanded and smooth. Remove any dust or debris using a tack cloth to guarantee a clean surface.
- Apply thin coats: It’s essential to apply thin coats of the topcoat rather than thick layers. This ensures even coverage and minimizes the risk of drips or bubbles.
- Use the right applicator: Choose an applicator that suits your topcoat product, whether it’s a brush, foam pad, or sprayer. Each applicator provides a different finish, so choose wisely based on your desired outcome.
- Work in the right conditions: For the best results, apply the topcoat in a well-ventilated area with controlled temperature and humidity. Avoid working in extreme heat or cold, as it can affect the drying process.
- Maintain a steady hand: When applying the topcoat, use smooth and even strokes. Take your time and avoid rushing to ensure a consistent finish.
- Sand between coats: To achieve a flawless finish, lightly sand the surface between each coat with fine-grit sandpaper. This helps to smooth out any imperfections and promotes better adhesion.


