Are you a fan of vintage charm and rustic aesthetics? Do you love the warmth and character that real wood furniture brings to a space? If so, then you’re in luck! In this comprehensive guide, we’ll delve into the art of distressing real wood furniture to achieve that coveted vintage look. Whether you’re a seasoned DIY enthusiast or a beginner looking to embark on your first furniture restoration project, we’ve got you covered. From selecting the right piece of furniture to mastering the distressing techniques, we’ll walk you through every step of the process. So, let’s roll up our sleeves and get started!
1. The Beauty of Real Wood Furniture
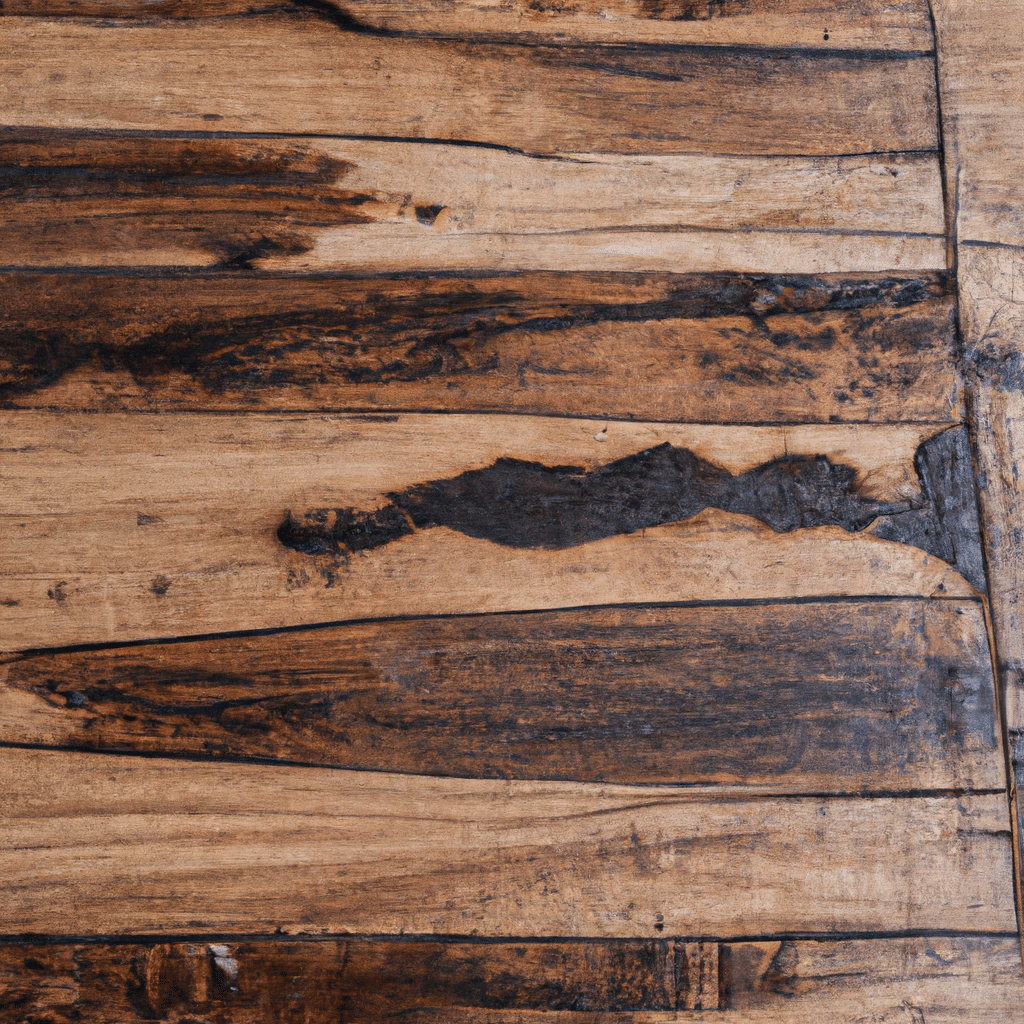
Real wood furniture is a timeless investment that adds beauty and warmth to any home. Unlike its mass-produced counterparts, real wood furniture boasts unique grains and textures, making each piece one-of-a-kind. It exudes a sense of authenticity and craftsmanship that simply can’t be replicated. Whether you prefer the elegance of oak, the rustic charm of pine, or the exotic allure of mahogany, there’s a real wood furniture piece out there for everyone.
2. Choosing the Perfect Piece
When it comes to distressing real wood furniture, selecting the right piece is crucial. Look for solid wood furniture with sturdy construction – pieces that have stood the test of time. Vintage pieces from thrift stores, flea markets, or even family heirlooms are excellent choices. Keep an eye out for unique details and interesting shapes that will enhance the overall distressed look.
3. Prepping for Distressing
Before diving into distressing, it’s essential to prepare your furniture properly. Start by cleaning the piece thoroughly to remove any dirt, grime, or old finishes. Use a gentle cleaner and a soft cloth to avoid damaging the wood. Once cleaned, let the furniture dry completely before moving on to the next step.
4. Sanding Techniques
Sanding is a crucial step in distressing real wood furniture. It helps create a smooth surface for the paint or stain to adhere to and removes any existing finish. Depending on the desired level of distressing, you can choose between light sanding or more aggressive sanding techniques. Light sanding will give the piece a subtle, worn look, while aggressive sanding will create a more heavily distressed appearance.
5. Applying the Base Coat
Now that your furniture is prepped and sanded, it’s time to apply the base coat. Choose a paint color that complements your desired vintage aesthetic. Soft, muted tones like pastels or earthy hues work well for achieving a distressed look. Apply the paint evenly using a brush or roller, making sure to cover all surfaces. Allow the base coat to dry completely before moving on to the next step.
6. Distressing Techniques
This is where the magic happens – distressing the furniture to achieve that vintage charm. There are several techniques you can use, depending on the level of distressing you desire. Here are a few popular methods:
a. Sandpaper Distressing
Using sandpaper, gently sand the edges, corners, and other areas that would naturally wear over time. This technique mimics the natural aging process and creates a beautifully aged appearance.
b. Chalk Paint Distressing
Chalk paint distressing involves applying a layer of chalk paint and then using sandpaper or a damp cloth to remove some of the paint, revealing the base coat underneath. This technique adds depth and character to the furniture piece.
c. Wax Resist Distressing
Wax resist distressing involves applying a layer of wax before painting. Once the paint is dry, gently sand the surface, allowing the wax to resist the sanding process. This technique creates a subtle distressed look with hints of the base coat peeking through.
Experiment with these techniques and find the one that resonates with your vision for the piece. Remember, there’s no right or wrong way to distress – it’s all about creating a look that speaks to you.
7. Sealing and Protecting
After distressing your furniture, it’s essential to seal and protect the finish to ensure durability. Choose a clear, matte sealant that won’t alter the distressed look. Apply the sealant evenly, following the manufacturer’s instructions. This will protect your piece from everyday wear and tear while preserving its vintage charm.
Conclusion
Congratulations! You’ve mastered the art of distressing real wood furniture and achieved that coveted vintage charm. By following the steps outlined in this guide, you can transform any piece of furniture into a timeless heirloom. Remember to embrace the imperfections and unique character that distressing brings – it’s what makes each piece truly special. So go ahead, unleash your creativity, and create a vintage oasis in your home with real wood furniture. Happy distressing!


