Unlocking the Secrets of DIY Furniture Restoration
As a self-proclaimed furniture fanatic, I’ve seen it all – from wobbly chairs to scratched tabletops. But you know what they say, one person’s furniture disaster is another’s DIY project waiting to happen. That’s right, folks, today we’re diving into the world of DIY furniture repairs, where a little elbow grease and some creative thinking can breathe new life into your tired and worn pieces.
Tackling Troublesome Tabletops
Let’s start with the most common culprit of furniture woes – the dreaded tabletop. Whether it’s a beloved antique or a brand-new piece, those surfaces can take a beating over time. But fear not, my fellow furniture fanatics, because we’ve got a trick or two up our sleeves.
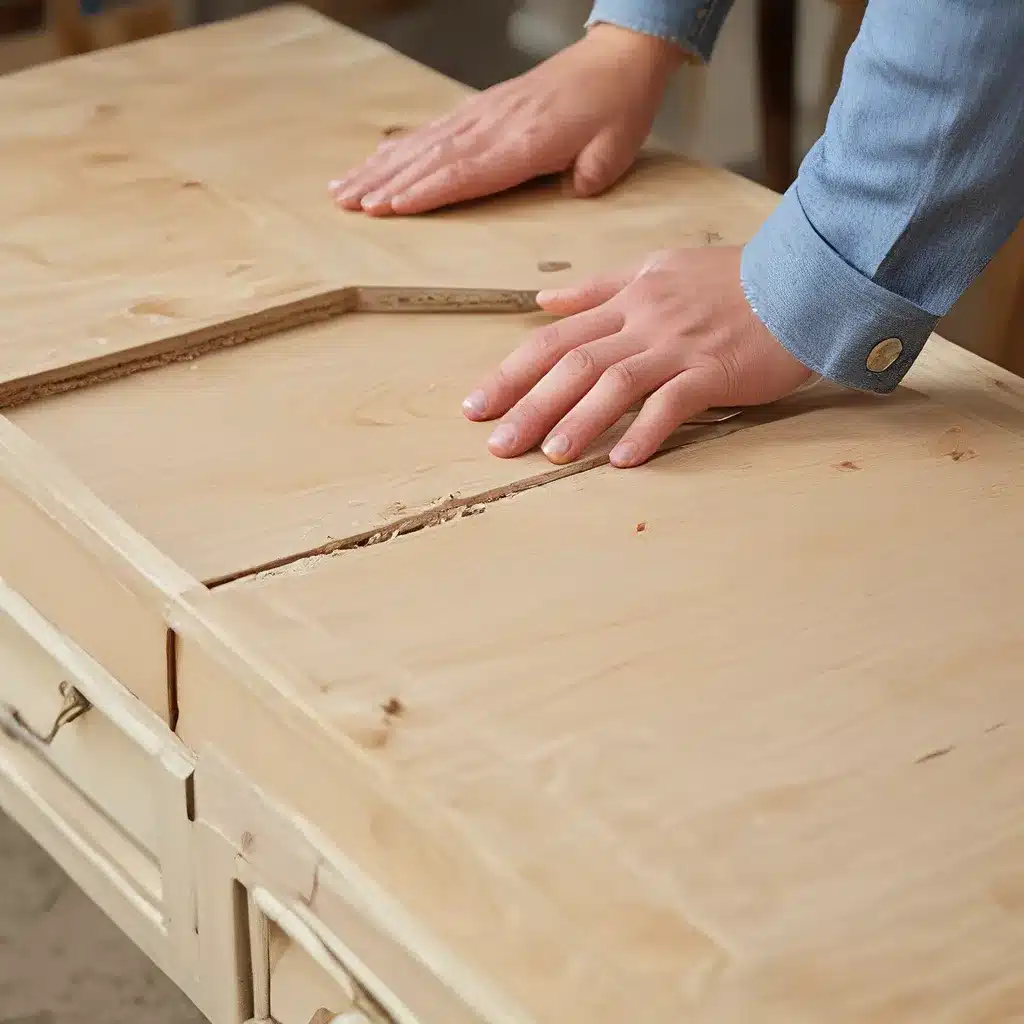
One handy trick I’ve learned is to use a furniture marker or touch-up pen to conceal those pesky scratches. Simply match the color of your tabletop, and voila – your surface is good as new! And if you’ve got some more serious damage, like a deep gouge or water stain, try sanding the affected area and then applying a wood filler or epoxy to smooth it out. Once it’s dry, you can sand it down again and finish with a matching stain or paint.
Now, I know what you’re thinking – “But Claire, what if I want to change the color of my table altogether?” Well, my friends, the answer is simple: a little elbow grease and some chalk paint can work wonders. Just make sure to sand the surface first to help the paint adhere, and don’t forget to seal it with a durable topcoat when you’re done. Trust me, your table will look like it just rolled off the showroom floor.
Reviving Rickety Chairs
Next up, those wobbly, creaky chairs that make you feel like you’re playing a game of musical chairs every time you sit down. But don’t worry, we’ve got this covered too.
One of the first things I always check is the joints. Over time, those connections can become loose, causing all sorts of instability. Thankfully, a little wood glue and some strategic clamping can work wonders. Just make sure to let the glue dry completely before reassembling the chair.
And if that doesn’t do the trick, it might be time to take a closer look at the chair legs. Sometimes, those pesky legs can become wobbly or even break altogether. But no need to panic – a simple repair involving some wood dowels or even a little epoxy can have your chair feeling sturdy and stable in no time.
Mastering Mirrored Maintenance
Now, let’s talk about those pesky mirrors. We all know how frustrating it can be when that dreaded “desilvering” starts to set in, leaving unsightly dark spots and rust around the edges. But fear not, my friends, because I’ve got a secret weapon up my sleeve: WD-40 to the rescue!
That trusty can of WD-40 can work wonders on those oxidized mirrors. Just spray it along the edge of the mirror, let it sit for a bit, and then gently scrub with an old toothbrush. The WD-40 will help to break down the rust, making it a breeze to wipe away.
And if you want to prevent that pesky desilvering from happening in the first place, try sealing the mirror edge with a bit of sealant or even a regular spritz of WD-40. It’s like giving your mirror a little protective shield against those moisture-filled environments.
Elevating Wobbly Furniture
Now, let’s talk about something a little more, shall we say, elevated – those wobbly pieces that just won’t seem to stay put. Whether it’s a rickety end table or a shaky floor lamp, we’ve got your back.
One of my go-to tricks is to try and even out the surface by adding a bit of felt or rubber pads under the legs. This can help to stabilize the piece and prevent it from rocking back and forth. And if that’s not enough, you can always try tightening any loose screws or bolts to give it a little extra stability.
But sometimes, the damage is a bit more severe, and you need to get a little more creative. That’s where things like wood shims or even folded paper can come in handy. Just slip them under the wobbly leg, and voila – your furniture is standing tall and proud once more.
Embracing the Imperfections
Now, I know what you’re thinking – “But Claire, what if I don’t want to fix everything? What if I want to embrace the imperfections and the character of my furniture?”
Well, my friends, I say go for it! After all, there’s something to be said for the beauty of a well-worn piece. And you know what they say, one person’s “damage” is another’s rustic charm.
Take those scratches and dings, for example. Instead of trying to hide them, why not accentuate them with a little distressed finish? Unfinished Furniture has some great DIY tutorials on how to achieve that perfectly imperfect look.
And if you’ve got a mirror that’s seen better days, don’t be afraid to get creative. Embrace the desilvering and turn it into a unique piece of art by adding a frame or even some decorative tape. It’s all about making it your own and celebrating the character of the furniture.
Embrace the Joy of DIY Furniture Repair
At the end of the day, the beauty of DIY furniture repair is that you get to put your own personal touch on your pieces. Whether you’re tackling a major restoration project or just giving your furniture a little facelift, the satisfaction of a job well done is unbeatable.
So, my fellow furniture fanatics, don’t be afraid to get your hands a little dirty. Embrace the challenge, tap into your inner MacGyver, and watch as your tired and worn furniture transforms into something truly spectacular. Who knows, you might just discover a hidden talent for furniture restoration along the way.
Happy fixing, my friends!


