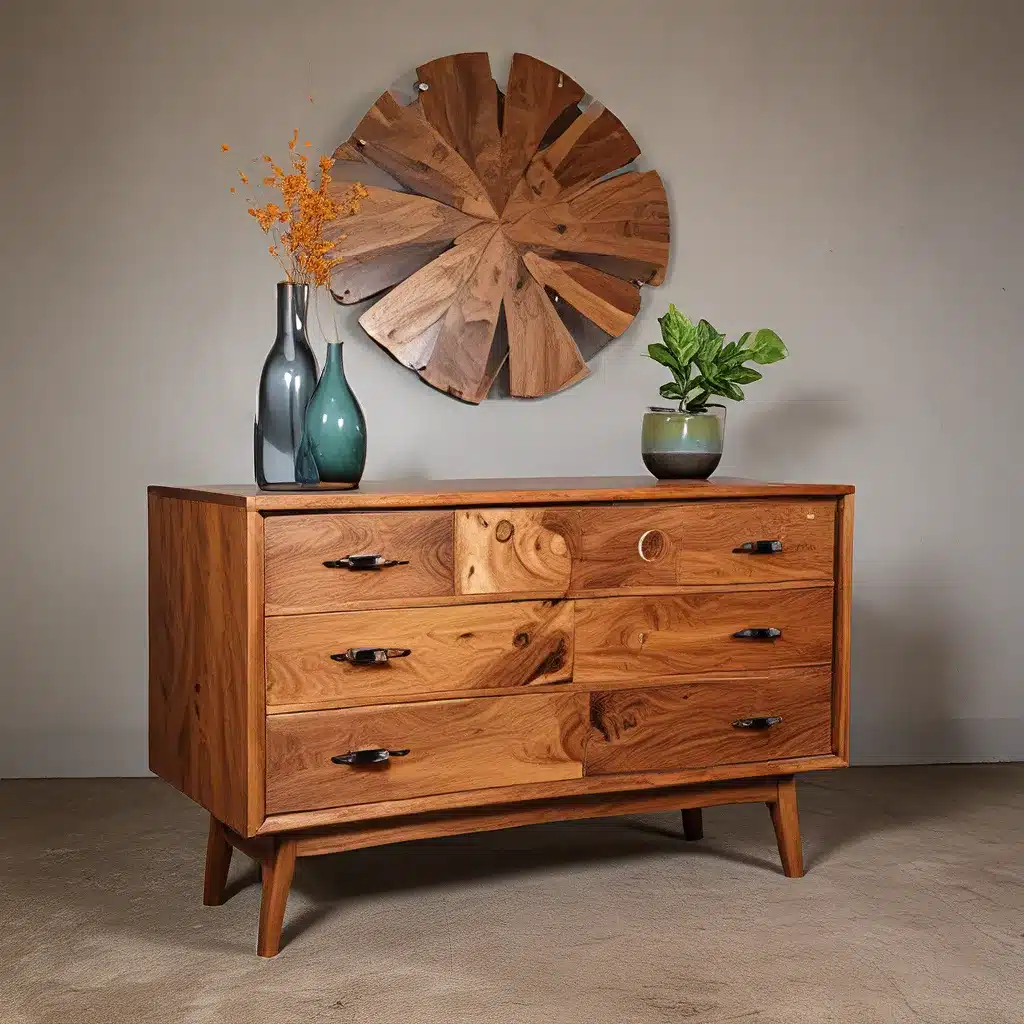
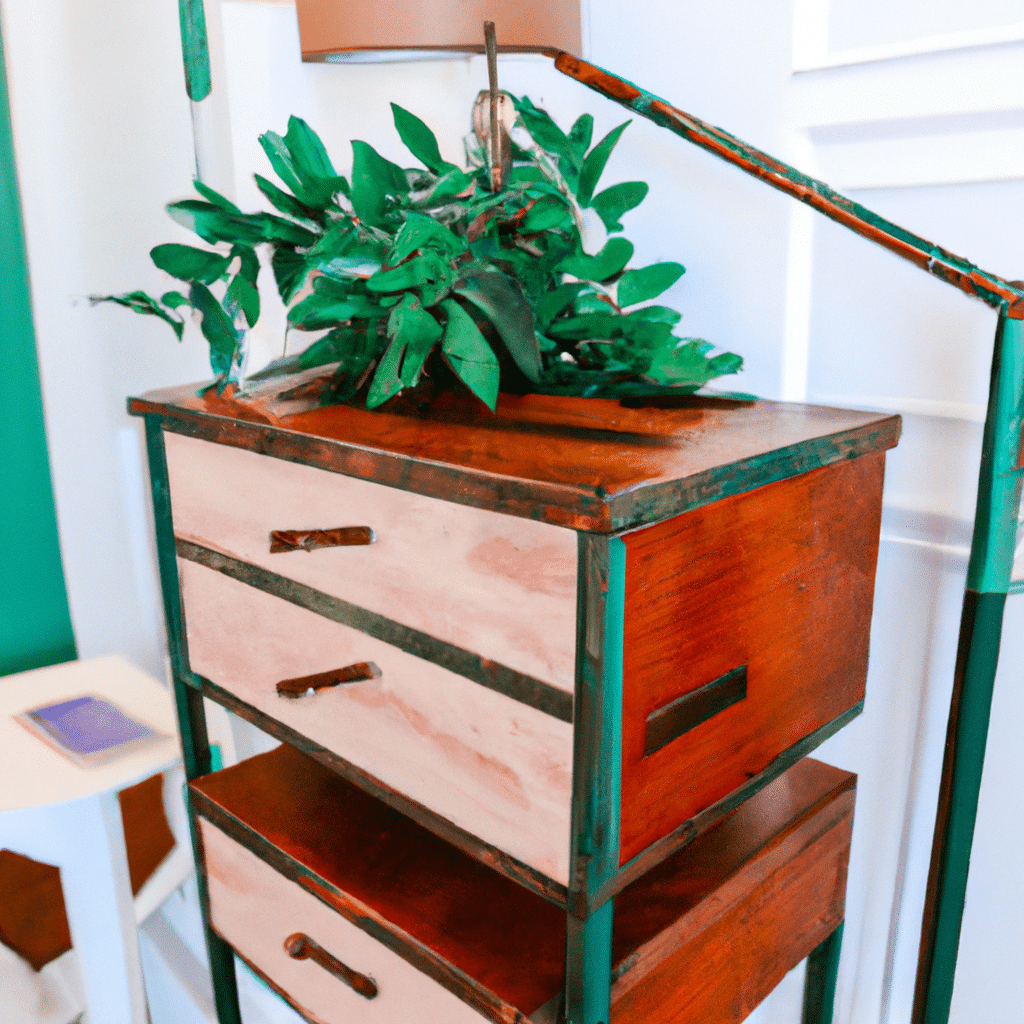
Welcome to our comprehensive guide on refinishing a wooden dresser to achieve a stunning distressed look. Whether you have an old, worn-out dresser that needs a new lease on life or you simply want to transform a plain piece of furniture into a unique statement piece, this step-by-step tutorial will guide you through the process. By the end, you’ll have a beautifully distressed wooden dresser that will add character and charm to any room.
Planning and Preparation
Before diving into the refinishing process, it’s essential to gather all the necessary tools and materials. Here’s a list of what you’ll need:
- Wooden dresser
- Sandpaper (medium and fine grit)
- Tack cloth
- Primer
- Paintbrushes
- Chalk paint (base color and accent color)
- Wax or sealant
- Distressing tools (sandpaper, steel wool, or putty knife)
- Protective goggles and gloves
Step 1: Preparing the Dresser
Start by removing any hardware, such as knobs or handles, from the dresser. This will make the sanding process much easier and ensure a smoother finish. Next, thoroughly clean the dresser to remove any dirt or grime using a mild detergent and water. Once cleaned, allow it to dry completely before moving on to the next step.
Step 2: Sanding
Using medium-grit sandpaper, gently sand the entire surface of the dresser, including the drawers. This step is crucial as it helps to remove any existing finish or rough patches, allowing the new paint to adhere better. After completing the initial sanding, switch to a fine-grit sandpaper to achieve a smooth finish. Remember to sand in the direction of the wood grain for the best results.
Step 3: Priming
Before applying the paint, it’s important to prime the dresser. This step helps to create a smooth and even surface for the paint to adhere to, ensuring better durability and longevity. Use a paintbrush to apply a thin coat of primer, following the manufacturer’s instructions for drying times. Once the primer is dry, lightly sand the surface with fine-grit sandpaper to remove any imperfections.
Step 4: Base Coat
Now it’s time to apply the base coat of chalk paint. Choose a color that complements your decor and personal style. Using a paintbrush or foam roller, apply a thin, even layer of paint to the entire surface of the dresser, including the drawers. Let the base coat dry completely before moving on to the next step.
Step 5: Distressing
This is where the magic happens! Distressing gives your dresser a vintage, worn-in look. There are various techniques you can use to achieve different effects. One simple method is to use sandpaper or steel wool to gently rub the edges and corners of the dresser, exposing the wood underneath. You can also use a putty knife to create small scratches or dents for a more rustic appearance. Experiment with different distressing techniques until you achieve your desired look.
Step 6: Accent Color
To add depth and dimension to your distressed dresser, consider applying an accent color. Choose a shade that contrasts with the base color to create a visually striking effect. Using a smaller brush, carefully apply the accent color to specific areas of the dresser, such as the edges, corners, or raised details. This will highlight the distressed areas and add an extra touch of charm.
Step 7: Sealing and Protecting
To protect your hard work and ensure the longevity of the finish, it’s essential to seal the dresser. There are various options for sealing, including wax or a clear sealant. Apply a thin, even coat of your chosen sealer, following the manufacturer’s instructions. This step will not only protect the paint but also enhance the overall look of the distressed finish.
Conclusion
Congratulations! You have successfully transformed a dull wooden dresser into a dazzling piece of furniture with a distressed look. By following our step-by-step guide, you’ve learned how to properly prepare, paint, distress, and seal a wooden dresser to achieve a unique and charming finish. With your newfound knowledge, you can now confidently tackle future refinishing projects and create stunning furniture pieces that reflect your personal style. Enjoy your beautifully transformed dresser and the sense of accomplishment that comes with upcycling and adding character to your home.


