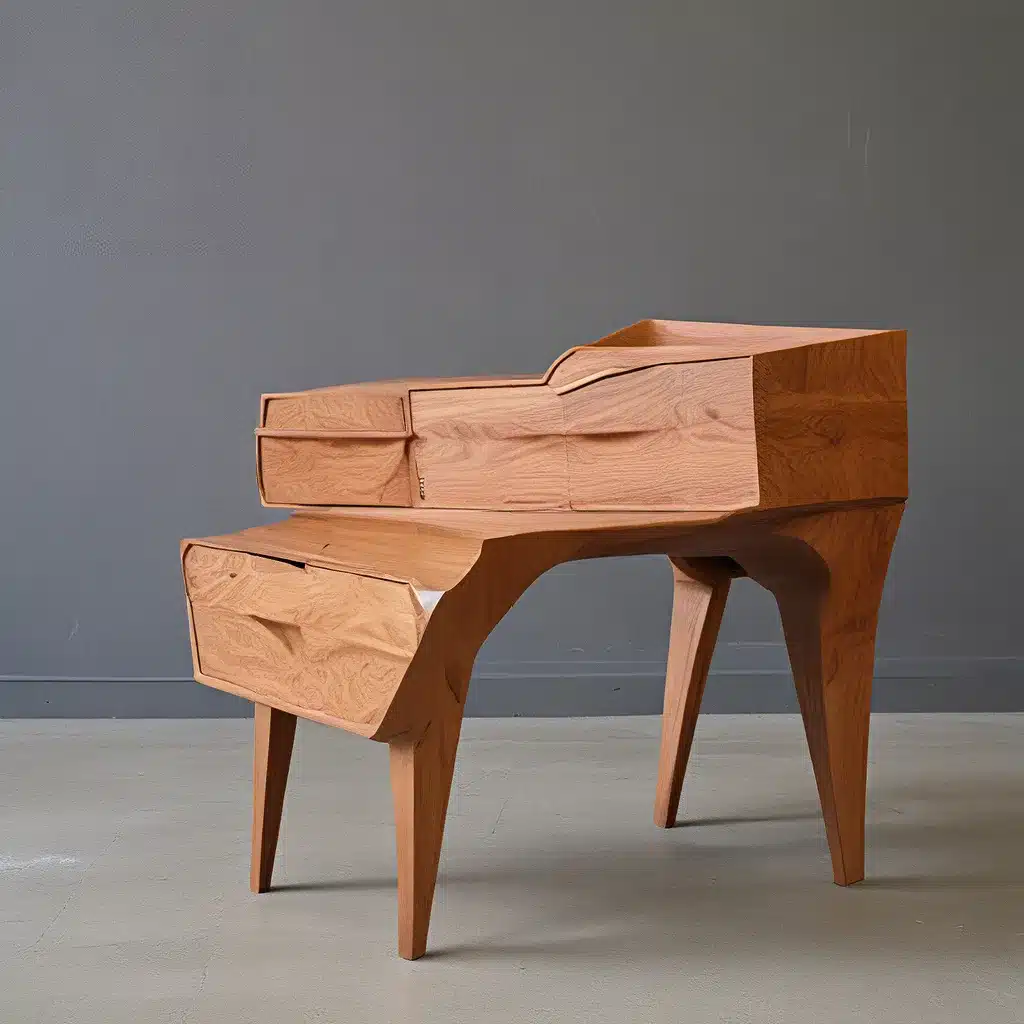
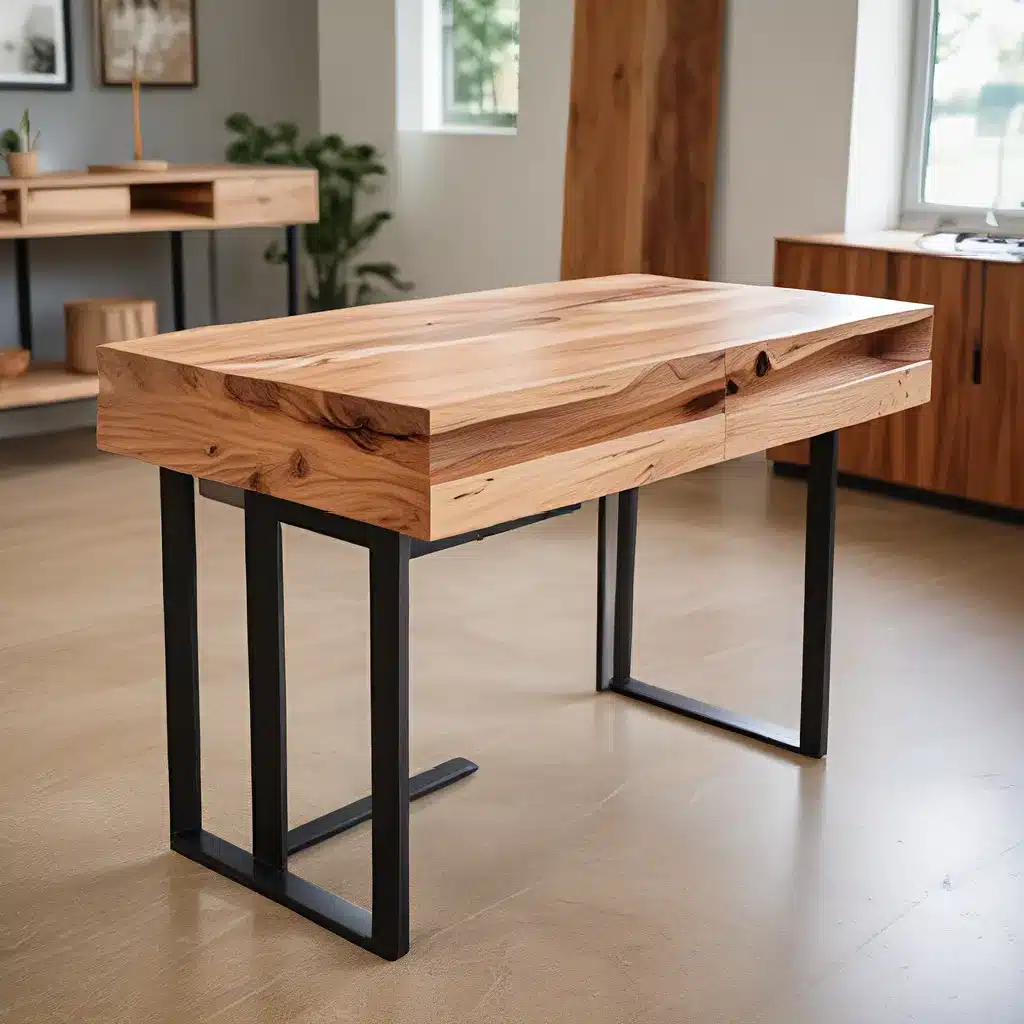
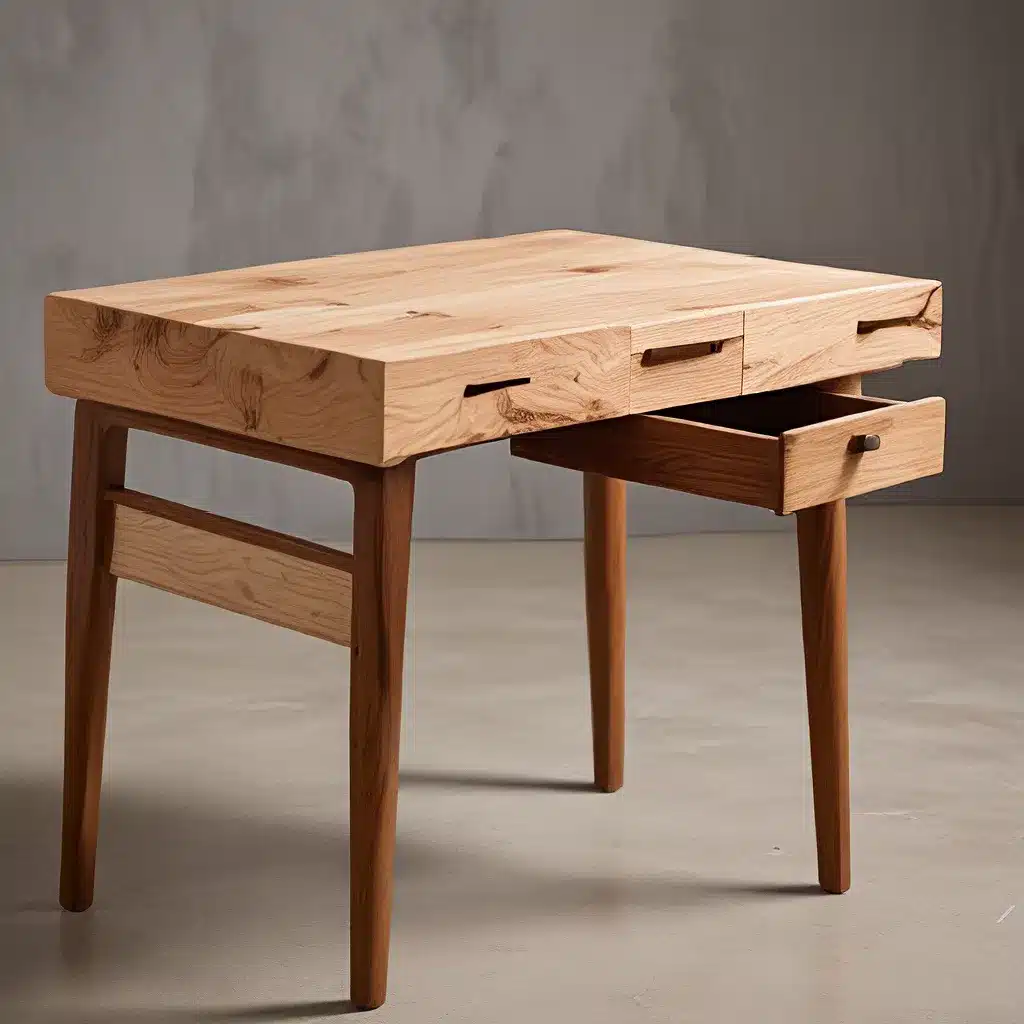
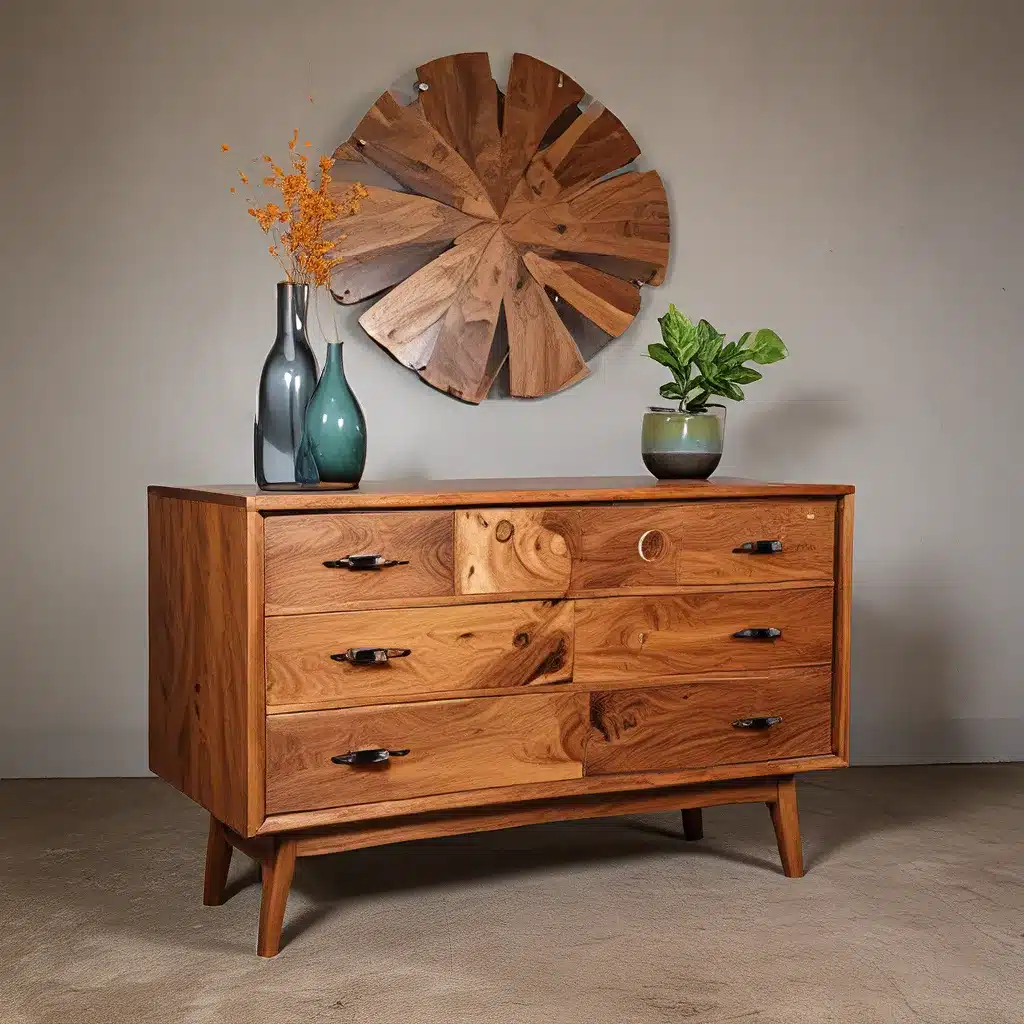
Welcome to our comprehensive guide on transforming old and worn-out furniture into stunning pieces using DIY real wood restoration techniques. If you have old furniture that is dull, scratched, or faded, don’t despair! With a little time, effort, and creativity, you can breathe new life into your furniture and give it a fresh and stylish look.
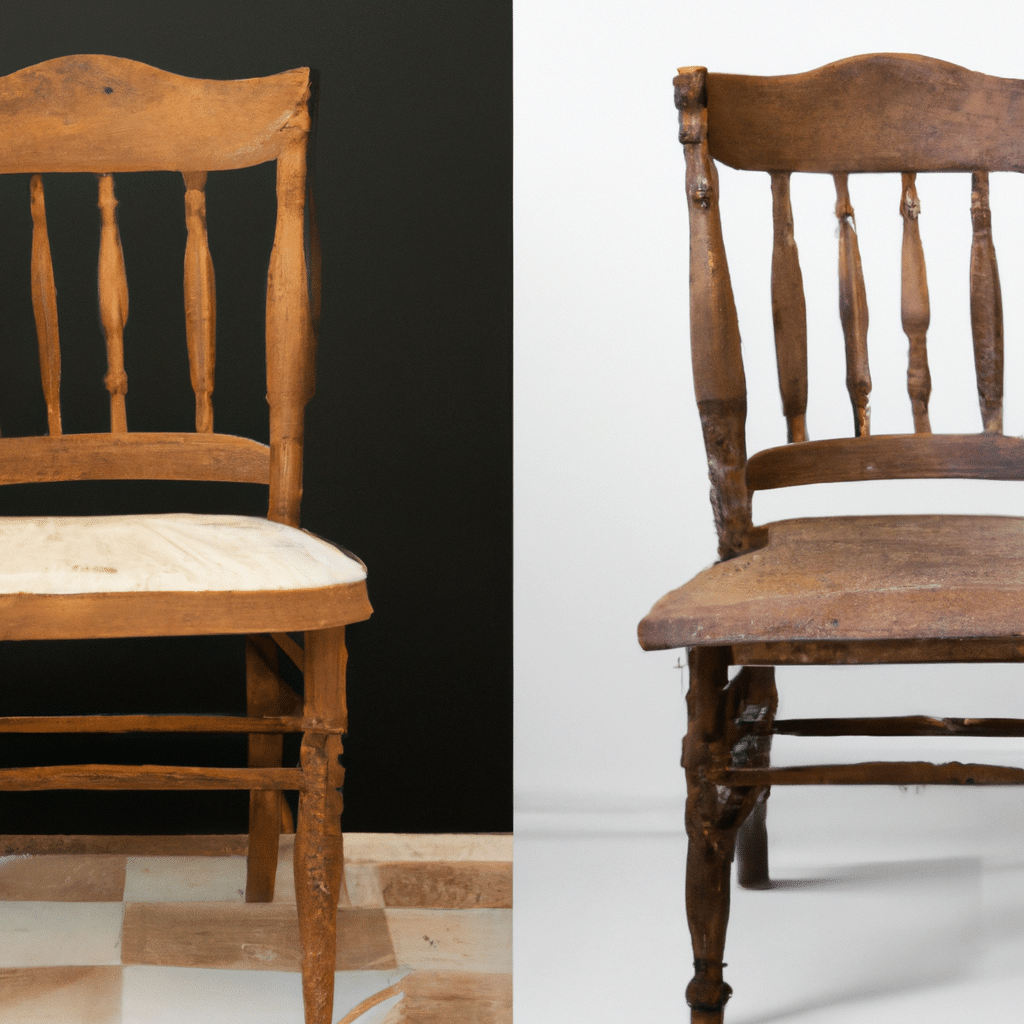
In this article, we will walk you through step-by-step instructions on how to restore wooden furniture, highlighting the tools and materials you’ll need, as well as sharing valuable tips and tricks to achieve professional-looking results. Whether you’re a seasoned DIY enthusiast or a beginner looking to embark on your first restoration project, this guide is designed to help you achieve outstanding outcomes and exceed your expectations.
Section 1: Assessing Your Furniture
Before diving into the restoration process, it’s essential to assess the condition of your furniture. Take a close look at the piece to identify any major damages, such as deep scratches, cracks, or loose joints. This assessment will help determine the level of restoration required and guide your approach to the project.
Section 2: Gathering the Necessary Tools and Materials
To successfully restore your furniture, you’ll need a range of tools and materials. Here are some essential items you should have on hand:
- Sandpaper: Choose different grits (coarse to fine) depending on the level of sanding required.
- Wood filler: Ideal for repairing minor damages, cracks, or holes.
- Putty knife: Used for applying wood filler and scraping off excess material.
- Wood stain: Enhances the natural beauty of the wood and provides a protective layer.
- Brushes and rags: Essential for applying stain, varnish, or paint.
- Varnish or paint: Adds a protective finish and can transform the appearance of the furniture.
- Protective gear: Safety goggles, gloves, and a mask to protect yourself during the restoration process.
Section 3: Preparing the Furniture for Restoration
Proper preparation is crucial for achieving a successful restoration. Follow these steps to prepare your furniture:
- Remove any existing finish: Use sandpaper or a chemical stripper to remove old paint, varnish, or stain.
- Repair any damages: Fill in cracks, holes, or scratches with wood filler and let it dry completely.
- Sand the surface: Start with coarse sandpaper to remove imperfections, then gradually move to finer grits for a smooth finish.
- Clean the furniture: Wipe down the surface with a damp cloth to remove dust and debris.
Section 4: Applying the Finishing Touches
Now that your furniture is prepped and ready, it’s time to apply the finishing touches. This is where you can get creative and add your personal touch to the piece. Here are some options to consider:
- Staining: Apply wood stain using a brush or rag, following the grain of the wood. Allow it to penetrate for the desired duration before wiping off excess stain.
- Painting: If you prefer a painted finish, choose a high-quality paint suitable for wood furniture. Apply multiple thin coats, allowing each coat to dry before adding the next.
- Varnishing: For a glossy and durable finish, apply varnish to protect the wood and enhance its natural beauty. Follow the manufacturer’s instructions for the best results.
Section 5: Maintenance and Care
After investing time and effort into restoring your furniture, it’s essential to maintain its beauty and prolong its lifespan. Here are some maintenance tips to keep your newly restored furniture looking fabulous:
- Avoid direct sunlight: Excessive exposure to sunlight can cause fading and damage the wood over time.
- Use coasters and placemats: Protect the surface from heat, moisture, and scratches by using coasters and placemats.
- Regular cleaning: Dust your furniture regularly using a soft cloth or a vacuum cleaner with a brush attachment.
- Avoid harsh chemicals: When cleaning, avoid using abrasive cleaners or harsh chemicals that can strip away the finish or damage the wood.
Conclusion
Congratulations on completing your journey from drab to fab! By following our DIY real wood restoration techniques, you have transformed your old and worn-out furniture into stunning pieces that radiate beauty and style. Remember to assess the condition of your furniture, gather the necessary tools and materials, prepare the surface, apply the desired finish, and maintain your restored furniture properly.
With these techniques in your arsenal, you can confidently take on future restoration projects and continue to transform old and worn-out furniture into remarkable pieces that bring joy and elegance to your living spaces. Happy restoring!


