Welcome to our comprehensive guide on how to build a stunning rustic wooden headboard for your bed. In this step-by-step tutorial, we will walk you through the process of creating a beautiful and unique headboard that will become the focal point of your bedroom. Whether you’re a seasoned DIY enthusiast or a beginner looking to explore your creativity, this project is perfect for you. So, let’s dive in and get started on this exciting journey!
Materials Needed
Before we begin, let’s gather all the necessary materials for this project. Here’s what you will need:
- Reclaimed wood planks
- Measuring tape
- Pencil
- Circular saw
- Drill
- Screws
- Sandpaper
- Wood stain or paint
- Paintbrush
- Drop cloth or newspaper
Step 1: Measure and Plan
The first step in building your rustic wooden headboard is to measure the width of your bed frame. This will help determine the size of the headboard you need. Once you have the measurements, mark them down on a piece of paper.
Now, it’s time to plan the design of your headboard. Consider the style and look you want to achieve. Rustic headboards often feature distressed wood with natural imperfections, giving them a charming and authentic appeal. Sketch out your desired design, including any additional features such as decorative trim or patterns.
Step 2: Source and Prepare the Wood
To achieve an authentic rustic look, we recommend using reclaimed wood planks. These can be obtained from salvage yards, old barns, or even pallets. Ensure that the wood is clean and free from any nails or debris.
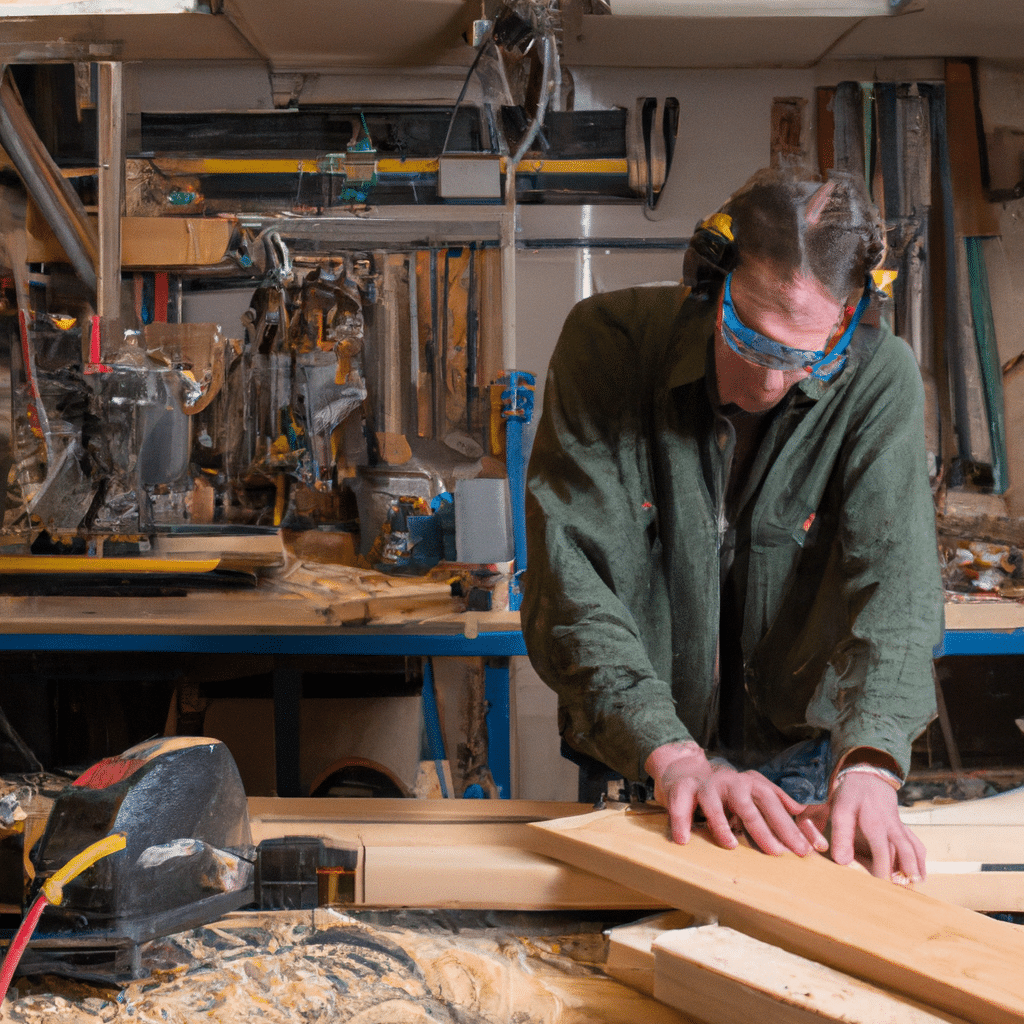
Once you have your reclaimed wood, measure and mark the desired length for each plank. Use a circular saw to cut the planks accordingly. Remember to wear protective goggles and gloves while operating the saw.
Step 3: Create the Headboard Frame
Now that you have your cut wood planks, it’s time to create the frame for your headboard. Lay out the planks on a flat surface, ensuring they are aligned properly. Use a drill to attach the planks together using screws. This will provide stability and strength to your headboard.
Step 4: Sand and Smooth the Surface
To achieve a polished and refined look, it’s essential to sand the surface of your headboard. Start with a coarse-grit sandpaper to remove any rough edges or splinters. Gradually move to finer-grit sandpaper to achieve a smooth finish. Be sure to sand both the front and back of the headboard.
Step 5: Apply Stain or Paint
Now comes the exciting part – adding color and character to your rustic headboard. You can choose to stain the wood to enhance its natural beauty or paint it to match your bedroom decor. Before applying any stain or paint, ensure that the surface is clean and free from dust.
If you opt for staining, use a paintbrush to evenly apply the stain, following the wood grain. Allow the stain to penetrate the wood for the recommended time, then wipe off any excess with a clean cloth. For painting, apply multiple thin coats, allowing each coat to dry before applying the next.
Step 6: Mount the Headboard
Once your headboard has dried completely, it’s time to mount it onto the wall. Measure and mark the desired height on the wall, ensuring it aligns with your bed frame. Use a drill to attach the headboard securely to the wall studs. For added stability, consider using wall anchors if necessary.
Step 7: Finishing Touches
Congratulations, you have successfully built and installed your rustic wooden headboard! It’s now time to add some finishing touches to complete the look. Consider embellishing your headboard with decorative elements such as fairy lights, hanging plants, or even a statement piece of artwork. Let your creativity shine!
Conclusion
Building your own rustic wooden headboard is a rewarding and fulfilling DIY project that allows you to showcase your creativity. By following our step-by-step guide, you can create a stunning and unique headboard that will transform the ambiance of your bedroom. Remember to gather all the necessary materials, measure carefully, and plan your design. Enjoy the process, and have fun crafting your DIY delight!


