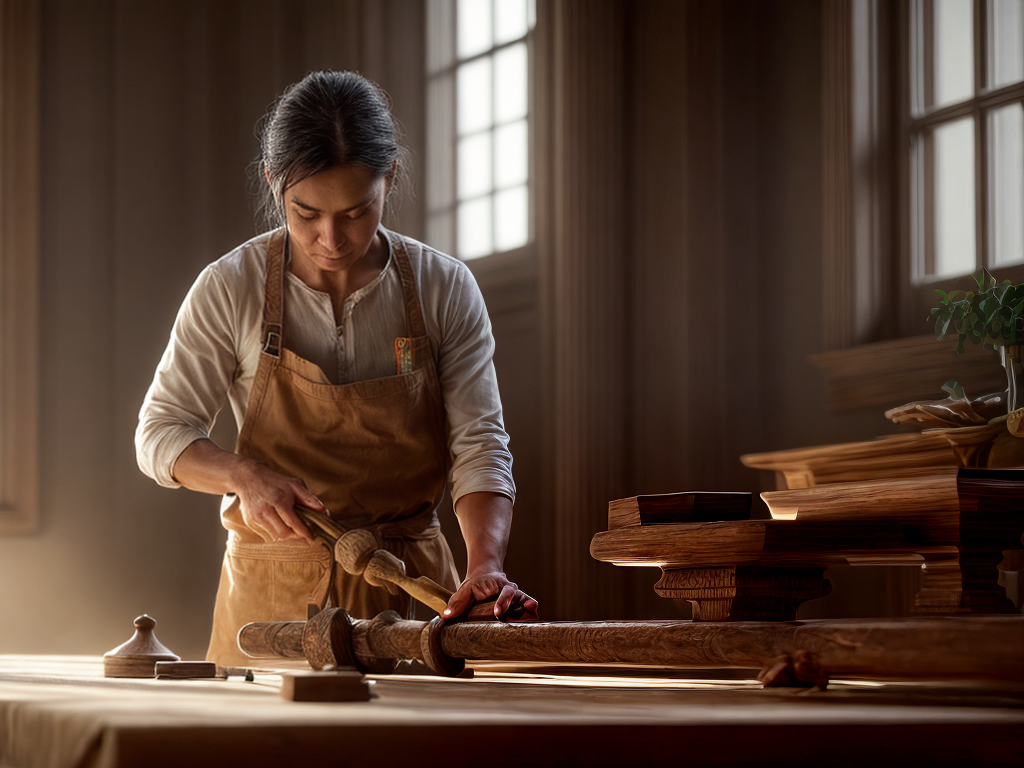
So, you’ve decided to embark on the journey of creating elegant wood details through carving. Well, buckle up and prepare to be amazed by the world of possibilities that lie within the realm of carving techniques. From the simple yet impactful relief carving to the intricate artistry of undercutting techniques, there’s a whole universe of skills waiting to be explored. But don’t worry, I’ll be here to guide you through the basics and offer expert insights along the way. So, let’s dive right in and uncover the secrets to transforming a simple block of wood into a masterpiece that will leave jaws dropping.
Basic Carving Tools and Materials
I will discuss the basic carving tools and materials used in wood carving. When it comes to wood carving techniques, having the right tools is essential. The most fundamental tool is a carving knife. This small, sharp blade allows for precision and control while carving intricate details. Another important tool is a gouge, which is a chisel-like tool with a curved cutting edge. Gouges come in various sizes and shapes, allowing for versatility in carving different patterns and textures. Additionally, a carving mallet is used to strike the carving tools, providing the force needed to make cuts into the wood. As for materials, wood carving is commonly done on hardwoods such as oak, walnut, and cherry. These woods are sturdy and can withstand the pressure and force applied during carving. For advanced carving tools, power carving tools like rotary tools and power chisels can be used. These tools are electrically powered and can make carving faster and more efficient, especially when working on larger projects. Overall, having the right tools and materials is crucial for achieving desired results in wood carving.
Types of Wood Suitable for Carving
When it comes to wood carving, choosing the right type of wood is crucial for the success of your project. In order to make the best selection, there are a few key tips to keep in mind. Additionally, having the right carving tools and equipment is equally important for achieving the desired results.
Wood Selection Tips
To ensure the best results in wood carving, it is essential to carefully select the right type of wood suited for the craft. Here are three key factors to consider when choosing the perfect wood for your carving project:
-
Wood Grain Patterns: The grain pattern of the wood plays a crucial role in the final outcome of your carving. Look for woods with tight and even grain patterns, as they are easier to carve and provide a smoother finish.
-
Durability: Opt for woods that are dense and durable, such as oak or walnut. These types of wood are less prone to cracking or splitting, ensuring that your carving will stand the test of time.
-
Finishing Techniques: Consider the type of finish you want to achieve. Some woods, like basswood or butternut, are more suitable for intricate detailing and can be easily stained or painted to enhance the beauty of your carving.
Carving Tools and Equipment
Using the right types of wood for carving is crucial in achieving the desired results, and there are several options that are particularly suitable for this craft. When it comes to carving tools and equipment, safety should always be a top priority. It’s important to use the appropriate safety techniques to prevent accidents and injuries. Maintaining and sharpening your carving tools is also essential for achieving clean and precise cuts. Regularly inspecting your tools for any signs of wear or damage is important, and they should be properly cleaned and stored after each use. Sharpening your tools regularly will ensure that they remain in optimal condition and provide you with the best carving experience. So, remember to prioritize safety and maintenance when it comes to your carving tools and equipment.
Fundamental Carving Techniques
I have found that mastering the fundamental carving techniques is essential for any wood carving enthusiast. These techniques form the foundation upon which all other carving skills are built. Here are three fundamental carving techniques that every beginner should learn:
-
Chip carving: This technique involves making small, triangular-shaped cuts to create intricate patterns and designs. It is a great technique for beginners as it allows for precise and controlled carving.
-
Relief carving: This technique involves carving designs into a flat surface, creating a three-dimensional effect. It requires a good understanding of depth and perspective and is a step up from chip carving in terms of difficulty.
-
Whittling: Whittling is the art of carving shapes out of a piece of wood using only a knife. It is a versatile and portable technique that can be done anywhere, making it perfect for beginners. With practice, you can create intricate details and beautiful sculptures.
Once you have mastered these fundamental carving techniques, you can move on to more advanced carving techniques like carving in the round and sculptural carving. Remember, practice is key, so take your time, be patient, and enjoy the process of bringing wood to life with your carving skills.
Creating Intricate Designs With Relief Carving
Creating intricate designs with relief carving requires a good understanding of depth and perspective. It’s a delicate art form that demands precision and patience. When I first started exploring chip carving techniques, I was captivated by the possibilities of creating intricate wood patterns. The key to achieving these detailed designs lies in the careful manipulation of light and shadow to give the illusion of depth.
To begin, I carefully select a piece of wood with a smooth and even surface. Then, using a sharp chisel, I gradually carve away the background, leaving the design raised above the surface. This technique allows me to create intricate patterns, such as flowers, leaves, or even intricate geometric shapes.
As I carve, I pay close attention to the direction of the wood grain, adjusting my cuts accordingly to enhance the overall design. I also take into consideration the play of light and shadow, which adds depth and dimension to the finished piece. It’s a meticulous process that requires a keen eye and steady hand.
Creating intricate designs with relief carving is a labor of love. It’s a way for me to express my creativity and bring a sense of elegance to the wood. Through this art form, I am able to create unique and beautiful pieces that showcase the natural beauty of the wood while also showcasing my skill and craftsmanship.
Achieving Smooth and Seamless Finishes With Chip Carving
When it comes to achieving smooth and seamless finishes with chip carving, there are a few key points to keep in mind. First, selecting the right tools and properly preparing them is crucial for achieving the desired results. Additionally, proper hand positioning plays a significant role in controlling the carving and ensuring a smooth finish. By paying attention to these points, I can achieve the smooth and seamless finishes I desire in my chip carving projects.
Tool Selection and Preparation
To achieve smooth and seamless finishes with chip carving, it is essential to carefully select and prepare the right tools. Here are three key factors to consider when it comes to tool selection and preparation:
-
Tool Maintenance: Keeping your carving tools in excellent condition is crucial for achieving the best results. Regular cleaning and oiling will help prevent rust and keep the blades sharp.
-
Sharpening Techniques: A sharp tool is essential for clean and precise cuts. Invest in a quality sharpening system and learn proper sharpening techniques. Whether you prefer sharpening by hand or using a machine, always make sure your tools are honed to perfection.
-
Tool Selection: Different carving projects require different tools. Consider the type of wood you are working with, as well as the intricate details you want to achieve. Having a variety of tools with different shapes and sizes will give you more flexibility and control over your carving.
Proper Hand Positioning
As I continue discussing the art of chip carving, achieving smooth and seamless finishes requires proper hand positioning. When it comes to proper hand posture, there are a few key points to keep in mind. First, make sure to hold the carving tool firmly but not too tightly, allowing for control and precision. Keep your wrist straight and relaxed, avoiding any tension that could affect your carving technique. It’s important to position your hand close to the cutting edge, allowing for better control and accuracy. By maintaining proper hand posture, you can avoid common carving mistakes such as slips and uneven cuts. Remember, practice makes perfect, so take the time to familiarize yourself with the correct hand positioning to achieve the best results in your chip carving projects.
Adding Depth and Dimension With Undercutting Techniques
Utilizing undercutting techniques in wood carving enhances the depth and dimension of the finished piece. This technique involves cutting away portions of the wood from underneath the main surface, creating a sense of depth and adding visual interest. Here are three ways in which undercutting techniques can take your wood carving to the next level:
-
Carving texture with gouging: By using gouges with different shapes and sizes, you can create intricate patterns and textures on the surface of the wood. Gouges allow you to remove wood in a controlled manner, adding depth and detail to your carving.
-
Incorporating undercutting in relief carving designs: Relief carving involves carving an image or design that stands out from the background. By undercutting the design, you can create a more three-dimensional effect, making the subject appear to pop out from the wood.
-
Creating shadow and highlights: Undercutting can also be used to create shadows and highlights in your carving. By removing wood from certain areas, you can create areas of darkness that give the illusion of depth. Similarly, leaving certain areas untouched can create highlights that catch the light and add dimension.


