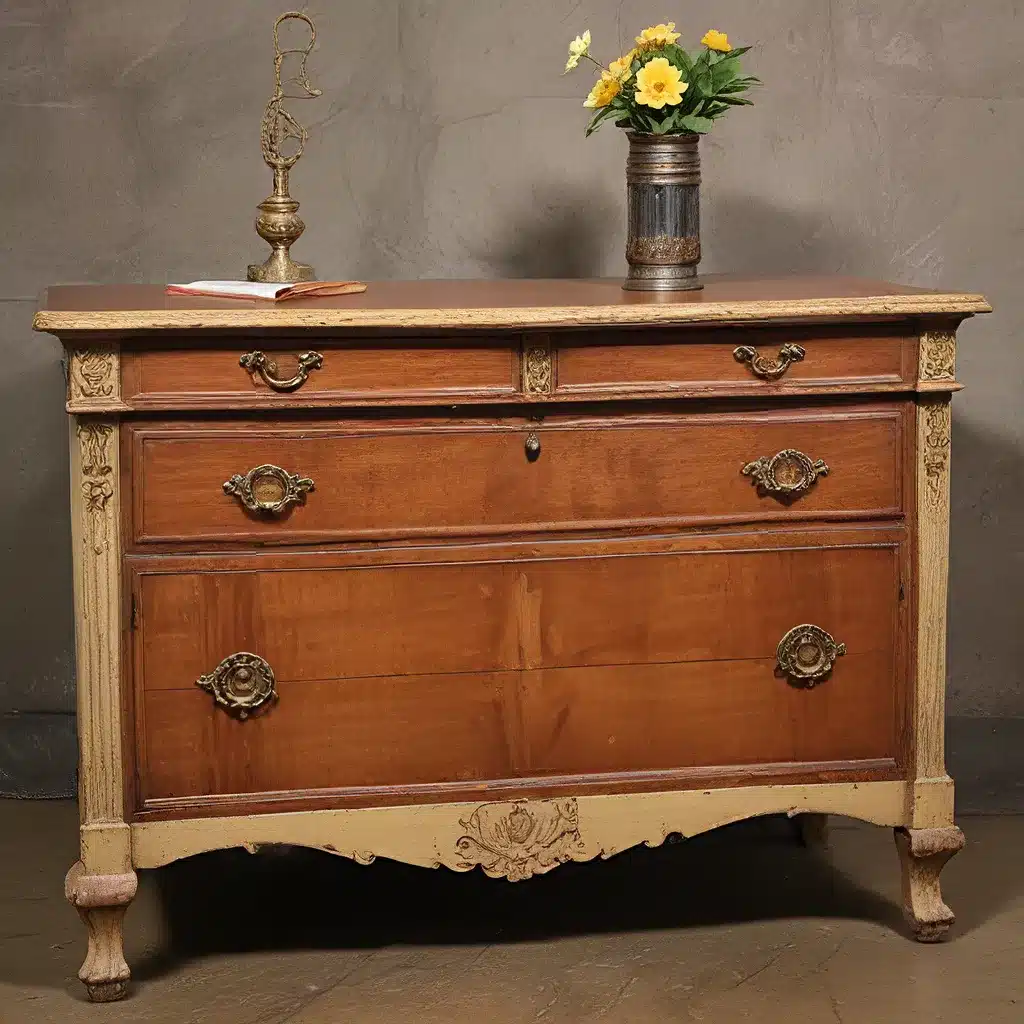
Uncovering the Magic of Furniture Restoration
As a self-proclaimed furniture whisperer, I’ve had the privilege of breathing new life into countless forgotten pieces over the years. It’s a passion that has taken me on quite the journey – from scouring flea markets and antique shops to discovering hidden gems in the dusty corners of thrift stores. Each project is a unique adventure, filled with its own set of challenges and triumphs.
You see, furniture restoration is not just about sanding, staining, and polishing. It’s about unlocking the stories that lie within each worn-out, weathered object. It’s about honoring the craftsmanship of bygone eras and giving these pieces a second chance to shine. And let me tell you, there’s nothing quite like the feeling of bringing an old, forgotten piece back to life.
Unfinished Furniture has been my go-to destination for sourcing the finest materials and tools to tackle even the most daunting restoration projects. Their extensive selection of high-quality wood, finishes, and hardware has been a game-changer, allowing me to achieve the perfect balance of authenticity and modernization.
Unlocking the Secrets of Successful Restoration
So, what are the insider secrets to successful furniture restoration? Well, buckle up, because I’m about to spill the beans!
Assessing the Damage
The first step in any restoration project is to thoroughly assess the condition of the piece. This means taking a close look at the wood, checking for any structural issues, and identifying the specific areas that need attention. Are there any cracks, holes, or loose joints? Is the finish worn, faded, or peeling? These are the kinds of questions you need to ask yourself before diving in.
Once you’ve identified the problems, it’s time to create a game plan. Determine the appropriate repair techniques, the necessary materials, and the best order of operations. This will not only ensure a successful outcome but also save you a lot of time and frustration along the way.
Stripping and Refinishing
Stripping the old finish is a crucial step in the restoration process. This can be a tedious and time-consuming task, but it’s essential for revealing the true beauty of the wood underneath. I’ve found that using a quality chemical stripper, combined with a little elbow grease, is the most effective approach.
After removing the old finish, it’s time to sand the surface and prepare it for a new coat. Remember to always sand in the direction of the wood grain and use progressively finer grit sandpaper to achieve a smooth, even finish. This attention to detail will pay off in the long run, as it will ensure a flawless final result.
| Grit Sandpaper | Purpose |
|---|---|
| 80-100 grit | Remove old finish and even out major scratches or imperfections |
| 120-150 grit | Smooth the surface and prepare for staining or painting |
| 180-220 grit | Final smoothing and polishing before applying the new finish |
When it comes to the new finish, the options are endless. From rich, dark stains to vibrant painted finishes, the choice is yours. Just be sure to read the manufacturer’s instructions carefully and apply the finish in thin, even coats for the best results.
Structural Repairs
While stripping and refinishing can work wonders on the surface, sometimes you need to tackle more serious structural issues. Broken or loose joints, missing pieces, and wobbly legs all require a more hands-on approach.
This is where your problem-solving skills come into play. Can the broken parts be repaired, or do they need to be replaced entirely? Do you need to use wood glue, clamps, or even custom-made replacement parts to stabilize the piece?
I’ve found that a combination of patience, attention to detail, and a little ingenuity can work wonders when it comes to structural repairs. Don’t be afraid to get creative and try different techniques until you find the one that works best for your project.
Upholstery and Hardware
If your furniture piece includes upholstered elements, such as cushions or armrests, you’ll need to tackle that aspect of the restoration as well. This can involve carefully removing the old fabric, cleaning or repairing the underlying foam or springs, and then reupholstering the piece with a fresh, high-quality material.
And don’t forget about the hardware! Replacing worn-out knobs, hinges, or other hardware can instantly revive the look and feel of a piece. Scour antique shops, flea markets, and online sources to find the perfect vintage-inspired hardware that complements the overall aesthetic you’re going for.
Bringing It All Together
As you can see, successful furniture restoration is a multi-faceted process that requires a keen eye, a steady hand, and a whole lot of patience. But the end result is always worth it. Each restored piece becomes a unique work of art, a testament to the timeless beauty of quality craftsmanship.
Atomic Ranch and Follow the Yellow Brick Home have both provided valuable insights into the world of furniture restoration, and I’m grateful for the wealth of knowledge they’ve shared.
So, if you’re ready to embark on your own furniture restoration journey, remember to take your time, pay attention to the details, and most importantly, have fun with the process. Who knows what hidden gems you might uncover and breathe new life into? The possibilities are endless!


