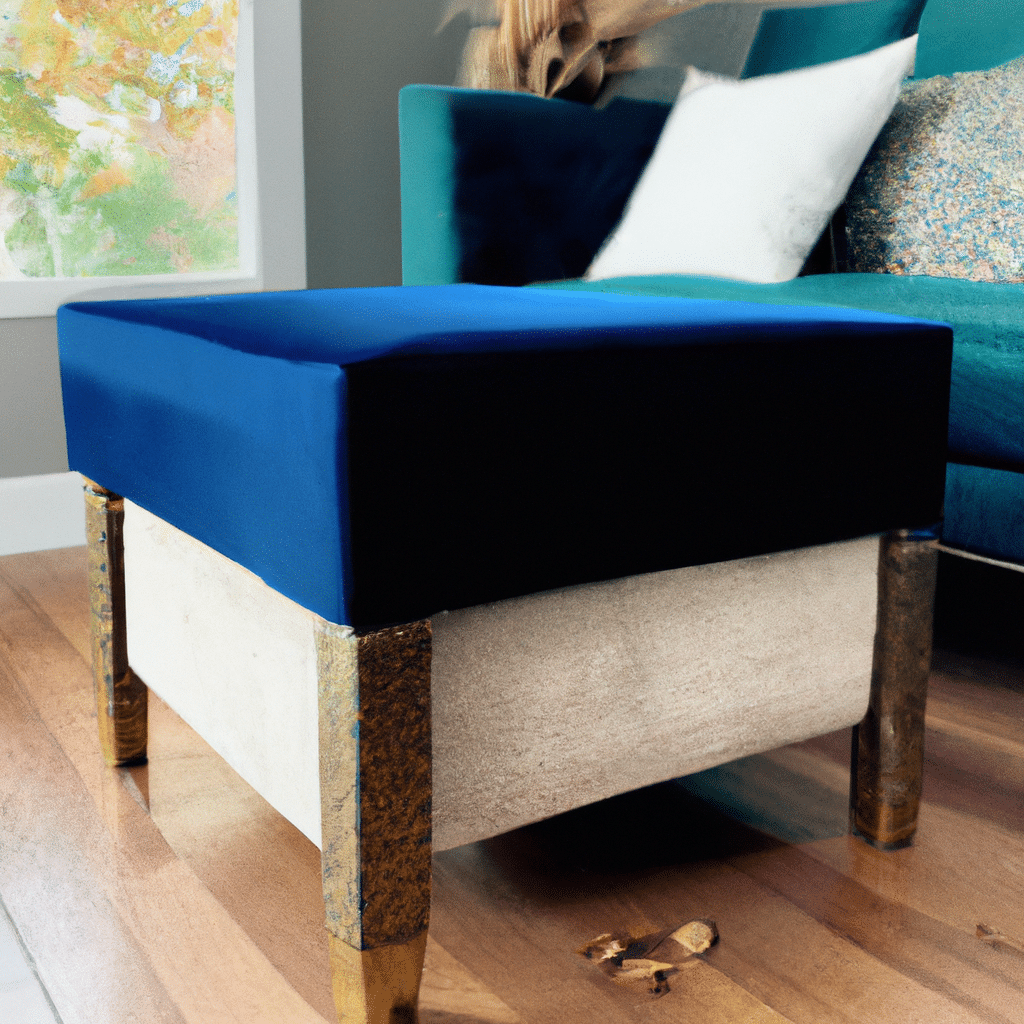
Welcome to our comprehensive guide on transforming an old coffee table into a stylish ottoman. If you’re looking to breathe new life into your furniture and add a touch of elegance to your living space, this project is perfect for you. In this article, we will walk you through the step-by-step process of repurposing your old coffee table into a fashionable ottoman that will not only enhance the aesthetics of your home but also provide a comfortable seating option. So, let’s dive right in!
Materials Needed
Before we embark on this exciting journey, let’s gather all the necessary materials to ensure a smooth and successful transformation. Here’s a list of items you’ll need:
- Old coffee table
- Upholstery foam
- Batting
- Fabric of your choice
- Staple gun
- Scissors
- Screwdriver
- Measuring tape
- Spray adhesive
- Upholstery nails
- Hammer
Step 1: Prepare the Coffee Table
The first step is to prepare your old coffee table for its new role as an ottoman. Start by removing any existing hardware or accessories from the table, such as knobs or hinges. Use a screwdriver to carefully unscrew and detach these components. This will give you a clean and blank canvas to work with.
Step 2: Measure and Cut the Foam
Now, let’s move on to adding a layer of comfortable cushioning to your ottoman-to-be. Measure the dimensions of the table’s surface and sides using a measuring tape. Transfer these measurements onto the upholstery foam and use a sharp pair of scissors to cut the foam accordingly. Make sure to cut the foam slightly larger than the table’s dimensions to ensure a snug fit.
Step 3: Attach the Foam to the Table
With the foam cut to size, it’s time to attach it to the table. Apply spray adhesive to the table’s surface and carefully place the foam on top, ensuring it aligns perfectly with the edges. Press down firmly to secure the foam in place. Repeat this process for the sides of the table, making sure to cover all visible surfaces.
Step 4: Add a Layer of Batting
To achieve a smooth and polished finish, we’ll add a layer of batting over the foam. Batting not only provides extra cushioning but also helps in achieving a professional-looking upholstery. Measure and cut the batting, following the same dimensions as the foam. Place the batting over the foam, ensuring it covers all surfaces, and secure it in place using a staple gun.
Step 5: Upholster the Ottoman
Now comes the fun part – upholstering your ottoman! Choose a fabric that complements your home decor and personal style. Measure and cut the fabric, leaving enough excess to wrap around the ottoman’s edges. Place the fabric over the batting and foam, ensuring it is centered and aligned. Starting from one side, pull the fabric taut and staple it to the underside of the ottoman. Continue this process along all sides, ensuring the fabric is smooth and wrinkle-free.
Step 6: Finish with Upholstery Nails
For an added touch of elegance, consider using upholstery nails to secure the fabric and create a decorative border. Position the nails along the edges of the ottoman, spacing them evenly. Using a hammer, gently tap the nails into place, ensuring they are securely attached. This step will not only enhance the aesthetics of your ottoman but also provide additional reinforcement to the fabric.
Conclusion
Congratulations on successfully transforming your old coffee table into a stylish ottoman! By following our comprehensive guide, you have not only breathed new life into your furniture but also created a unique and personalized piece for your home. With its comfortable cushioning, beautiful fabric, and elegant upholstery nails, your ottoman will surely become a statement piece in any room. Remember to get creative with your fabric choices and experiment with different patterns and textures. We hope you enjoy your newly transformed ottoman for years to come!


