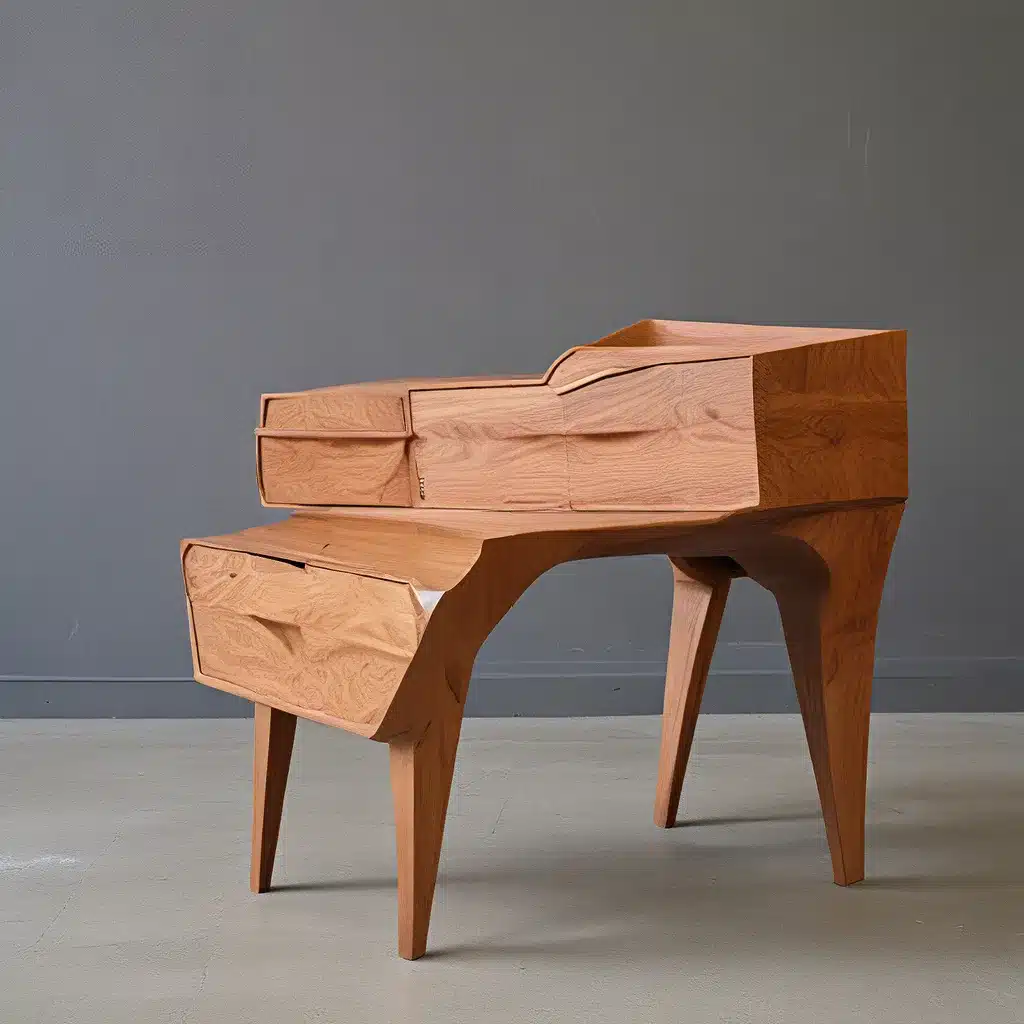
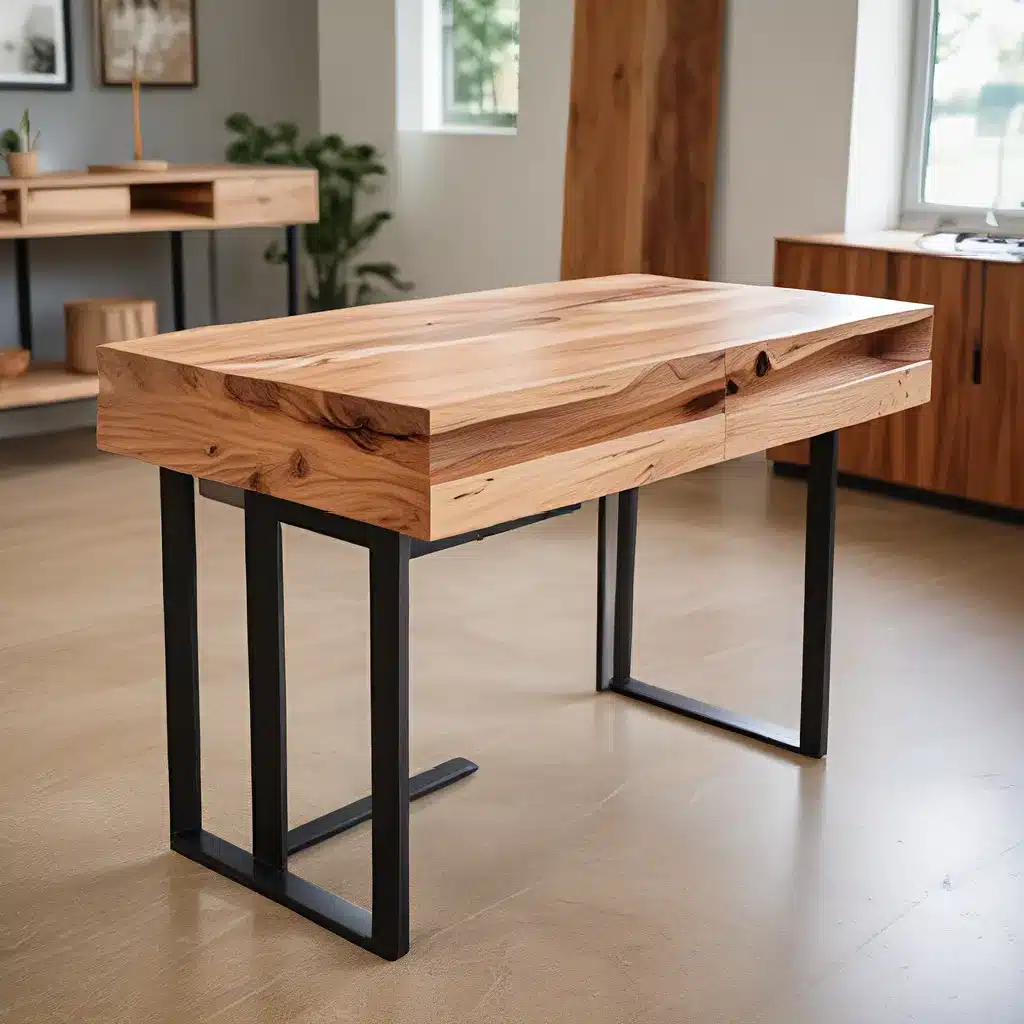
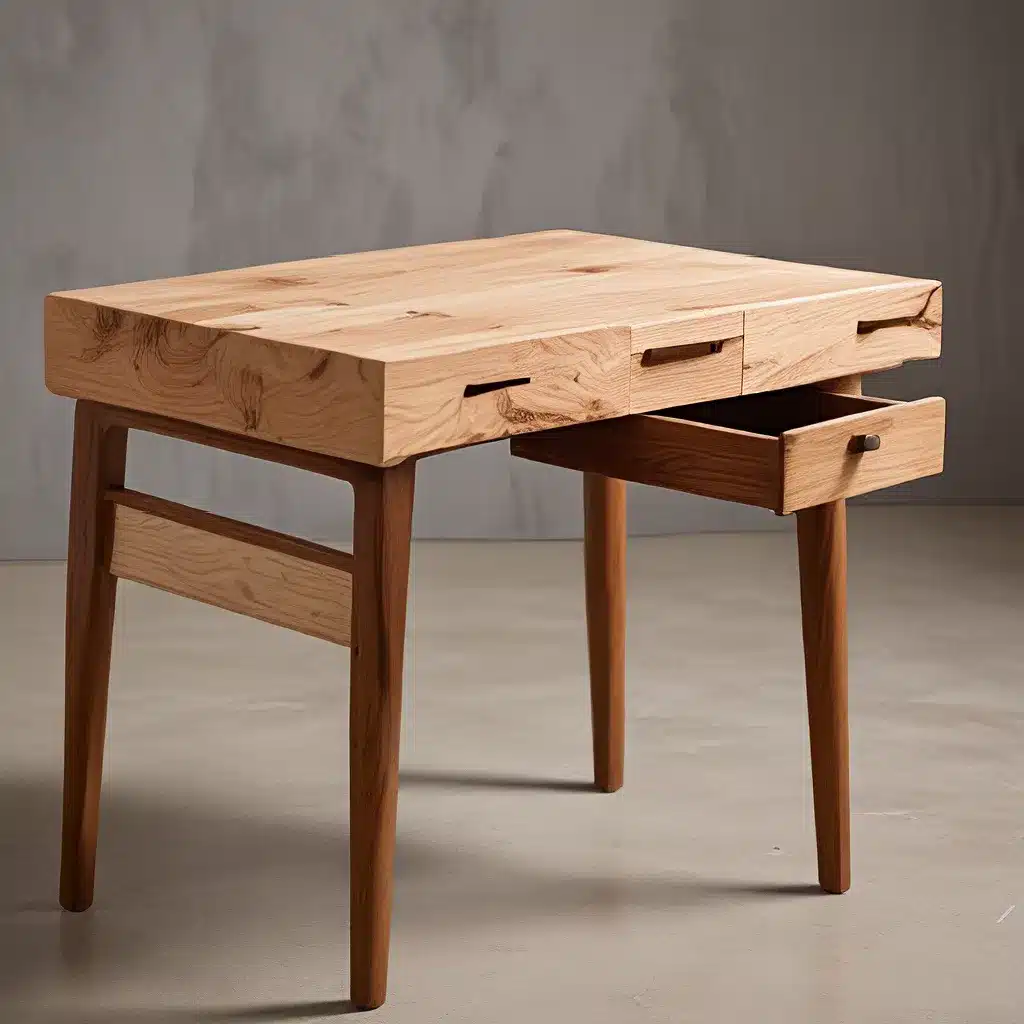
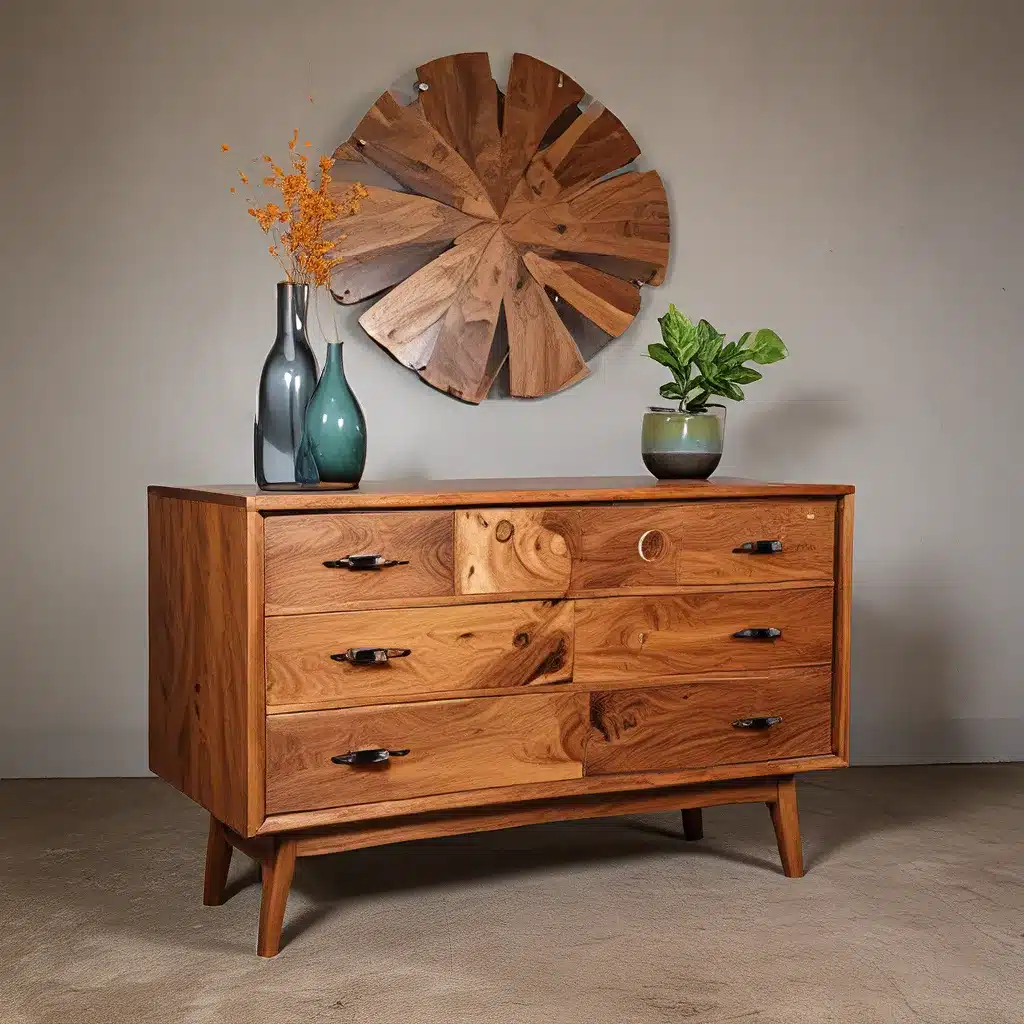
Welcome to our comprehensive guide on transforming real wood furniture with paint techniques. Whether you have inherited an old vintage piece or want to revamp your existing furniture, painting can breathe new life into it, giving it a modern and stylish look. In this article, we will explore various paint techniques and tips that will help you transform your furniture into a stunning centerpiece that reflects your personal style and taste.
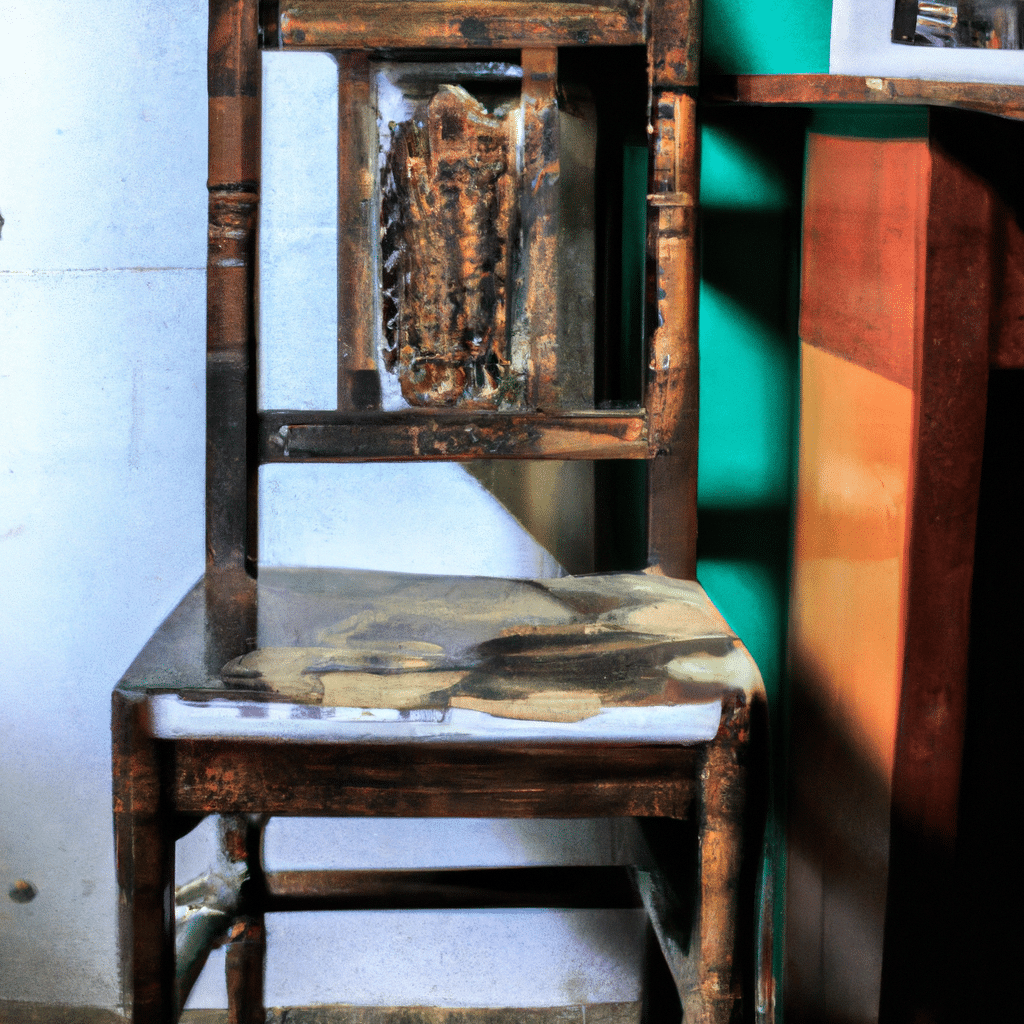
Why Paint Real Wood Furniture?
Real wood furniture is known for its durability and timeless appeal. However, over time, it may start to show signs of wear and tear or become outdated in terms of style. Painting your real wood furniture offers several benefits:
- Aesthetic Transformation: By applying paint, you can completely change the look and feel of your furniture. You can choose from a wide range of colors and finishes to match your desired aesthetic.
- Protection: Paint acts as a protective layer, safeguarding your furniture from scratches, moisture, and UV damage. This helps prolong its lifespan and maintain its beauty.
- Cost-Effective: Instead of investing in new furniture, painting allows you to update your existing pieces at a fraction of the cost. It is a budget-friendly way to achieve a fresh and modern look.
Now that we understand the advantages of painting real wood furniture, let’s dive into the different paint techniques you can use to transform your pieces.
1. Preparing Your Furniture
Before you start painting, it is crucial to prepare your furniture properly. Follow these steps to ensure a smooth and successful transformation:
- Clean the Surface: Remove any dirt, dust, or grime from the furniture using a mild detergent or wood cleaner. This will create a clean canvas for the paint and ensure better adhesion.
- Sand the Surface: Lightly sand the furniture using fine-grit sandpaper. This step helps to remove any existing finish, roughen the surface, and create a better bond between the wood and paint.
- Repair and Fill: Inspect the furniture for any nicks, scratches, or holes. Use wood filler or putty to repair these imperfections. Sand the filled areas until they are smooth and level with the rest of the surface.
- Prime (Optional): Depending on the type and condition of your furniture, you may choose to apply a primer. Primer helps to seal the wood, prevent bleed-through, and create a smoother base for the paint. It is especially useful when painting over dark or stained wood.
2. Choosing the Right Paint
Selecting the right paint is crucial for achieving the desired results. Consider the following factors when choosing paint for your real wood furniture:
- Type of Paint: There are various types of paint available, including latex, oil-based, chalk paint, and milk paint. Each has its own unique characteristics and finishes. Take into account the look you want to achieve and the durability required for your specific furniture piece.
- Color Selection: When selecting a color, consider the overall theme and color palette of the room where the furniture will be placed. Opt for colors that complement your existing decor and create a cohesive look.
- Finish Options: Paint finishes range from matte to high gloss. Matte finishes offer a more subtle and understated look, while high gloss finishes provide a sleek and modern appearance. Choose a finish that suits your personal style and complements the furniture’s design.
3. Applying the Paint
Now that your furniture is prepped and you have chosen the perfect paint, it’s time to apply it. Follow these steps for a successful paint application:
- Stir the Paint: Thoroughly mix the paint to ensure consistent color and texture throughout the project.
- Use a Brush or Roller: Depending on the size and intricacy of your furniture, choose between a brush or roller for the application. Brushes are ideal for smaller areas and intricate details, while rollers are suitable for larger surfaces.
- Apply Thin Coats: It is better to apply multiple thin coats of paint rather than one thick coat. Thin coats dry faster and provide better adhesion, resulting in a smoother and more durable finish.
- Allow Drying Time: Follow the paint manufacturer’s instructions regarding drying time between coats. Proper drying time allows the paint to cure and ensures a long-lasting finish.
4. Adding Finishing Touches
To truly transform your real wood furniture, consider adding some finishing touches:
- Distressing: Create a vintage or rustic look by distressing the painted surface. Use sandpaper or a sanding block to gently rub off areas where natural wear and tear would occur over time.
- Stenciling: Add a unique touch by using stencils to create patterns or designs on your furniture. This can be done with contrasting paint colors or metallic finishes for a modern twist.
- Sealing: To protect your newly painted furniture, apply a clear topcoat or sealant. This will provide an additional layer of durability and ensure longevity.
Conclusion
Congratulations! You have now learned how to transform your real wood furniture into stunning pieces using paint techniques. From preparing the furniture to choosing the right paint and applying it correctly, each step is crucial for achieving the desired results. Remember to take your time, experiment with different techniques, and let your creativity shine through. With the right tools and knowledge, you can turn your vintage or outdated furniture into modern masterpieces that reflect your personal style and taste. Happy painting!


