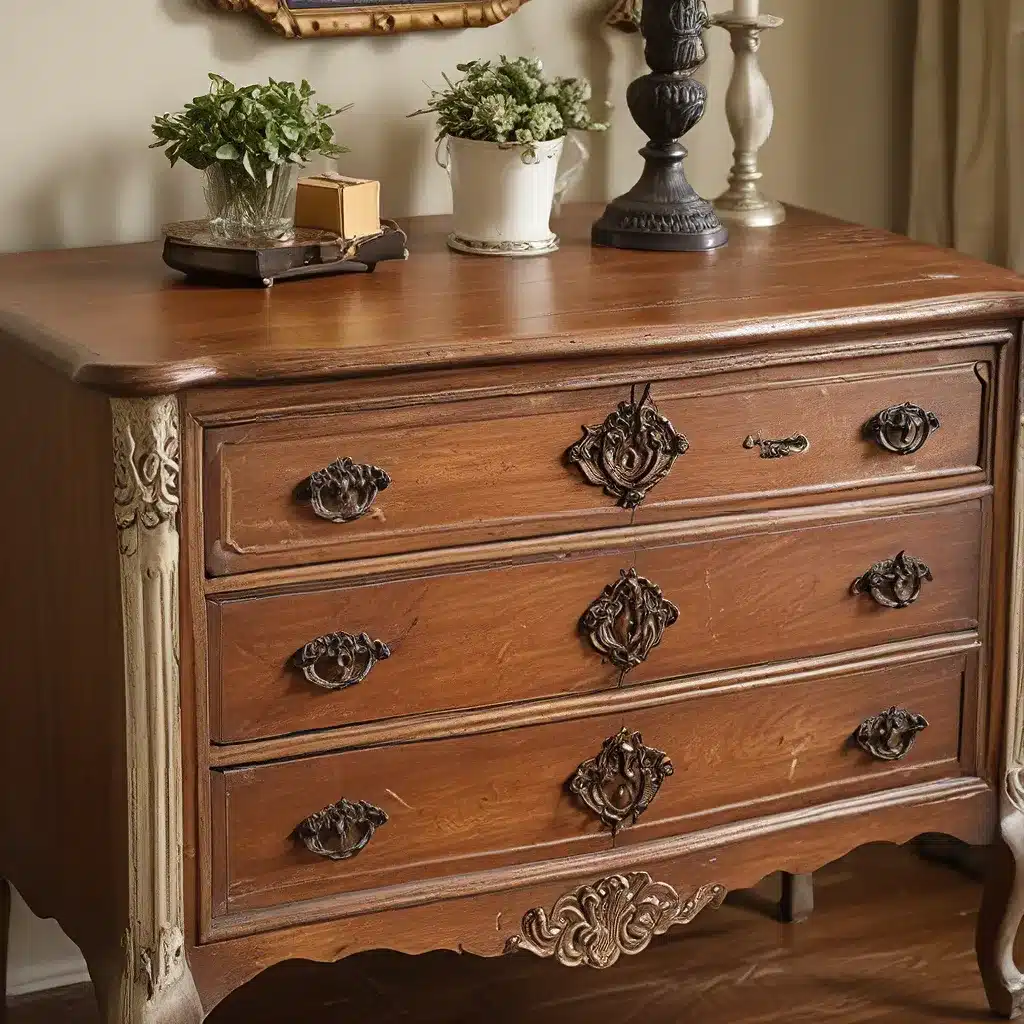
Unlocking the Beauty of the Past
There’s just something magical about rescued antique furniture, isn’t there? The weathered wood, the intricate carvings, the stories etched into every nick and scratch – it’s like welcoming a piece of history into your home. And you know what they say, one person’s trash is another’s treasure.
For me, the journey of furniture restoration has been equal parts rewarding and humbling. I remember when I first started out, I’d see these gorgeous vintage pieces at flea markets or estate sales and just had to bring them home. But then I’d get them back to the workshop and quickly realize I had no idea what I was doing. It was a steep learning curve, let me tell you.
Sanding down layers of old paint without destroying the wood? Tricky. Removing stubborn varnish without making a mess? Not as easy as it looks. And don’t even get me started on trying to match the original stain or figure out the right hardware. Talk about a headache! But I’m so glad I stuck with it, because now I can confidently take on even the most daunting restoration projects.
You see, the key is understanding the process and having the right tools and techniques at your fingertips. And that’s exactly what I’m here to share with you today. Whether you’re a seasoned DIYer or completely new to furniture refinishing, this guide will walk you through everything you need to know to breathe new life into your antique treasures.
Preparing Your Workspace
You know the saying, “Measure twice, cut once”? Well, when it comes to furniture refinishing, I’d say it’s more like “Prepare thoroughly, work efficiently.” Because trust me, trying to tackle a big project in a cluttered, disorganized space is just a recipe for disaster.
The first step is to choose a well-ventilated area, preferably outdoors, to minimize exposure to fumes from paint, stain, or chemical strippers. If you have to work indoors, make sure to open up those windows and doors to keep the air circulating. And speaking of fumes, don’t forget to invest in a good-quality respirator – your lungs will thank you later.
Adequate lighting is also crucial for spotting every little imperfection and ensuring a thorough, professional-looking finish. Natural daylight is best, but if that’s not an option, make sure to set up some bright LED work lights. You’d be amazed at how much a difference proper illumination can make.
Finally, protect your surfaces with drop cloths or plastic sheeting. While plastic is convenient, I’ve found that canvas drop cloths are the way to go. They’re reusable, don’t shift around as easily, and won’t accidentally stick to your freshly refinished pieces. Trust me, you’ll be grateful for that extra bit of security.
Assessing the Furniture
Okay, now that your workspace is all set up, it’s time to take a good, hard look at the piece you’re about to revive. Because the truth is, not every antique is worth the effort – and that’s something a lot of newbie refinishers tend to overlook.
Before you start sanding, stripping, or painting, do a thorough inspection. Check for any significant damages, scratches, or imperfections that might require special attention. Because let me tell you, I’ve taken on way too many projects that ended up being more trouble than they were worth.
Sure, that chipped and wobbly dresser might have been a steal, but if it’s going to take you weeks of intensive work to get it looking presentable, is it really worth it? Sometimes, the smart move is to just walk away and find a piece that’s in better shape. That way, you can focus your energy on something that will truly shine when you’re done.
Another important consideration is the type of wood and existing finish. Different materials require different treatment, and knowing what you’re working with upfront can save you a lot of headaches down the line. For example, refinishing a solid wood piece is a very different process than tackling a veneer-covered surface.
So, take your time, assess the condition thoroughly, and make an honest assessment of what it’s going to take to bring this furniture back to its former glory. Trust me, that extra bit of planning will pay off in spades when you’re actually elbow-deep in the project.
Stripping the Old Finish
Alright, now that you’ve got your workspace set up and you’ve closely inspected the piece, it’s time to get down to the nitty-gritty – removing the existing finish. And let me tell you, this is where the real fun begins.
There are a few different methods you can use, each with their own pros and cons. Sanding is a classic choice, and it’s great for getting down to the bare wood. Just be sure to start with a coarse grit and gradually work your way up to a finer finish. And don’t forget those trusty respirators – sanding can kick up a lot of nasty dust.
Chemical strippers are another option, and they can be really effective for tackling stubborn old paint or varnish. Just be super careful, because those chemicals can be pretty harsh on your skin and lungs. I prefer to use citrus-based strippers when I can, as they tend to be a bit more user-friendly.
And then there’s the heat gun approach. This one takes a bit more skill, but it can be a lifesaver for intricate details or delicate surfaces. The key is to keep that heat gun moving – you don’t want to linger in one spot and risk burning the wood.
Whichever method you choose, the important thing is to take your time and be thorough. Because trust me, you do not want to skip any steps and end up with a botched finish. It’s all about the prep work, my friends.
Sanding to Perfection
Once you’ve stripped away the old finish, it’s time to work on that smooth, flawless surface. And that means sanding, sanding, and more sanding.
Now, I know what you’re thinking – “Sanding, really? Isn’t that the most tedious part?” And you’re not wrong, it can be a bit of a grind. But trust me, it’s a crucial step that you don’t want to skip. Because that’s what’s going to give your finished piece that professional, high-quality look.
Start with a coarse grit sandpaper, like 60 or 80, to tackle any major imperfections or stubborn spots. Work your way up gradually, moving to finer and finer grits until you’ve achieved that silky-smooth texture. And don’t forget to wipe down the surface frequently to remove any lingering dust or debris.
If you really want to up your game, consider investing in an electric sander. It’s a total game-changer when it comes to efficiency and consistency. Just be sure to use it with caution, as those power tools can be a bit tricky to master at first.
Remember, the key to sanding success is patience and attention to detail. It might feel tedious in the moment, but trust me, that extra effort is going to pay off big time when you see the final result. And who knows, you might even find yourself getting a little zen in the process.
Staining or Painting?
Alright, now for the fun part – choosing your finish! Do you go for a rich, wood-toned stain to highlight those gorgeous grains? Or do you opt for a bold, statement-making paint color to really make the piece pop?
It’s a tough decision, I know. But the good news is, there’s no right or wrong answer here. It really comes down to personal preference and the overall aesthetic you’re going for.
Staining is a great way to preserve the natural beauty of the wood while giving it a fresh, updated look. And with so many different shades and tones to choose from, you can really play around and find the perfect match for your space. Just be sure to follow the instructions carefully, and don’t forget that all-important sealing step at the end.
Now, painting might seem like the simpler option, but trust me, it’s an art form in its own right. With the right technique, you can transform even the most tired, outdated piece into a stunning focal point. And the beauty of paint is that you’ve got the whole color wheel to work with – go wild!
One cool technique I’ve been experimenting with is a “paint wash,” where you dilute the paint to allow the wood grain to still show through. It’s a really beautiful way to get the best of both worlds, you know? Plus, it adds an extra layer of depth and character to the finished piece.
Whichever route you choose, just remember to take your time and have fun with it. After all, this is your chance to get creative and put your own unique stamp on a piece of history.
Protecting Your Work
Alright, so you’ve stripped, sanded, and stained or painted your furniture to perfection. Now, it’s time to make sure all that hard work doesn’t go to waste. Because let me tell you, a beautifully refinished piece is no good if it can’t stand up to the wear and tear of everyday use.
That’s where the final sealing step comes in. Whether you choose a wax-based finish or a polyurethane varnish, this protective layer is crucial for preserving the longevity of your furniture. It’s going to shield the surface from scratches, stains, and moisture damage, keeping your vintage gem looking its best for years to come.
Now, I know what you’re thinking – “But wait, isn’t that just one more tedious step I have to deal with?” And you’re not wrong, it can be a bit of a hassle. But trust me, it’s worth it. Because there’s nothing worse than putting all that time and effort into a project, only to have it start looking worn and dingy after a few months.
So, take the time to carefully apply your chosen sealant, following the manufacturer’s instructions to a tee. And don’t be afraid to do a few coats for extra protection. After all, this is the final piece of the puzzle – the cherry on top of your furniture-refinishing sundae.
The Final Touches
Alright, you’ve made it this far – time to put the finishing touches on your masterpiece. And let me tell you, this is where you can really let your creativity shine.
First things first, if you had to disassemble any parts of the furniture during the refinishing process, make sure to put everything back together carefully and precisely. Those drawers and doors need to fit just right, you know? Use any labels or photos you took along the way to guide you.
Now, it’s time to get personal. Think about ways you can add a little extra flair to your piece – maybe some new hardware, or even a fun wallpaper lining in the drawers. It’s the little details that can really take a furniture transformation from “nice” to “wow!”
And speaking of hardware, be sure to choose something that complements the style and era of your vintage gem. Mismatched knobs or pulls can really stick out like a sore thumb and ruin all your hard work. Do a bit of research to find the perfect fit.
Finally, step back and admire your handiwork. Isn’t it amazing what a little elbow grease and a whole lot of patience can do? You’ve brought new life to a piece of history, and that’s something to be seriously proud of.
So, go ahead and display your furniture with confidence. Because I guarantee, every time you look at it, you’re going to be reminded of the journey that got you here – the challenges, the triumphs, and the sheer joy of reviving vintage charm.
The Joy of the Process
You know, as I look back on my own furniture refinishing journey, I’m struck by just how much it’s taught me over the years. It’s not just about stripping, sanding, and painting – it’s about honoring the past, preserving our history, and finding beauty in the weathered and worn.
I remember when I first started out, I was so focused on the end result that I’d often rush through the process, only to end up frustrated and disappointed. But as I gained more experience, I learned to slow down, to savor each step, and to truly appreciate the care and craftsmanship that goes into bringing these vintage pieces back to life.
And let me tell you, the sense of accomplishment is unparalleled. Every time I complete a restoration project, I feel this overwhelming sense of pride, not just in the final product, but in the journey I’ve taken to get there. It’s like uncovering a hidden treasure, dusting it off, and giving it a new lease on life.
But beyond the personal fulfillment, there’s also something to be said for the community that’s grown up around this passion. Through the years, I’ve connected with so many incredible people who share my love for preserving the stories of our past. And let me tell you, those friendships are just as valuable as the furniture itself.
So, whether you’re a seasoned pro or just starting out, I encourage you to embrace the process, to savor the journey, and to find the joy in the work. Because when you do, you’re not just reviving a piece of furniture – you’re reviving a piece of history, and that’s something truly special.
Who knows, maybe this will be the start of your own furniture-refinishing adventure. And if it is, I can’t wait to see what amazing creations you come up with. The possibilities are endless, my friends, so let your creativity shine and have fun with it. After all, that’s what this is all about.
Happy restoring!


