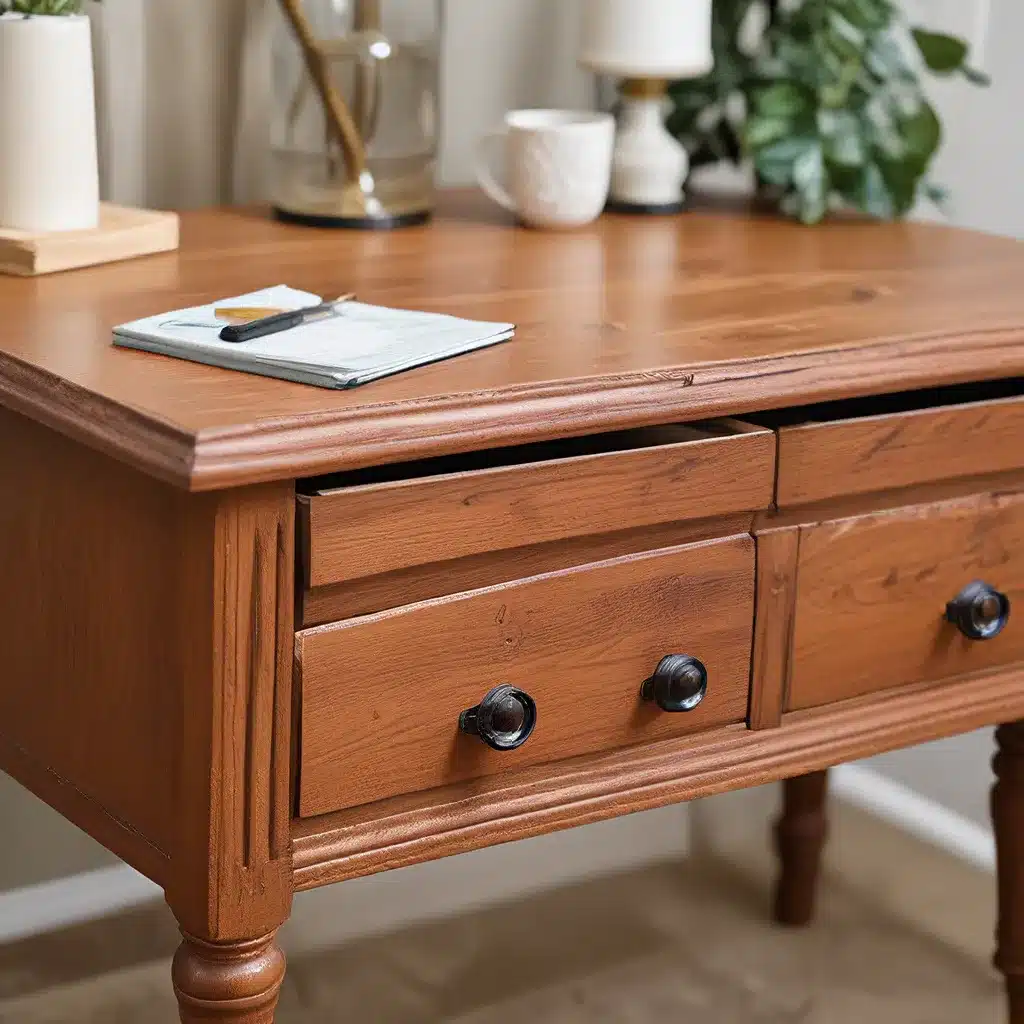
Have you ever walked past an old, worn-out piece of furniture and thought, “If only I could breathe new life into that”? Well, my friend, you’re in luck! Furniture refinishing is a wonderfully rewarding and surprisingly accessible DIY project that can transform even the most tired-looking pieces into stunning showstoppers.
As a lifelong lover of all things home decor, I’ve spent countless hours perfecting the art of furniture refinishing. From stripping and sanding to staining and painting, I’ve tried it all. And let me tell you, there’s nothing quite like the satisfaction of taking an unloved piece and turning it into a true work of art.
The Joy of Furniture Refinishing
Furniture refinishing is more than just a practical way to save money and give new life to old pieces. It’s a creative outlet, a meditative process, and a chance to put your own personal stamp on your home decor. There’s something deeply satisfying about taking a beat-up dresser or a rickety chair and turning it into a stunning conversation piece.
But don’t just take my word for it. According to the experts at Atomic Ranch, furniture refinishing can be a “zen-like experience” that allows you to “slow down and really appreciate the process.”
And the best part? You don’t need to be a professional woodworker or have years of experience to tackle a furniture refinishing project. With the right tools, a little patience, and a dash of creativity, anyone can transform their tired furniture into a showstopper.
Gathering Your Supplies
Before you dive headfirst into your furniture refinishing adventure, it’s important to make sure you have all the necessary supplies on hand. Trust me, you don’t want to be halfway through a project and realize you’re missing a crucial tool or material.
Here’s a quick rundown of the essential items you’ll need:
- Sandpaper: Start with a coarse grit (80-100) to remove any existing finishes or damage, then work your way up to a finer grit (220-320) for a smooth, polished finish.
- Paint/Stain: Depending on your desired look, you’ll need either a high-quality paint or a wood stain. Be sure to choose a product that’s specifically formulated for furniture.
- Brushes/Rags: You’ll need a variety of brushes, from small detail brushes to larger ones for larger surfaces. Microfiber rags are also essential for wiping away any excess paint or stain.
- Sealant: Once you’ve applied your paint or stain, you’ll want to protect your hard work with a clear sealant, such as polyurethane or lacquer.
- Stripper: If you’re working with a heavily-coated piece, you may need to use a chemical stripper to remove any existing finishes before you can start sanding.
- Gloves and Masks: Safety first! Be sure to wear gloves and a mask to protect yourself from any harmful fumes or particles.
Remember, the key to a successful furniture refinishing project is having the right tools for the job. Don’t be tempted to skimp on quality – it’s better to invest a little more upfront to ensure a professional-looking finish.
Preparing Your Piece
Now that you’ve got all your supplies lined up, it’s time to dive into the actual refinishing process. And let me tell you, preparation is the name of the game when it comes to furniture refinishing.
First things first, you’ll need to give your piece a thorough cleaning. As the experts at Erin Spain advise, it’s important to remove any dirt, grease, or debris that could interfere with your new finish. A simple solution of warm water and mild soap should do the trick.
Once your piece is clean, it’s time to assess the existing finish. If the surface is in good condition and just needs a little TLC, you may be able to simply sand it down and apply a new stain or paint. But if the piece is heavily damaged or coated in multiple layers of old finish, you’ll need to use a chemical stripper to remove everything down to the bare wood.
Now, I know the idea of using harsh chemicals can be a little intimidating, but trust me, it’s a necessary step if you want a flawless final result. Just be sure to follow the manufacturer’s instructions to the letter and work in a well-ventilated area.
With the old finish removed, it’s time to sand, sand, sand. This is where your patience and perseverance will really pay off. Start with a coarse grit paper to remove any remaining finish or damage, then work your way up to a finer grit for a silky-smooth surface.
Pro Tip: Be sure to sand in the direction of the wood grain to avoid unsightly scratches or uneven patches.
Once your piece is sanded to perfection, it’s time to wipe away any dust or debris and get ready for the fun part – applying your new finish!
Unleashing Your Creativity
Now, this is where the magic happens, my friends. Furniture refinishing is all about unleashing your inner artist and putting your personal stamp on a piece. Whether you’re drawn to bold, bright colors or the warm, natural tones of a classic wood stain, the options are endless.
If you’re feeling adventurous, you might even want to try your hand at some distressing or antiquing techniques. As the folks at Dodson Designs suggest, a little strategic sanding or the application of a whitewash can give your piece a charming, vintage-inspired look.
But don’t be afraid to think outside the box, either. Why not try a vibrant, modern paint color or experiment with a unique wood-burning pattern? The key is to have fun and let your creativity shine.
Pro Tip: When it comes to applying your new finish, be patient and take your time. Apply thin, even coats and allow each one to dry completely before moving on to the next. This will ensure a professional-looking, long-lasting result.
Revealing the Transformation
Ah, the moment of truth – the big reveal! After all your hard work and dedication, it’s time to see the final product. And let me tell you, the sense of pride and accomplishment you’ll feel when you step back and admire your handiwork is truly unparalleled.
Whether you’ve transformed a timeworn dresser into a stunning focal point or breathed new life into a beloved family heirloom, the transformation will be nothing short of jaw-dropping. And the best part? You get to bask in the glory of your own creative genius.
But don’t just take my word for it. Head on over to Unfinished Furniture and check out the incredible before-and-after transformations of their customers’ DIY projects. You’ll be amazed at what a little elbow grease and a whole lot of creativity can accomplish.
Embracing the Journey
Remember, furniture refinishing is not just about the end result – it’s about the journey. It’s about slowing down, immersing yourself in the process, and finding joy in the little moments along the way.
So, whether you’re tackling your first DIY project or you’re a seasoned pro, embrace the challenges, celebrate the victories, and most importantly, have fun! After all, that’s what it’s all about, isn’t it?
Now, what are you waiting for? Grab your sandpaper, your brushes, and your can-do attitude, and let’s get to work on mastering the art of furniture refinishing together. Who knows, you might just surprise yourself with the stunning results.


