Welcome to an exciting journey into the world of upcycling furniture! In this comprehensive guide, we will delve into the art of transforming old, worn-out pieces into stunning, one-of-a-kind treasures that breathe new life into any space. Whether you’re a seasoned DIY enthusiast or a complete beginner, this article will equip you with the knowledge and inspiration to embark on your own upcycling adventure. Join us as we explore the endless possibilities of repurposing furniture and creating a truly unique and personalized home.
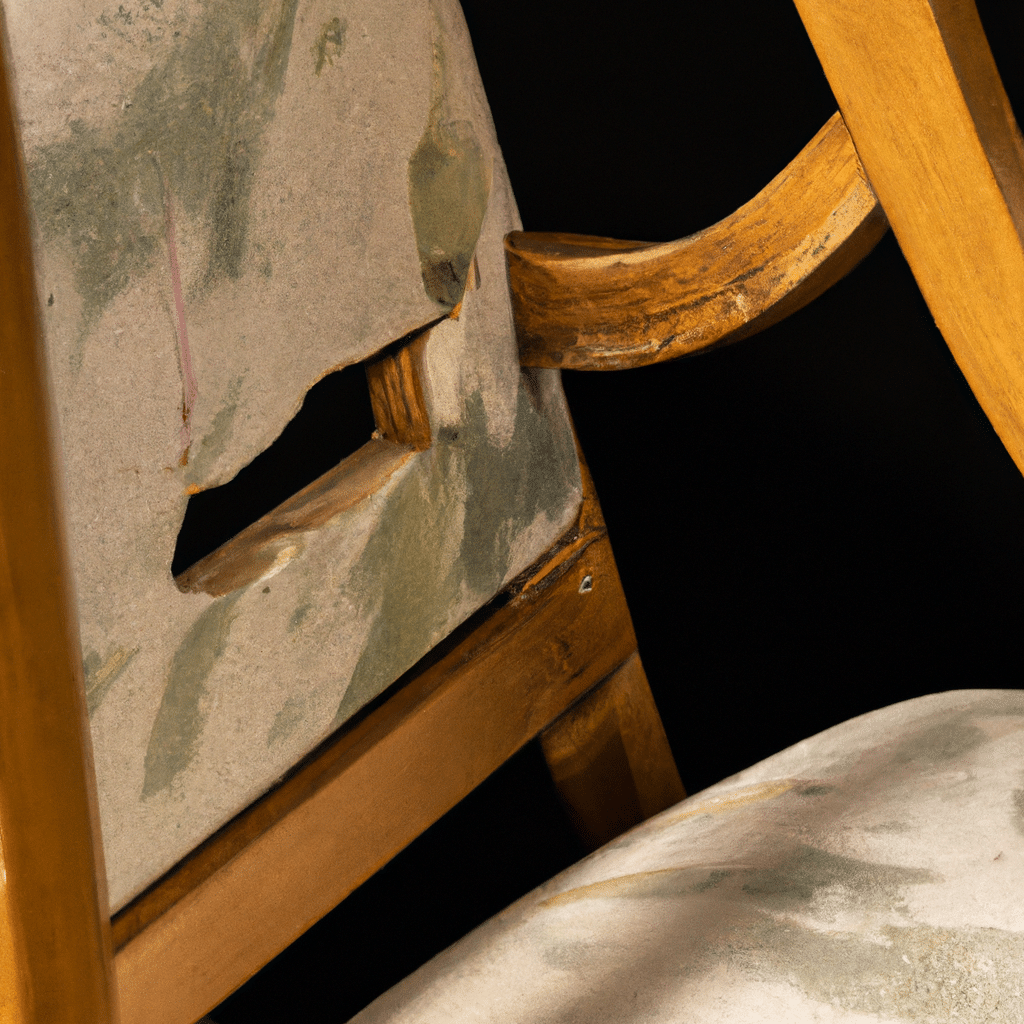
Why Upcycling Furniture?
In today’s fast-paced and consumer-driven society, it’s easy to overlook the potential hidden in everyday objects, particularly furniture. Instead of discarding worn-out or outdated pieces, upcycling offers a sustainable and creative alternative. By repurposing and transforming furniture, we not only reduce waste but also add character, charm, and a sense of history to our living spaces. Upcycling allows us to breathe new life into forgotten items, turning them into functional and visually appealing pieces that reflect our individual style and taste.
Getting Started: Finding the Perfect Piece
The first step in your upcycling journey is finding the perfect piece of furniture to transform. Keep an eye out for hidden treasures at flea markets, thrift stores, garage sales, or even in your own attic. Look for solidly built items with interesting shapes or unique features. Don’t be discouraged by minor flaws or outdated finishes, as these can easily be remedied through the upcycling process. Trust your instincts and choose a piece that resonates with you and sparks your creativity.
Preparing for Upcycling: Tools and Materials
Before diving into the actual transformation, it’s important to gather the necessary tools and materials. Here’s a list of essential items you’ll need:
- Sandpaper and sanding block: to remove old finishes and create a smooth surface.
- Paintbrushes and rollers: for applying paint or other finishes.
- Primer and paint: to give your furniture a fresh new look.
- Wood putty: for filling in any cracks or holes.
- Screwdriver and pliers: for removing hardware or making necessary repairs.
- Protective gear: gloves, goggles, and a mask to ensure your safety during the process.
Step-by-Step Upcycling Process
1. Assessing the Piece
Start by carefully examining the piece of furniture you’ve chosen. Take note of any structural issues or repairs that need to be addressed. Consider the overall style and design of the piece and envision how you can enhance its features through upcycling. This initial assessment will guide you in making informed decisions throughout the process.
2. Cleaning and Preparing
Before applying any finishes, it’s crucial to clean the furniture thoroughly. Remove any dust, dirt, or grime using a mild soap and water solution. Once clean, allow the piece to dry completely. Next, use sandpaper or a sanding block to remove any existing finishes or roughen the surface for better adhesion. Wipe away the dust using a tack cloth or a clean, lint-free cloth.
3. Repairs and Restorations
Now is the time to address any structural issues or repairs. Use wood putty to fill in cracks, holes, or dents, and sand the area smooth once dry. If necessary, tighten loose screws or replace damaged hardware. This step ensures that your upcycled piece is not only visually appealing but also sturdy and functional.
4. Painting or Refinishing
The painting or refinishing stage is where your creativity truly shines. Choose a paint color or finish that complements your overall design vision. Apply a primer first to ensure better adhesion and coverage, then proceed with multiple coats of paint or desired finishes, allowing each layer to dry completely before applying the next. Be sure to follow the manufacturer’s instructions for the specific products you’re using.
5. Adding Personal Touches
To truly make your upcycled piece unique, consider adding personal touches and decorative elements. This could include stenciling patterns, applying decoupage, or even incorporating fabric or wallpaper accents. Let your imagination run wild and experiment with different techniques until you achieve the desired effect.
6. Protecting and Sealing
Once you’re satisfied with the transformation, it’s important to protect your upcycled furniture to ensure its longevity. Apply a clear sealant or topcoat to safeguard the finish from daily wear and tear. This step also allows for easier cleaning and maintenance in the future.
Showcasing Your Upcycled Masterpiece
Now that you’ve successfully upcycled your furniture, it’s time to showcase your masterpiece in your home. Find the perfect spot to display your transformed piece, allowing it to become a focal point and conversation starter. Incorporate it into your existing decor or use it as a statement piece to add character and personality to any room. Remember, upcycled furniture is not just functional; it’s a work of art that tells a story.
Conclusion
Congratulations on embarking on your upcycling journey! Through the art of transforming furniture, you’ve not only created a unique and personalized space but also contributed to a more sustainable future. By upcycling, we can reimagine the potential in everyday objects and showcase our creativity and individuality. So, let your imagination soar, and let the world see the beauty that lies in salvaged pieces transformed into spectacular treasures. Happy upcycling!


